This is a useful and entertaining technique for turning photocopies into transparent images, which you can then layer into collage art.
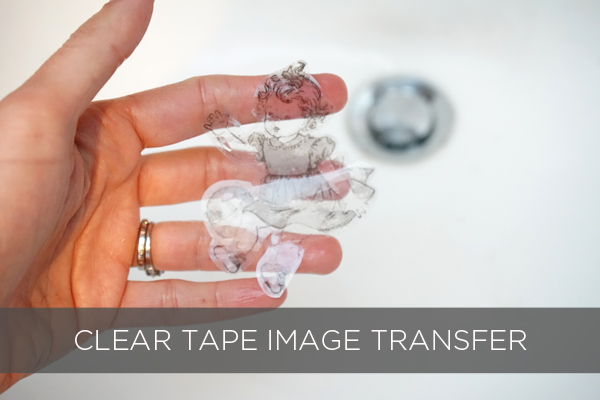
It’s been ages since I’ve done this, and I’m excited to share it with you as part of the TinkerSketch Challenge that’s happening this month. If you don’t know about it, I’d encourage you to check it out!
The prompt for day 3 of the challenge is “tape.” If you’re participating in the challenge, you can interpret this prompt however you like, but because I think everyone should know how to achieve this clear tape image transfer effect, I thought I would take this opportunity to share the it with you today!
Ready? Let’s go!
Supplies for Clear Tape Image Transfer
This post includes affiliate links
- Photocopy image
- Clear tape – gift wrapping tape or packing tape
- Scissors
- Mod Podge, gel medium, or white glue. I like to use Mod Podge, a non-toxic, water-based, glue-like decoupage sealer that doesn’t feel sticky once dry.
- Paint Brush
- Water
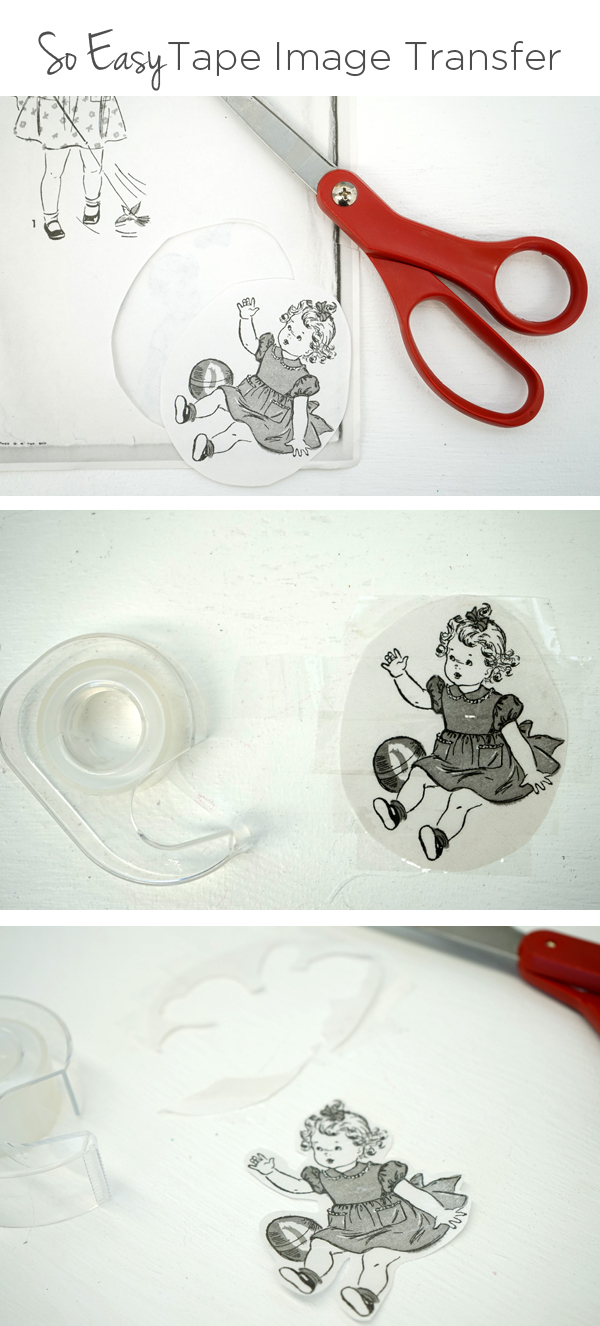
1. Clear Tape Image Transfer: Select your Image
- Choose an image
- Photocopy or laser print it. This will NOT work with inkjet images.
- Cover the image with clear tape, overlapping the edges of the tape
- Burnish the tape to the paper, or, in other words, press the tape down hard
- Cut the image out (optional)
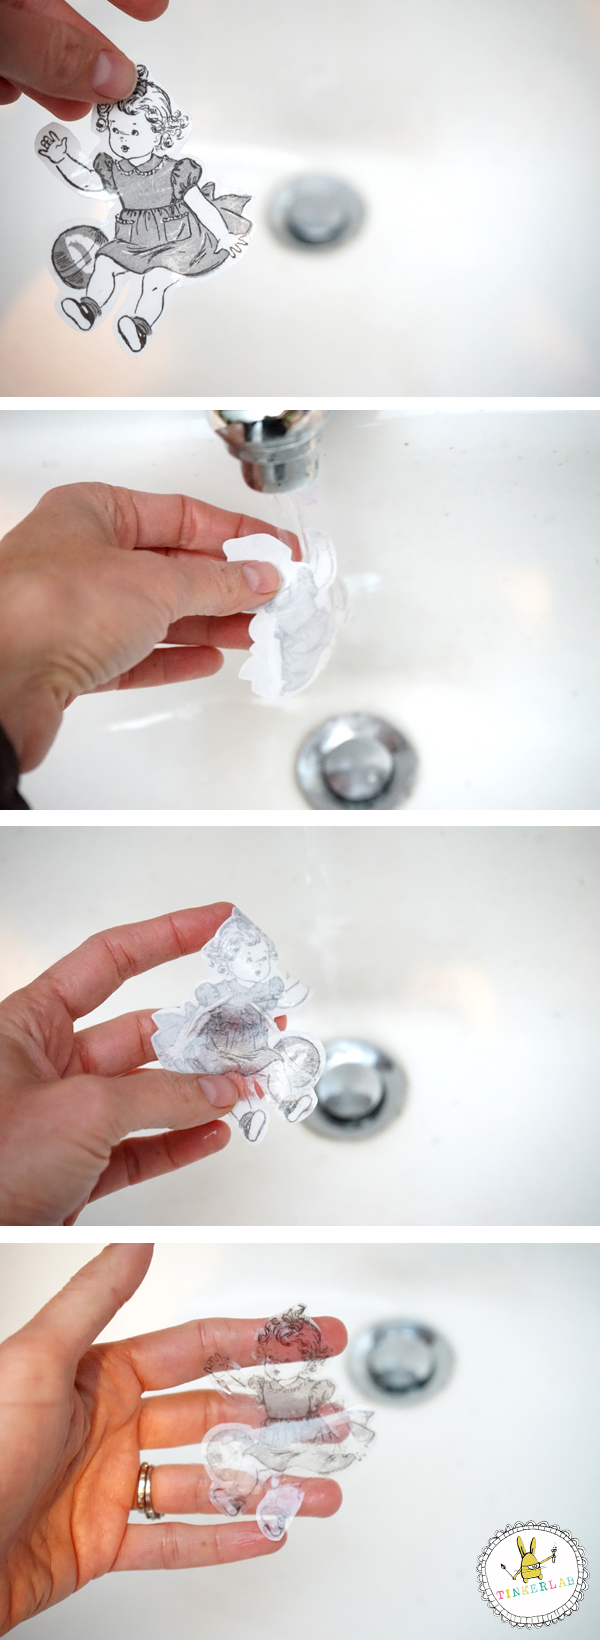
2. Remove the Paper
- Place your tape-covered image under running water or submerge it in a bowl of water until the paper is soaked through. This should just take a moment.
- Gently rub the back of the paper until it rolls and pills off the tape.
- This will leave you with a clear image.
3. Attach Image Transfer to Paper or Wood
- Choose a substrate (paper, wood, etc.) for your image
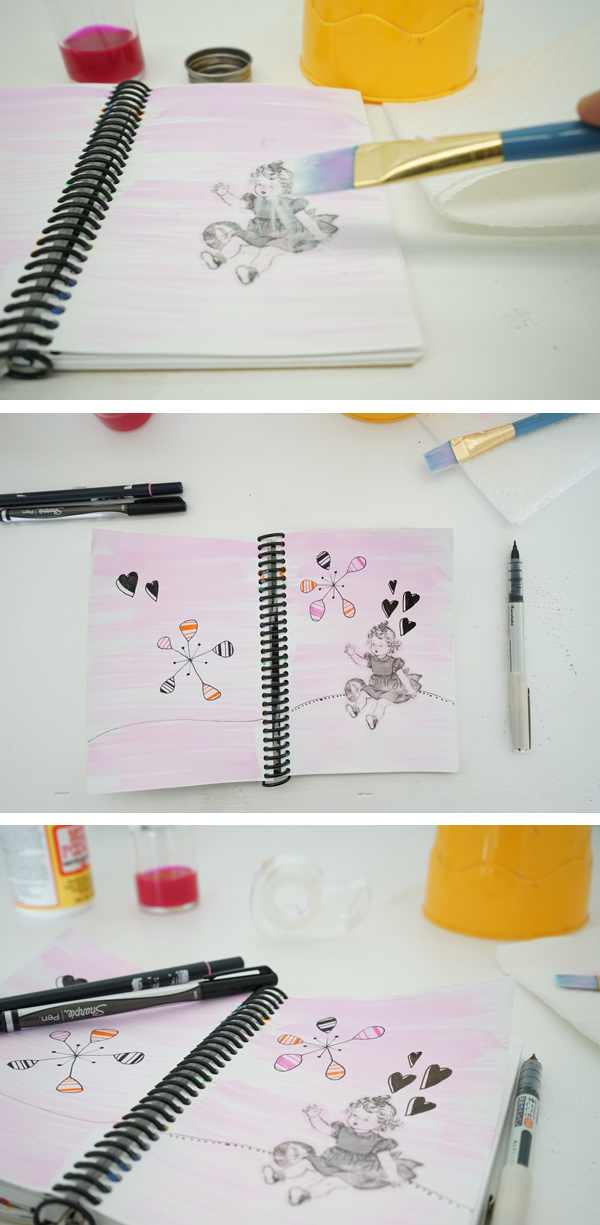
- Paint or decorate the background if desired. One of the nifty things about this process is that the see-through nature of the image will allow anything in the background to show through. Something to keep in mind!
- Decide where you want to paste the image.
- Paint a thin layer of Mod Podge, gel medium, or white glue to the paper. Place the image on top of it.
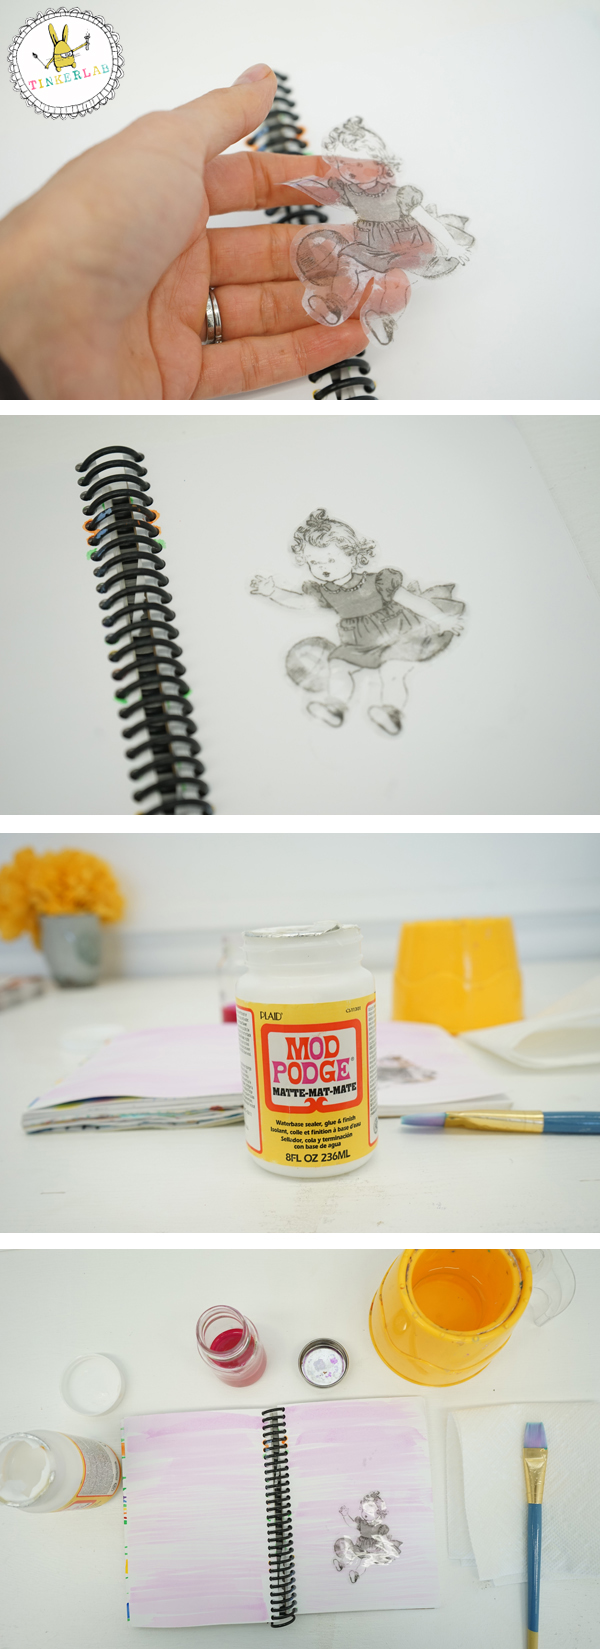
4. Final Touches
- Paint another layer of Mod Podge over the image to secure it well.
- Add any other painting, drawing, or images to the paper.


Thank you for your great tutorial. There are so many possibilities using this technique. I will have to try this out. I am off to pin this now.
I recently did this project with some 1st and 2nd graders in my after-school program. They loved it!! The staff loved it as well and the very next day another group worked on the Clear Tape Image Transfer Technique. Thank you!!
You’re so welcome, Danielle! It’s such a fun technique and I’m delighted to hear that it was a smashing success at your school.
tout simplement WoW!!
Thanks so much a lovely tutorial, simple and easy to follow. You could even take a photo, using a photo editing program and a sketch or similar type to change the style, then print on normal paper and then do this process. I wonder if you could use clear contact so you could do larger pictures or would the adhesive be to strong.
[…] Clear Tape Image Transfer […]