After seeing so much lovely colored rice all over my Pinterest feed for ages, it was high time that we created our own colorful rice. And you, too, can make your own colored rice for an afternoon of sensory play or for filling clear jars with layers of rainbow rice like you see here.
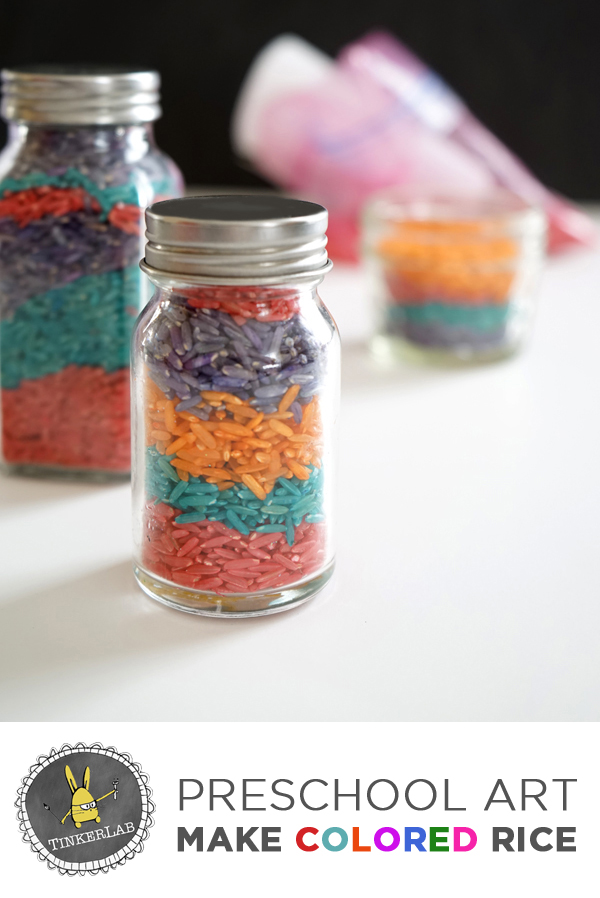
Why Colored Rice is Worth Making
- It’s a natural play material
- Kids love the sensory experience of sifting it through their hands
- It’s economical
- The supplies probably already live in your pantry
- Kids can help make it
- It can last a looooong time
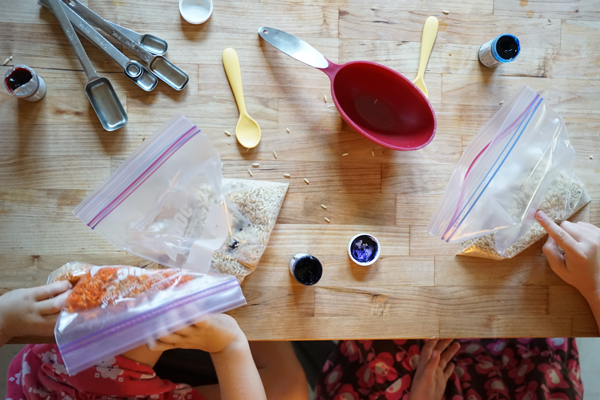
Supplies for Colored Rice
- White or Brown Rice
- Vinegar
- Food Coloring
- Zip-up plastic bags or bowls and spoon for mixing the colors
TinkerLab tips
Can we use brown rice?
We used brown rice for this activity, and the colors are still vibrant.
What’s the rice : vinegar ratio?
For each color that we made, we used 1 cup of rice and 1 teaspoon of vinegar. That’s the ratio that you’ll want to work with (or experiment — we encourage that too!).
But rice is Food!!
If you’re concerned about wasting food, check your pantry for old rice. That’s what we did, and low-and-behold, we had a bag that expired last year. Eeep. I wish we hadn’t missed the expiration date, but at least we could put that rice to good use!
Will my kids actually enjoy this?
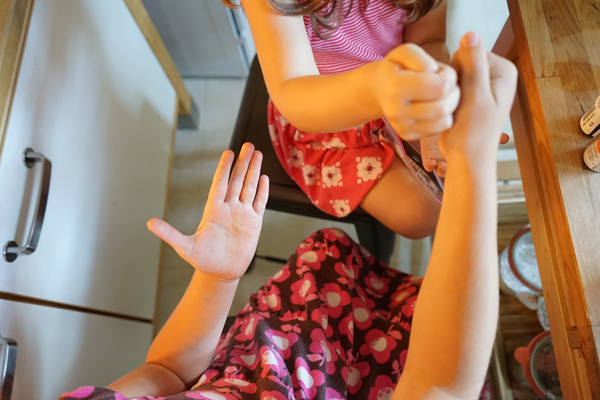
Yes, I bet they will! I try to get my own kids involved in all the steps of our projects, and they enjoyed everything from this ro-sham-bo face-off to decide who would make which color of rice to finally playing with their colorful creation.
If you’d like to make this recipe, simply click ‘Print” and you can save this in your recipe file.
- 1 cup White or Brown Rice
- 1 teaspoon Vinegar
- 1/8 + teaspoon Food Coloring
- Zip-up plastic bags or bowls and spoon for mixing the colors
- Fill a zip-up bag with 1 cup of rice and 1 teaspoon of vinegar.
- Scoop or pour about 1/8 teaspoon food coloring into the bag.
- Zip the bag shut
- Squeeze the bag and mix the rice all around until the food coloring is well distributed
- Add more food coloring to reach the desired color.
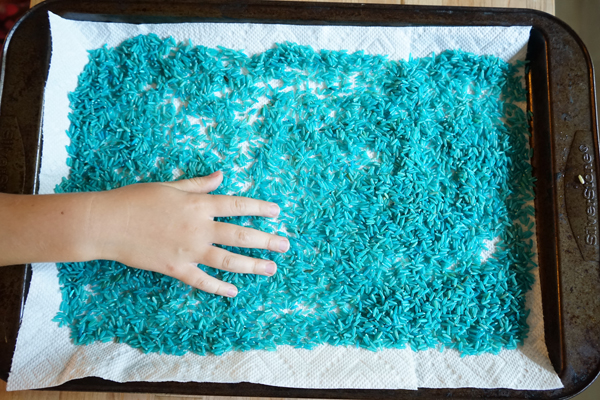
- Pour the colored rice onto a cookie sheet. Spread it out to expedite drying time. To absorb the moisture and help the rice dry more quickly, line the tray with a paper towel or towel.
- The rice take between 2 hours and a full day to dry, depending on your climate and humidity.
How to Make Colored Rice
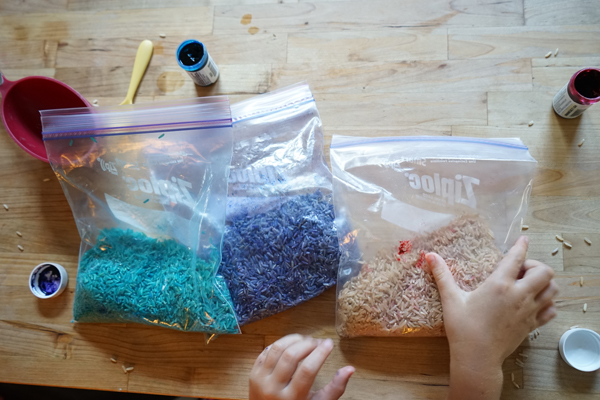
- Fill each zip-up bag with 1 cup of rice and 1 teaspoon of vinegar.
- Scoop or pour about 1/8 teaspoon food coloring into the bag.
- Zip the bag shut
- Squeeze the bag and mix the rice all around until the food coloring is well distributed
- Pour the colored rice onto a cookie sheet. To absorb the moisture and help the rice dry more quickly, line the tray with a paper towel or towel.
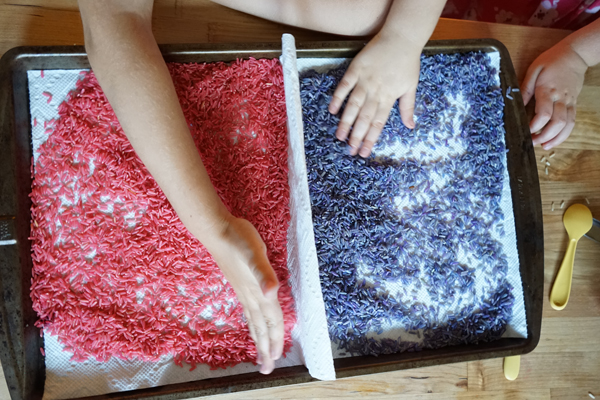
We ran out of cookie sheets, so we divided one in half by pulling a paper towel wall up between two colors. Our rice dried in about 5 hours. The rice will dry take up to 24 hours to dry, depending on your climate and humidity.
More Colored Rice
Check back tomorrow and we’ll share a Creative Table set-up using colored rice!
This recipe was inspired by Rainbow Rice via Happy Hooligans
Make a Fall-themed rice sensory bin, via Kids Activities Blog
Side-by-side comparison of dying rice with food coloring and liquid watercolors, via Fun at Home with Kids


Thanks so much for the shout out, Rachelle! Your rice is gorgeous!
Thanks, Jackie! And your recipe was super helpful.
Wow! What a creative idea! I like it very much. Use of expired rice from home is best and cheapest method and nice to encourage art skills of kids. Thanks for sharing with making recipe.
May i know this color rice is suitable for how many year old children
I can’t say for sure since each child is different. If you have a child who puts things in his or her mouth, you will want to supervise the child while using rice as a sensory material.
[…] An incredibly simple activity that gets their imagination going and incorporates calming sensory play. Just make sure you have the broom or vacuum near by 😉 * If you have the extra time, check out this super simple hack on how to make coloured rice. […]
A rice box is a great indoor substitute for a sandbox in winter. Yes, you will need a broom. I use a plastic box, the kind for under bed storage. Either sand toys or household stuff like plastic measuring cups are great. I also add macaroni alphabet noodles, dry, and dry beans like lentils for more colour and texture. It can go on the floor or the coffee table. The kids love it and it keeps them busy, so I love it too. I tend to cycle things so they dont get bored, so they are excited when it comes out.
If you are concerned about food waste, buy the equivalent food and put it in the food bank box – problem solved.
Hi Trish, Thanks for sharing your experiences with a rice box. Our readers appreciate hearing more ideas, and I do too! Your food bank donation suggestion is great!
[…] colours, such as red or green. These links for dying rice and pasta link to outside sources. Instructions for dying rice and Instructions for dying […]
[…] Sensory Bins– Sensory bins are typically used in our Toddler storytimes, but they are really fun for all ages! To make a sensory bin at home, you will need an empty container, preferably plastic. Larger is better for encouraging play, but Tupperware containers or mixing bowls can work well. Some of our favorite sensory materials at the library are dry rice, beans, and lentils! If you have access to vinegar and food coloring, you can use instructions online to dye the sensory materials different colors. You can find instructions for dying rice here. […]