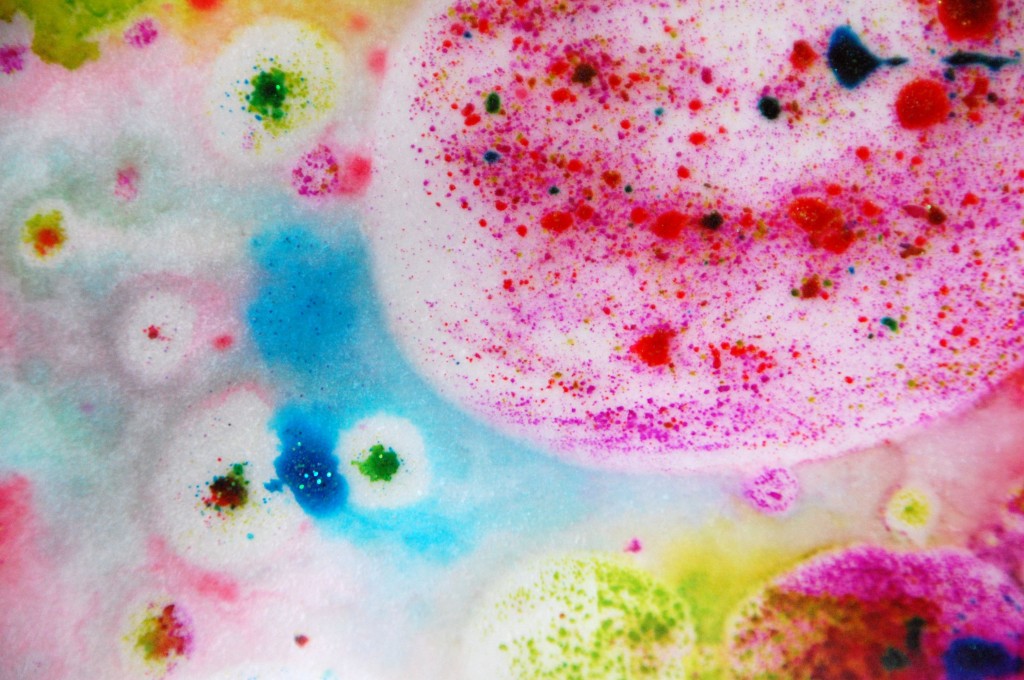
This is Painting Project #3 from last week’s series of painting experiments (Drippy Gravity Painting and Aluminum Foil Painting were #1 and #2), when we dug into three totally different painting projects in one hour. If you’ve been following me, you most likely know that my projects value process over product, but I can’t help but appreciate how freakin’ pretty these marbleized papers turned out.
Note: This post contains affiliate links for your convenience.
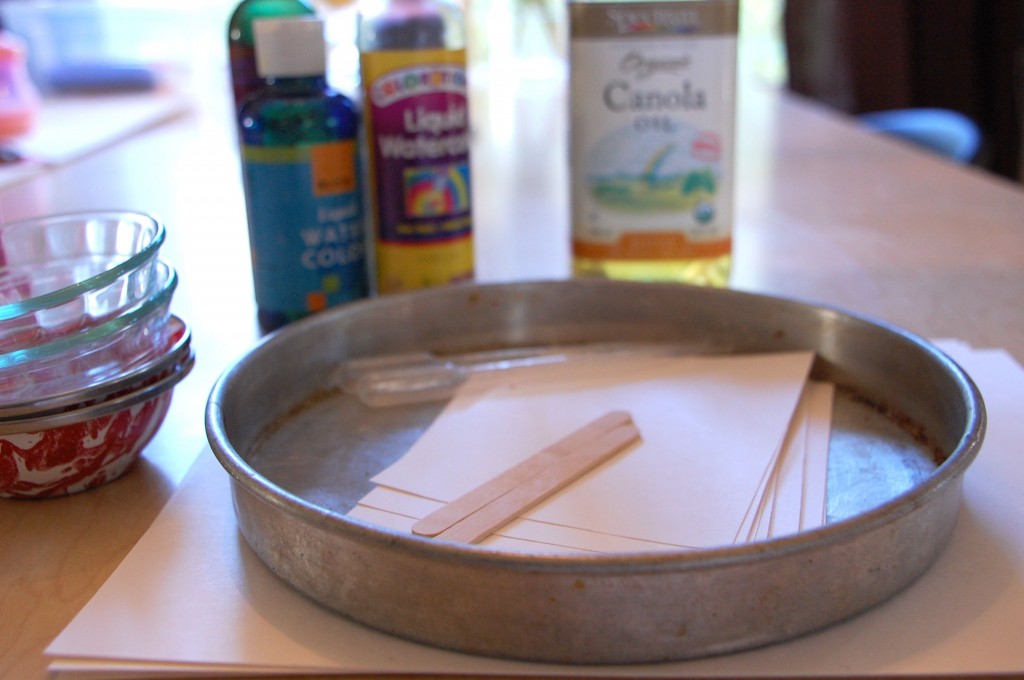
Materials:
- Pan. I used an old cake pan, but something that’s not too shallow will work great
- Small bowls or cups for mixing the paint
- Paper, cut to fit inside the pan
- Pipettes or eye droppers.
- Forks or Popsicle sticks (or something similar) to stir the paint
- Liquid watercolors or food coloring
- Vegetable oil
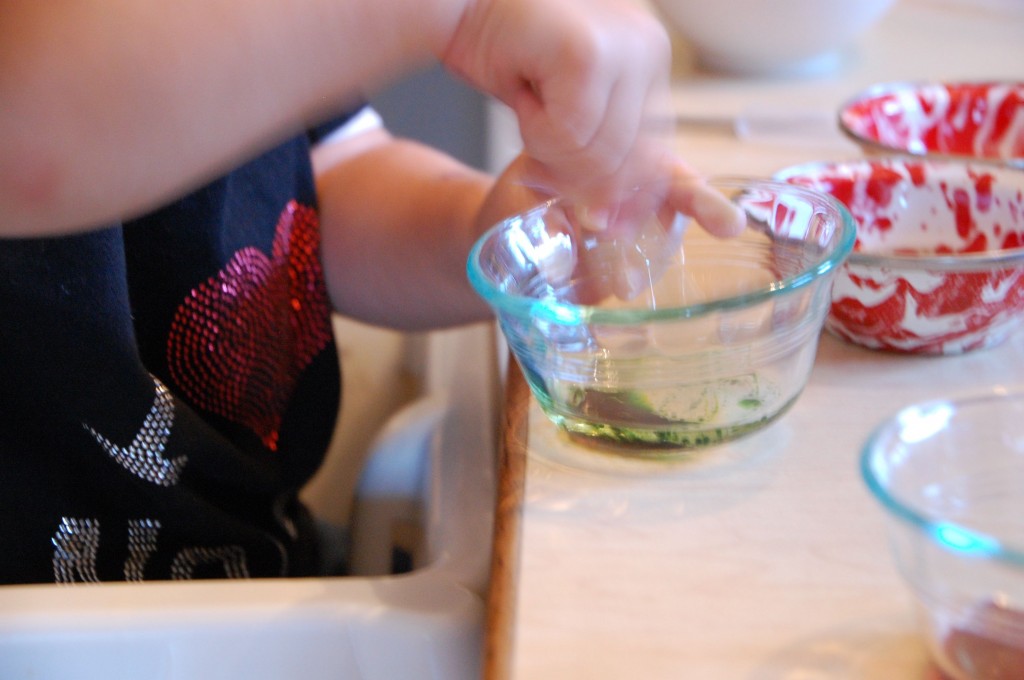
Mix 1/2 tsp. of oil with 1 tsp. liquid watercolor in each bowl. Whisk them up really well until the paint and oil appear to be one.
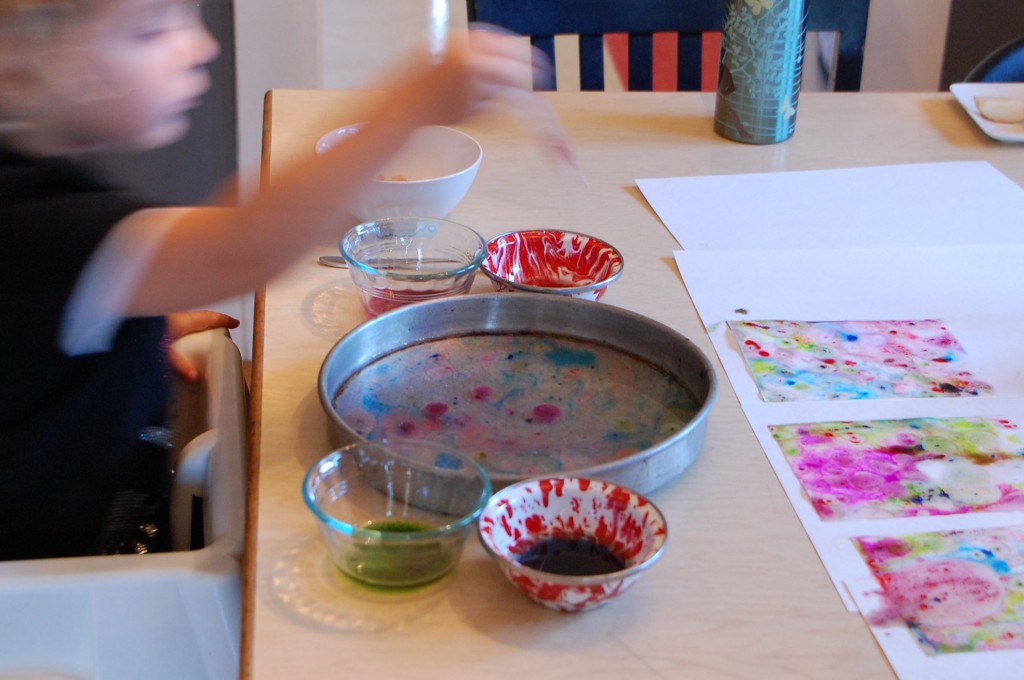
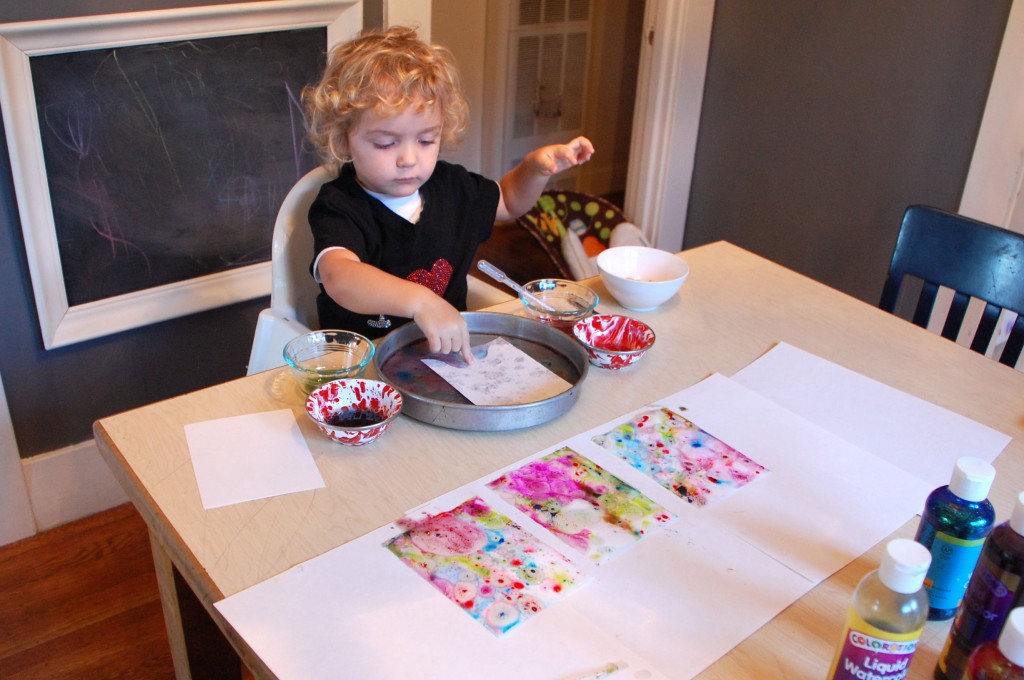
Fill the bottom of the pan with about 1/2 inch of water. Not too much or your papers will sink to the bottom. Squeeze some paint into the droppers and drop dots of paint into the pan.
Place a piece paper on top of the water, and then fish it out once it’s picked up some color. Experiment. Try out different color combinations.
Have a paper-covered table ready to absorb these oily marbleized monsters. Aren’t they pretty? Or at least pretty cool? We ultimately made about 25 of these before running out of paint and steam. My 2.5 year old was done after about #18 (the process moves fairly fast once you’re set up), and I pulled the last few out.
They’re really oily to begin with, but fully dry in about a day. I used 80 pound sulfite paper, which curled up on the edges. If you want to achieve a flatter final product, try using watercolor paper or something on the stiffer side.
If you’re new to process art and want to learn more, click over here next ⬇️
More Art Projects for Toddlers
For more toddler art projects, you may enjoy the easy-to-set-up activities that use mainly everyday materials in 12 Simple Art Projects for Toddlers.
If you’re new to process art and want to learn more, click over here next ⬇️



I just found your blog from Artful Parent, and I love your simple ideas. My 2 yr old and 7 yr old will love trying this.
I’m so glad you’re here! Look forward to hearing how it goes 🙂
I keep meaning to try this. You could use them as endpapers or covers for handmade books–one year my kids and I made simple handmade books as Christmas gifts, with their artwork on the covers.
Oh, that’s a great idea!
Ooh, that is a fab idea. I’ve always wanted to do marbling with the kids, but have never quite known how to attempt a child-friendly version (without all the equipment usually required). I think they’d be great on the front of Christmas cards or gift tags 🙂
I agree Catherine! These have Christmas written all over them.
we’re totally going to have to try this again with all of your helpful tips! when we did oil marbling a while back, it didn’t turn out so great. witness:
https://www.paintcutpaste.com/oil-water-marbling/
though marbling paper with shaving cream and liquid watercolors was a dreeeeam:
https://www.paintcutpaste.com/marbled-paper/
thanks for the inspiration!
Hi Jen! The shaving cream marbling look like a ton of fun, and I bet that N would enjoy that too. Thanks for sharing the links! (and your marbleized paper doesn’t look so bad!).
I love this idea!!! We did marbling with shaving cream and LOVED it! http://childcentralstation.blogspot.com/2010/05/marble-prints.html
We will be trying this soon :).
oooh, shaving cream would be a fun addition to this activity. look forward to trying that !
We finally got around to doing this project this morning and it was a hit! Adam had a great time squeezing the paint into the dropper and then into the pan. (I think he would have been happy with just that part of the project!) Then when I introduced the paper, he was even more excited! ha! All in all, a really fun project. Thank you!
Diana! I’m so happy to hear that Adam enjoyed this. xo
Thank you very much for this idea, I tried it with my kids and they loved it – http://bedtimemonsters.blogspot.com/2011/01/things-to-make-marbleized-paper-w-oil.html
Awesome! Thanks for the link, Darcy. It’s great to see how much you and F enjoyed this project. I also had to whisk like mad to get the colors to blend nicely. And even then, it was still a little off 🙂
EXCELLENT!!! When we have some time for clean up and space to layout, I am so excited to try this!!! It’s one we actually HAVENT before! Thanks for the ideas!
I tried this with my class of four 2 year olds and we had a great time. I cut up paper grocery bags to put under them and they absorbed the excess oil really well. We used white construction paper and they were dry within 2 1/2 – 3 hours.
Great blog! Thanks for posting 🙂
[…] is one of the prettiest crafts for toddlers that we’ve seen! Finished artworks can be put on display, or used to make greeting cards or […]