Anybody else struggling with what to do with all of their kids’ art?! 🙈
It seems like no matter how many walls a house has, there will always be more art than there are places to display it, especially when your kid is churning out page after page of creative experiments and explorations.
Here are 7 easy ways to honor your child’s creative journey without taking over the living room walls:
Note: this post contains affiliate links.
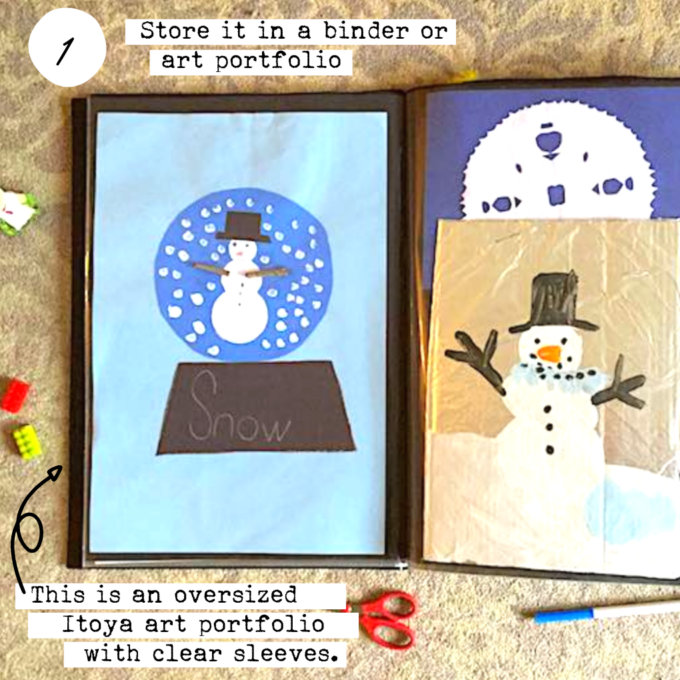
1. Put it in a binder
Create a binder for each year, and enjoy traveling down memory lane for years to come. This option is great for teachers and parents!
My favorite is the 11 x 17 Itoya Art Portfolio, shown here. The 48 oversized pages allow for larger work, and the clear archival photo sleeves keep little pieces together and keep the work in great shape.
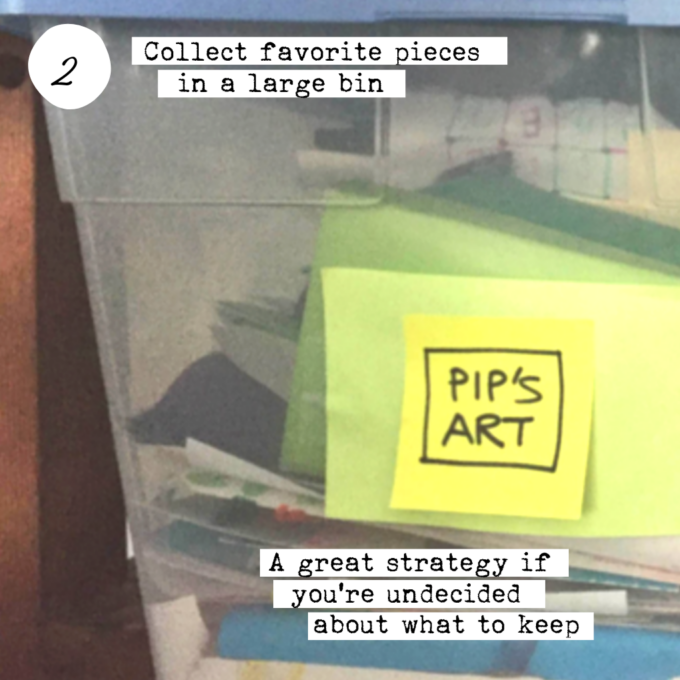
2. Collect favorite pieces in large bins
This is an especially great tip for little inventors and makers who enjoy building in 3D or creating masterpieces larger than a single sheet of paper.
Get an air-tight bin like the Sterilite 64 quart with snapping lids.
3. Turn it into a collage
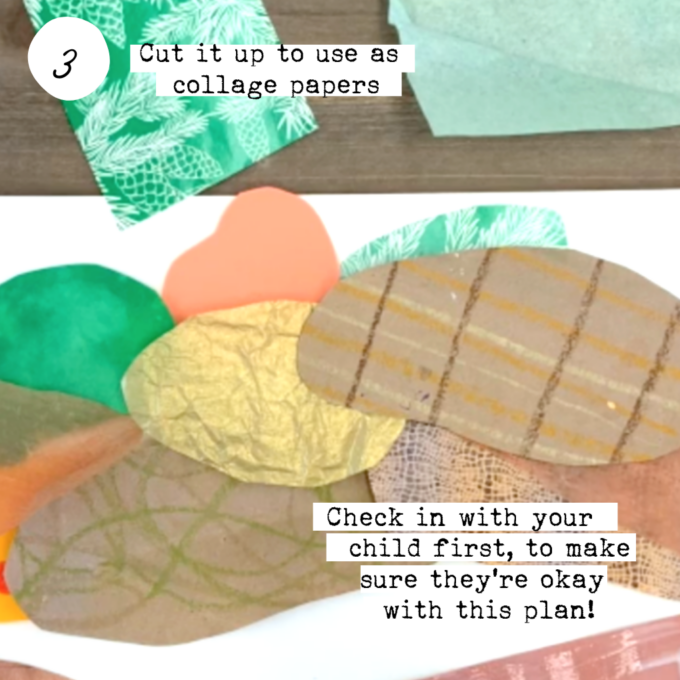
This is especially great for younger kids who seem to fill 5 pieces of paper before you’ve even sat down! Keep the creative wheels spinning by turning their art into even more art! Make sure they’re on board with this first, of course.
You may be thinking, sure Rachelle, I get this, how do we actually turn the old art into a collage? I’ve got you covered with two easy ideas:
- Make a Landscape Collage (shown below)
- Collage Hearts (these are one of my personal favorites, and an awesome idea to save for Valentine’s Day).
4. Create a decorative garland
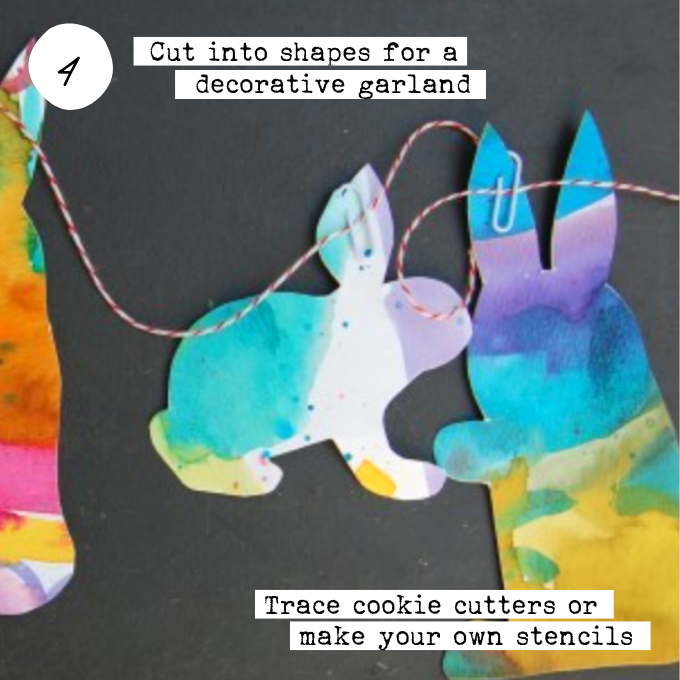
Use cookie cutters or DIY stencils to trace and cut the artwork.
Then, connect it to a string with paperclips, staples, or by punching holes to create a truly one of a kind decoration.
You can do this with old art, and this can also be an intentional 2-step process where you make the art to make the garland.
- Step 1: Have fun exploring and experimenting with watercolor paint.
- Step 2: Cut the paintings up to make Bunny Garlands or something similar.
5. Rotate art in large frames
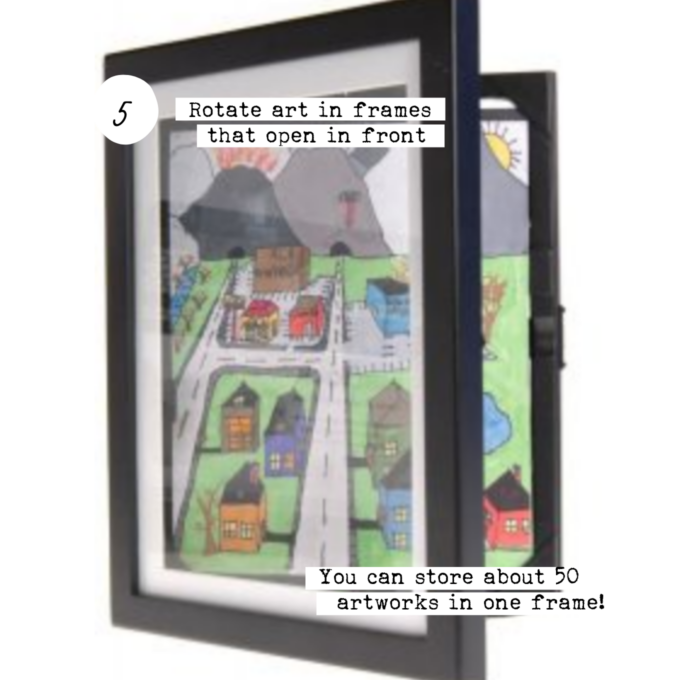
Find a frame that opens in the front to easily update as your child creates more and more artwork.
This 10″ x 12.5″ frame from Americanflat comes in multiple colors to match any decor, and can hold over 1/2″ of art inside.
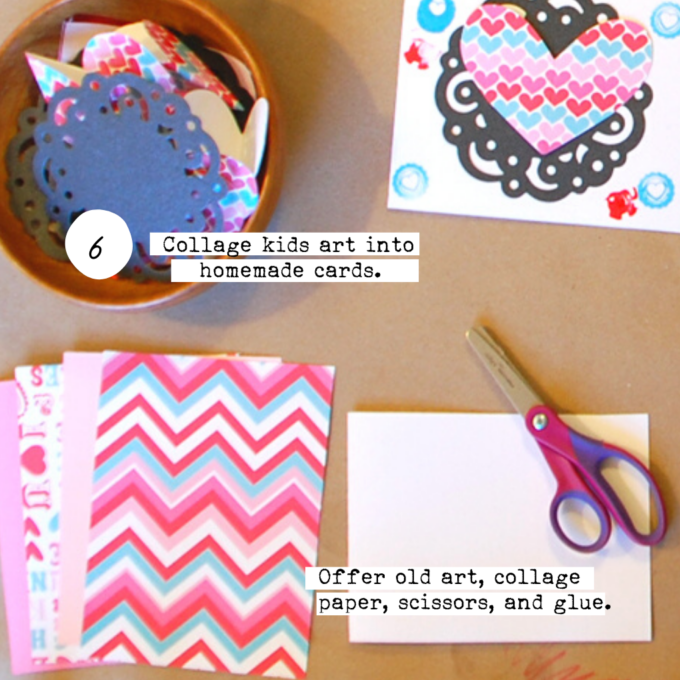
6. Repurpose kids art into homemade cards
From birthday parties to thank you cards, there are so many opportunities to give cards. Try this tip to both save money and give old art a new life.
Hop over here to get inspiration from these 40 homemade card ideas.
7. Clear space and recycle old art
As a sentimental person, this one is the hardest for me, but it pays off because as much as I love their art, a home filled with clutter isn’t going to make me happy either. The truth of the matter with kids art is most of the time it’s created in the spirit of process over product. In other words, kids enjoy making the art, but don’t have expectations that it has to be held onto forever.
Read The Complete Guide to Process Art with Kids for more on this topic.
My strategy is to keep favorites and milestones and cull the rest. If I’m still attached but need to let things go, photos of the art can easily solve that problem. I’ll even get my kids involved with the process, and it’s eye-opening to see how detached they can be from their own creations. This is a great reminder that it really is all about the process.
If you enjoyed this post, you can get more ideas for bringing more creativity into your family’s life by joining the weekly TinkerLab newsletter. It’s free and delivered with love.


