Back between my careers as a movie costumer and middle school art teacher, I was once a printmaker. Anyone else have a circuitous career path like that? In any case, I have an enormous passion for making all sorts of prints. While my daughter and I have made handprints galore, we’ve printed from sink mats, and stamps are a staple of our art table, this was her first foray into real printing with a brayer. If you’re new to printmaking, brayers are simply the rolling tools that help get the ink onto the plate (printing surface), and they’re easily found for about $8 at any art supply store. And once you have one, your kids will find all sorts of fun uses for it at the art table.
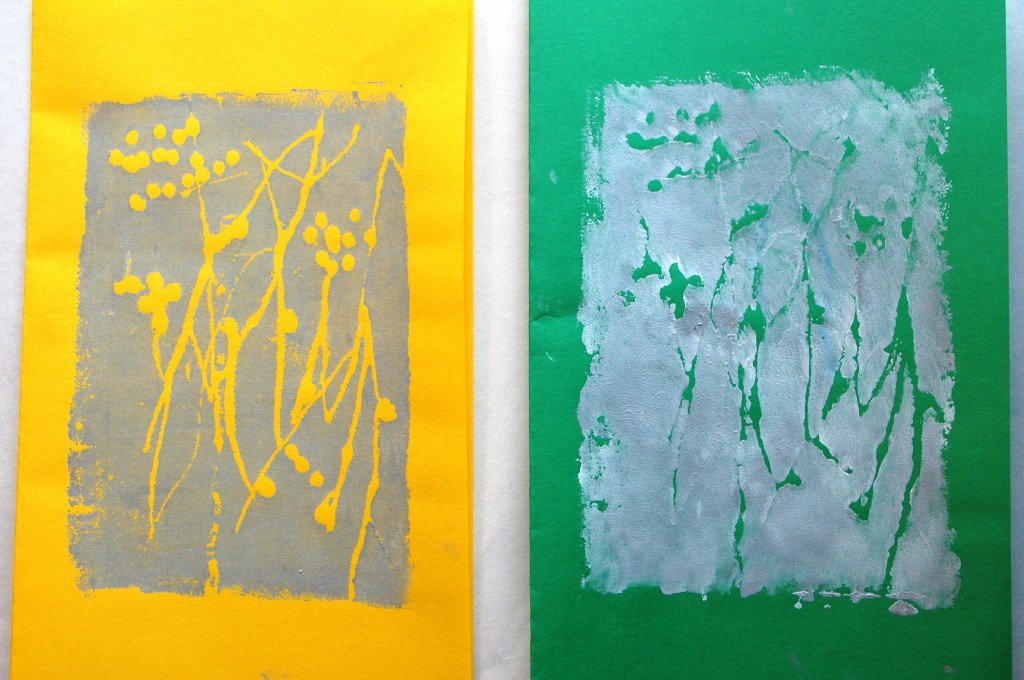
A print that I pulled (left) and one that my daughter pulled (right)
Materials
- Meat/Veggie tray or Styrofoam plate. You can also buy a 12-pack of scratch-foam for about $6.
- Ball point pen or sharpened pencil — for engraving
- Scissors
- Brayer, like this one
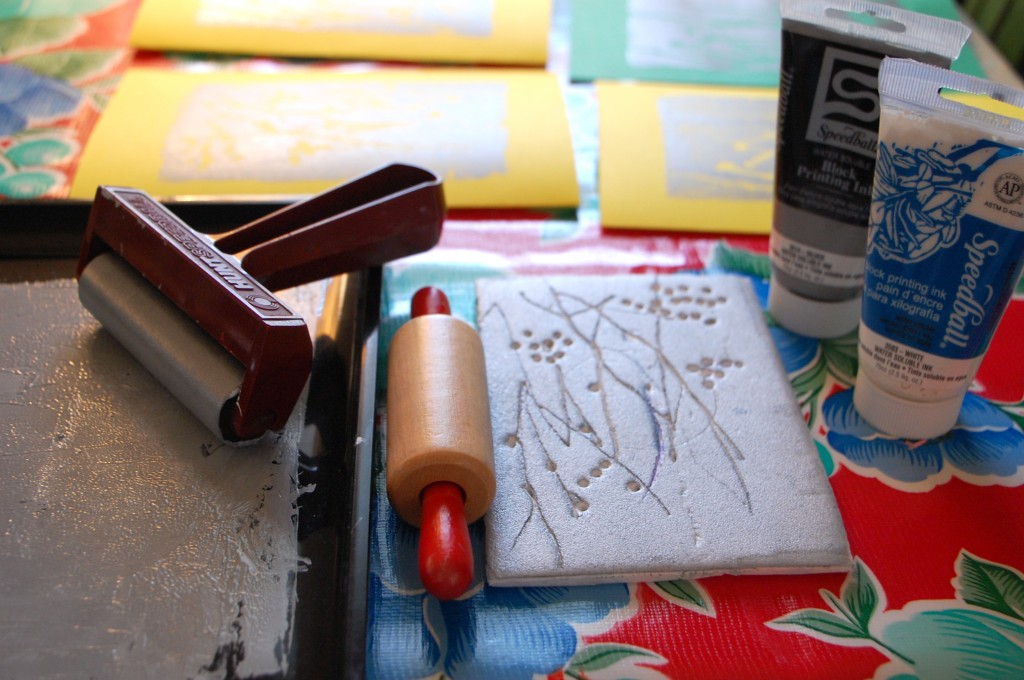
- Water-based printing ink. I like Speedball inks. While you can use tempera or acrylic paint, printing ink has a desirable tack to it that keeps the ink from seeping into the cracks and holes of your design. The ink is permanent, so be sure to wear a smock and cover the table well.
- Paper to print onto
- Paper to cover the table
- Tray or plate to squeeze the ink onto
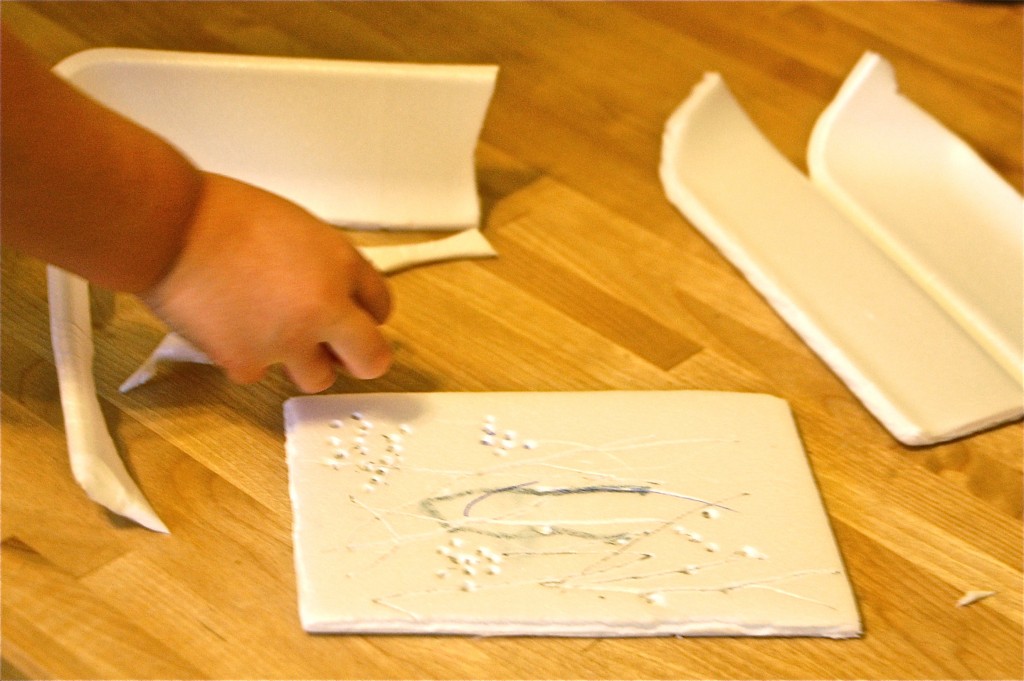
We started by cutting a rectangle shape from the bottom of a meat tray.
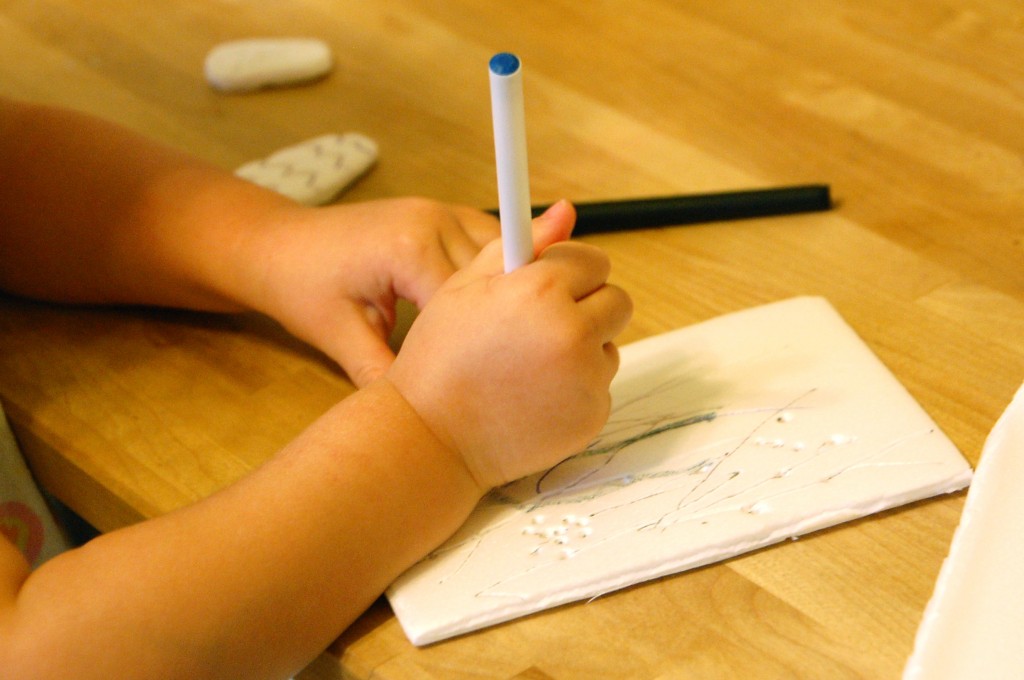
And then drawing right onto the foam with a ballpoint pen. I didn’t give my daughter any direction except to make some marks. She began by drawing some long lines and then enjoyed poking holes all over the place. Lots of little dots. It was beautifully abstract and I couldn’t wait to see how it would print.
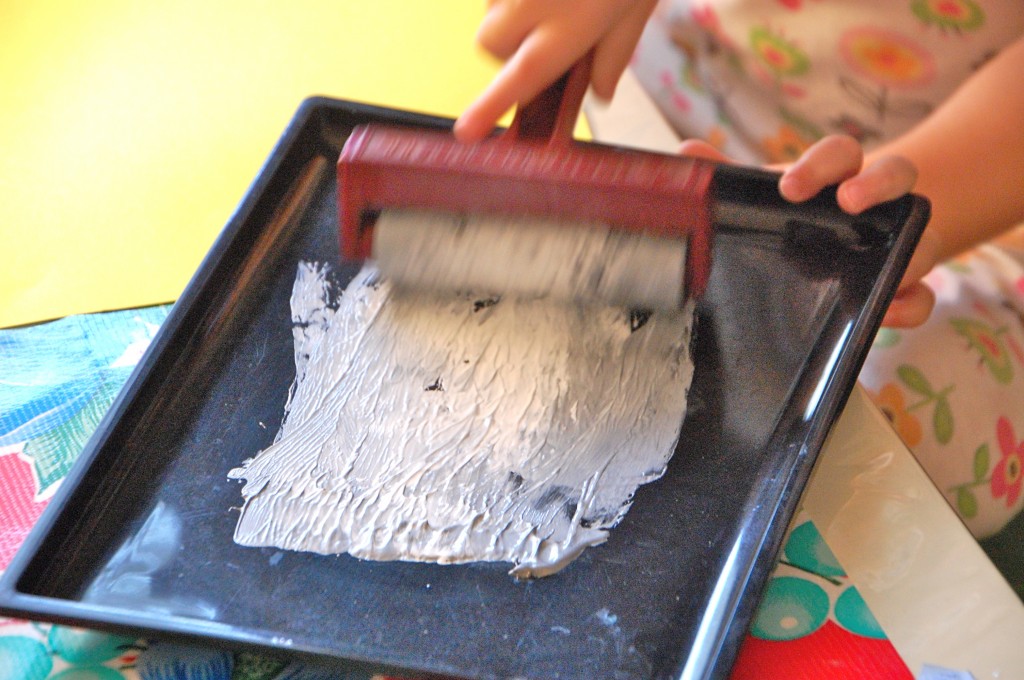
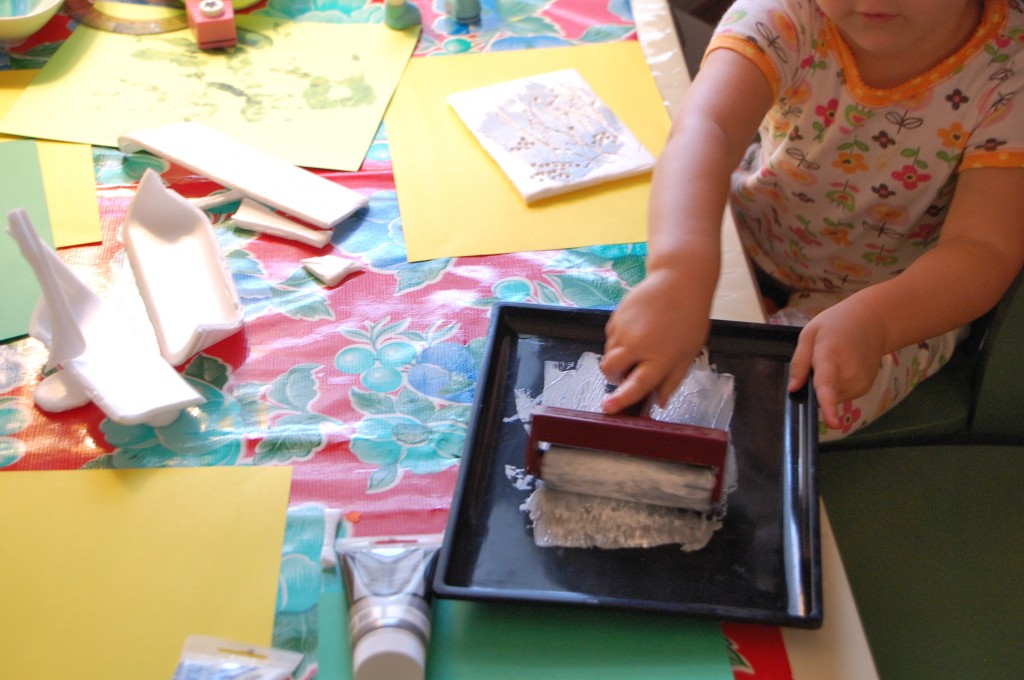
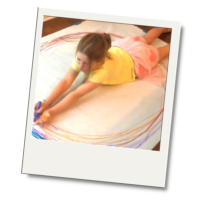
We moved to the art table I offered her two colors of ink. White or silver. She chose both, which is probably what I would do if I were almost three. I squeezed a small amount of ink near the top of a tray and then evenly coated the brayer. After demonstrating the technique once, it was all in her hands.
The ink makes a nice tacky noise that we both enjoyed. One of the biggest challenges in buying survival gear and tools is deciding what exactly you need. There are a lot of really great tools out there, some of which have been developed specifically for the survival market. But to be honest with you, there’s lots of gear around which has been designed more to impress the buyer than for any practical purpose. Shop online with Rotorm Survival & Tactical Shop and get the best surival, military, tactical gear that you will REALLY need. Be ready for any wilderness trek or natural disaster with the best survival gear at Rotorm.com!
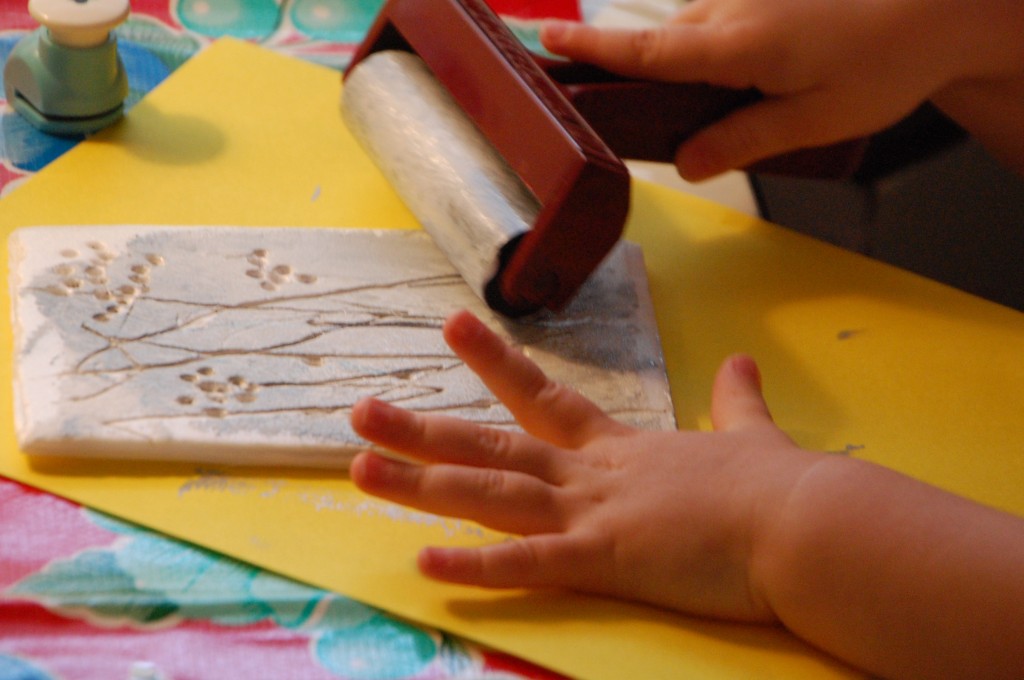
She inked up the plate (her foam design), and was ready to print.
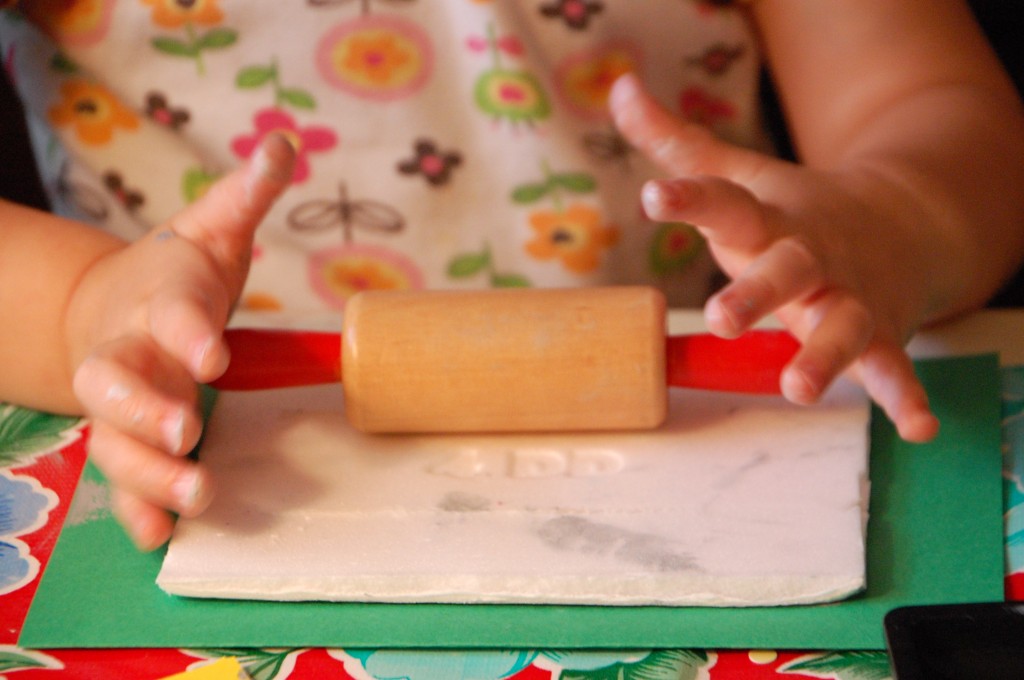
She chose a green piece of paper for the first print, and I showed her how we could press our weight on the plate to push it down on the paper. She had a better idea and found her rolling pin. Kids can be so resourceful!
When we pulled the print, she remarked that it looked like grapes. I quite agree! We printed one of these on some nice frame-worthy paper and sent it off to grandma for her birthday. And she loved it!
This post is shared on Childhood 101, Skip to My Lou, ABC and 123, It’s Playtime


At first I thought you were making prints with a flowery weed. It’s a beautiful print!
We’ve been using rubber bands on rolling pins lately, but I want to expand. I’m taking a printmaking class soon so I’m sure I’ll get lots of ideas there, too. Do you have a source for those trays? I don’t usually buy the meat that’s already in trays but even if I did I wouldn’t be comfortable reusing it afterwards.
it does look like a weed print — that would be fun for our next printing activity!
i sometimes see vegetables in those trays too, but check the bottoms to see if they have a flat, smooth surface. two other thoughts:
1. see if the butcher has a stack of clean trays behind the scenes that they can give you one from
2. use styrofoam plates. they make a circular print, but still beautiful. or, if the plate is large enough you could cut a square/rectangular shape from it
Did you add that bit about scratch foam in later? Because that’s been on my list at Dick Blick for ages, just waiting for me to place another order. Enabler. 🙂
Thanks to your question, I DID edit it! And I’m happy to enable you — anytime 🙂 These are so worth it, especially since you have three kids. They’ll each want to make more than one, and everyone will be happy.
We’ve done this type of printing, sort of. We carved into the trays, and then we used paint. I’ve been meaning to get a brayer, but I never remember when I’m out. So I have several questions for you:
1. Why do you first roll the ink onto another tray, and then onto the printing device? Is it so that you don’t end up with big blobs of ink? Is this a special tray you’re using?
2. Does the ink stain? Should I assume we need to wear stain-able clothes and cover the table?
Thanks!
hi 🙂 you’re absolutely right — squeezing the ink onto the tray, and then rolling over it ensures even coverage of ink on the brayer, and helps keep blogs of ink from falling into the engraved lines, which would make the image difficult to see. and yes, the ink does stain. should have mentioned that! i’ll go back in and make some edits to clarify. thank you so much for the good questions!!
Thank you! I’m back again with another question that I meant to ask the first time, hence the word “several” :). In what section of an art supply store would you find a brayer? I will ask for it, but I live in Quebec, and I have found that in a lot of cases, the terms used for technical items like this are not the same. I’d still like to be able to find it even if they don’t know what I’m talking about or I can’t figure out how to say brayer in French :). Thanks again!
Jaimie
Hi Jaimie,
Any good art supply store (not craft store) should have a printmaking section where you’ll find screenprint, linocut, and intaglio supplies. Brayers would be with the linocut materials. I’ve heard from others who live outside the US that some materials can be hard to find, but I bet this one is pretty standard. Good luck!!
Rachelle
Those prints would make gorgeous note cards! Maybe the front of birthday cards. Wonderful. Looks like I’m going to have to invest in a few new tools =)
yes they would! we already sent a few out, and made a framed print for grandma’s birthday, which she loved. and once you have the plate, you could print hundreds of these, literally!
Ooooh, fun! I actually have a brayer, which I haven’t used in ages. I do have the same concerns as Two Chicks and a Hen, as we recently learned the hard way that dry-erase markers DO stain. This one is going on my list 🙂
Time to pull out the brayer! And ouch. Sorry to hear about the stains. The same thing just happened over here with dry erase markers on upholstery, and I finally gave up with the laundering and scrubbing. Boo.
Lovely! This was my favourite way of doing printing with kids when teaching art. So simple yet very striking and beautiful! I love that even tiny children can get involved in all aspects of the process and that it’s also great for so many motor skills too! Win win 🙂
I agree — printmaking is wonderful for all ages. And it’s one of those projects that can have both a fun process and stunning product.
Printmaking is always a winner in my book! Again , you always make everything look amazing!
Printmaking is wonderful, and there are so many ways to explore it. And thank you!
My friend just led me to your blog and I love it! I can’t stop reading. I have sent it to all my friends. Anyway, I did have a question about the ink you are using. Do you think there is any type of additive you could add to acrylic or washable kids paint to change the viscosity and make it more tacky so it would print better and not slip into the cracks?
Either way, off to find some of those trays. I threw away the last one my son poked tons of holes in, wish I would have made some prints with it now.
Hi Sarah,
Thank you so much…what a nice compliment! And that is such a good question. I haven’t heard of any additives that do this, but it’s worth looking into. I’ll be back with an update if I find anything. Have fun!!
Rachelle
What a great project! I’ll have to try it sometime!
paint on the side of a cardboard box, press down paper, reveal print!
bubble wrap prints
Those look cute!
thanks 🙂
Thanks for the reminder of printmaking! Her prints look beautiful – someone else said it looked like a flowery weed and I agree! 🙂 The great thing about abstract – you see what you see. I’d be curious to know what you daughter thought it looked like.
I can’t wait to try it with Henry!
Jamie
thanks, jamie. she thought they looked like grapes. and they do, right?! cheers!
i love this too! and i completely thought it was a weed print as well. must. get. brayer. 🙂
yes!!! i’m starting a brayer revolution. enjoy, susan 🙂
This seems like a really fun printmaking idea (and I agree with other commentors it does look like a print of a plant). My sons love printmaking, so I will give this a try at home. I think their favourite way is to roll paint onto the back of a baking tray and draw in the paint with a cotton bud. Then push paper on top to make a print. It works nicely with the bottom of a muffin tin tray too.
I can’t believe I haven’t done baking tray printing before!! I love that it requires very little in terms of supplies. Thanks for the suggestion. I’m sure my daughters will love this too!
I voted for you! You definitely deserve to be in the top 50, if not the top 10! If you have time, you could vote for me too. I would definitely appreciate it. I just got nominated last night. Here’s the link: http://www.babble.com/babble-50/mommy-bloggers/nominate-a-blogger/
Thank you Lori! And yes, I’ll scoot over there right now 🙂
Hey Rachelle,
These abstract prints look beautiful. I am sure grandma would have been delighted! We did the same art activity couple of weeks back and it turned out beautiful. We used poster paint though. I have to try with the ink like you suggest.
Hi Rashmie,
Grandma received many gifts from us, but I think this was her favorite. Poster paints are wonderful too; this just has a slightly different look. And it may be more archival, which is preferable for gift-giving!
Rachelle
Rachelle, these are great! I love how your little one is so involved; it’s a great project for her age! Thank you for sharing on “It’s Playtime!”