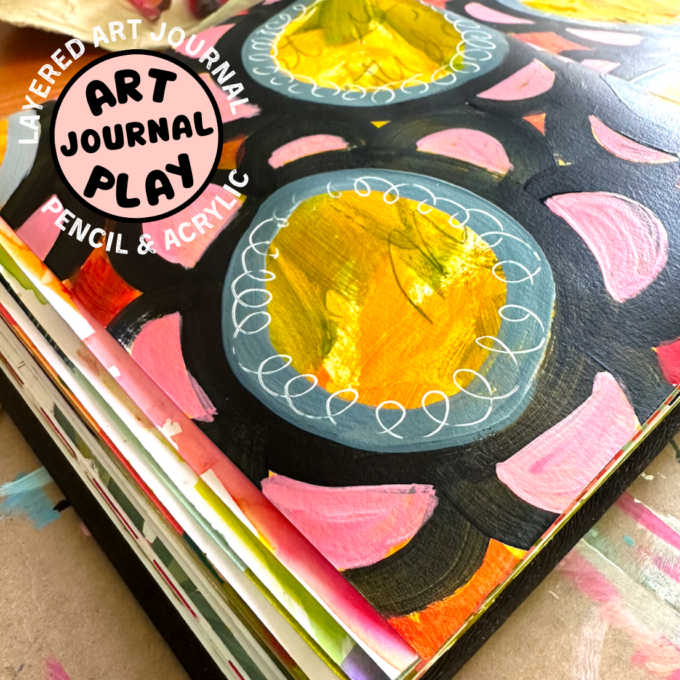
Starting my day with a playful layered art journal exploration can set a positive and creative tone for everything that follows.
I’m a big fan of keeping a sketchbook for these daily musings, and I invite you to follow along if you could use a quick dose of art inspiration.
Your art journal can be a place to capture thoughts, sketches, feelings, and creative tests.
Today, I’ll guide you through a simple, 20-minute exercise using pencil and acrylic paint to create layered art in your journal.
This process is all about flow, intuition, and the joy of making.
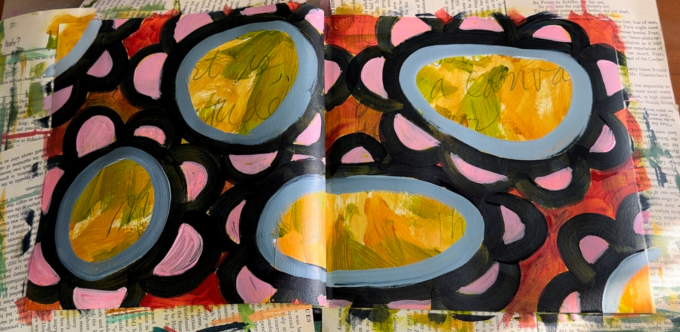
For this Art Play exercise, I wasn’t sure where I was heading, but this where I ended up in the process…
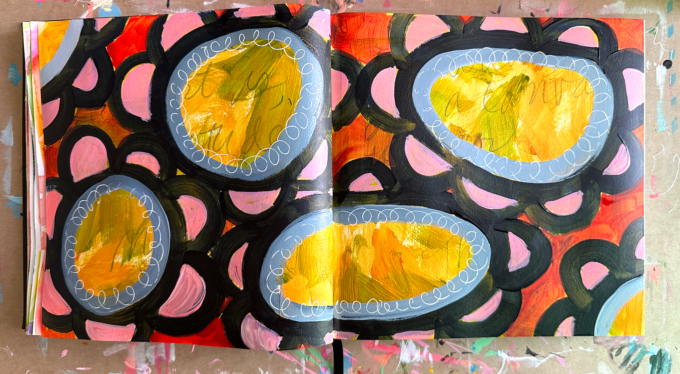
I want to be clear that your outcome will likely look wildly different from mine. There will be a few choices to make along the way in terms of colors, shapes, and layers, as you follow your creative intuition.
I also want to share that the intention is enjoy the process, not to create a stunning outcome. Of course the outcome might be the best thing ever, but please don’t make that your goal. Just see where it goes.
Think of this like going to the gym for a morning workout vs. running in a 10K race: you can go at your own pace, try out some different techniques, and no one will be judging your results.
Materials:
- Pencil – Blackwings are my favorite and a gorgeous splurge
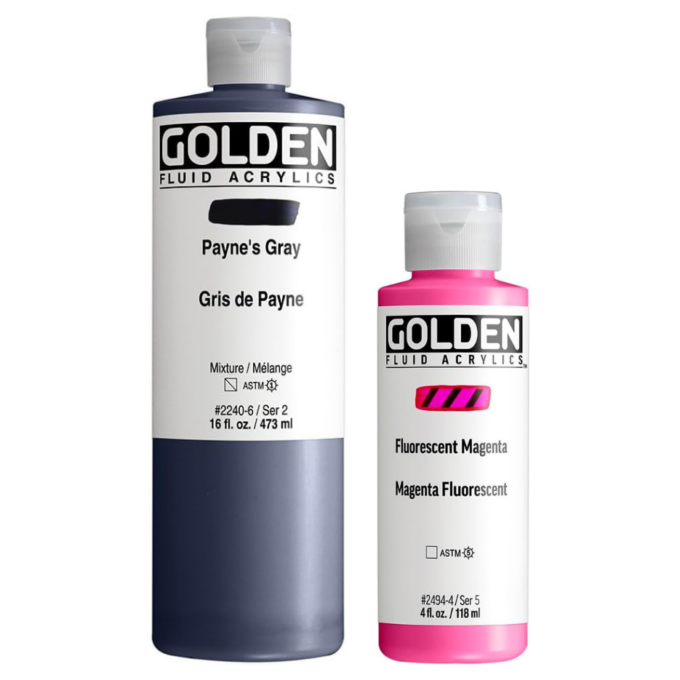
- Acrylic paint – My favorite is Golden Fluid, it’s not inexpensive but a little goes a long way (see below)
- Paintbrushes
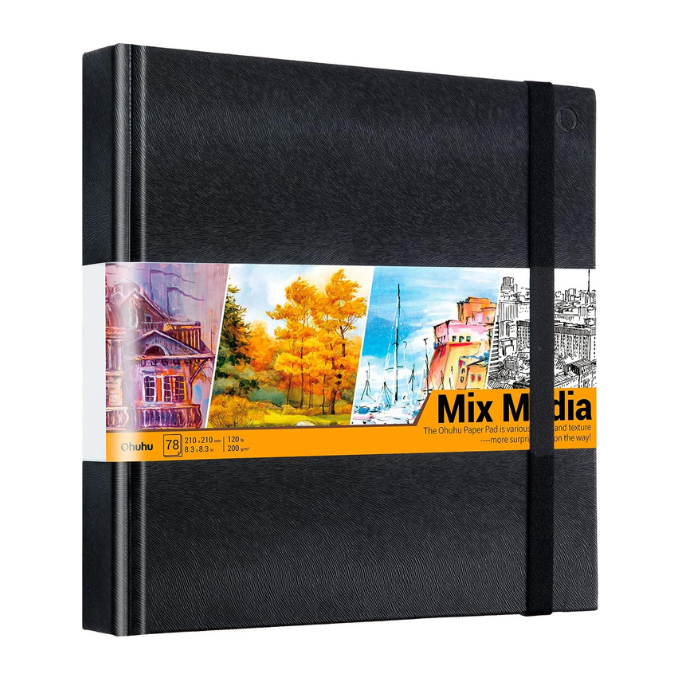
- Your art journal or any heavy paper suitable for watercolor – – see one of my favorites below)
- Paint markers or a permanent pen (optional)
Before you get started, you might want to place scrap paper under the edges of your pages. This will keep paint from seeping down to other pages in the art journal
Step 1: Start with a Quote
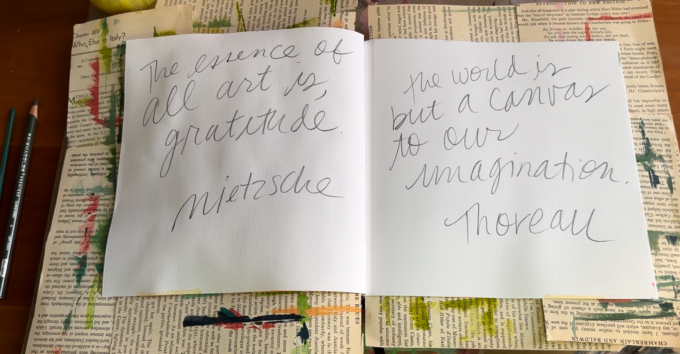
Begin by selecting an inspirational quote or personal mantra that resonates with your current feelings or goals.
Draw this with a pencil. Most of this will get covered later.
This step serves a few purposes:
- It carries your thoughts or intentions for the art session
- I will subtly influence the layers that follow
- It breaks up the daunting blank page
Step 2: Add a Layer of Acrylic Paint
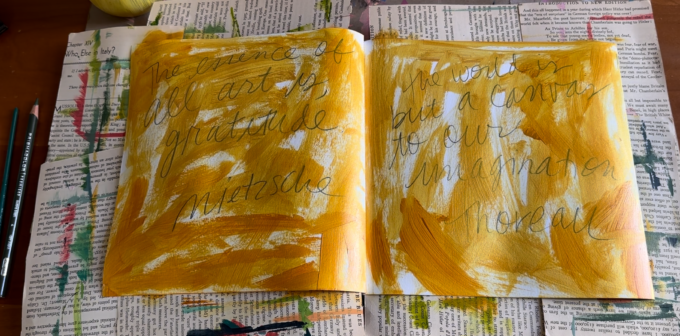
Choose a color that you’re gravitating to today for your first layer of paint.
It can be something you don’t normally use or a favorite color.
Keep in mind that a lot of this color will get covered by subsequent layers.
Apply it over your penciled text in a way that allows parts of the words to peek through. The color I chose was transparent and the words were still legible.
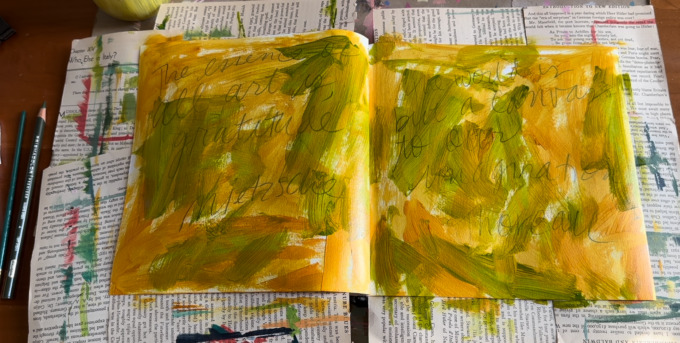
Add another color if desired. This is so messy and looks awful, but it was honestly so fun to do. Really let yourself go at with painting abandon.
Step 3: Create Shapes
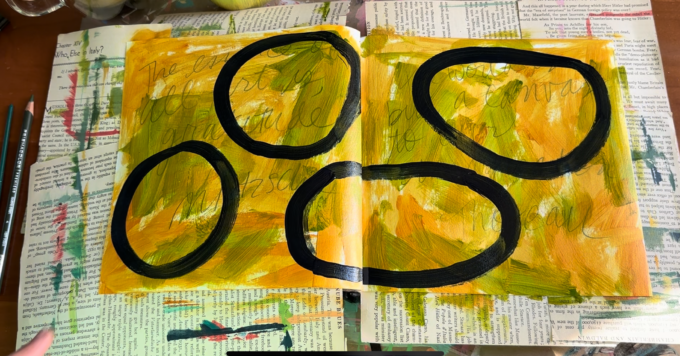
Choose a contrasting color and paint shapes next. It could be a dark color, white, or a contrasting color to the bottom layer. Something that shows up.
You might choose geometric forms or more organic shapes like the ovals shown here. It all depends on what feels right in the moment.
I used Payne’s Grey (a very dark grey with a navy blue tint, and new favorite color) for the ovals.
Allow some space around each shape so they stand out.
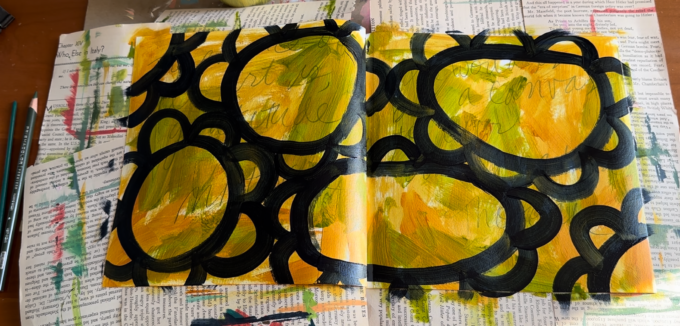
I liked the ovals, but was compelled to turn them into flowers so I went with it.
Step 4: Contrast with a Second Color
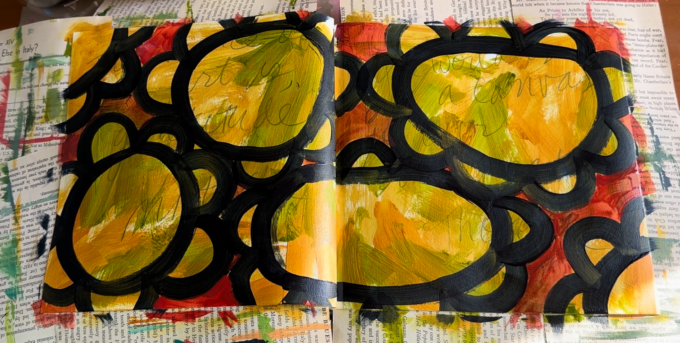
Now, select another color to paint around your shapes.
I used Hot Pink mixed with White and Payne’s Gray.
This creates visual contrast and lets the initial layers show through within the confines of your shapes.
Plus it’s fun 🙂
Step 5: Additional Details
If you’d like, and you have the time, add more layers of paint to fill in open areas.
To get there, look at the page, step back if you need to, and listen to what the painting is telling you to do next. Seems mystical, but it’s mainly an exercise in following your intuition.
I added pink to the petals and blue inside the ovals.
Don’t worry about what looks good and what doesn’t, just go with what’s in your mind.
Once you’re happy with the paint layers, use paint markers or a permanent pen to add lines or define the edges of your shapes.

This step is great for emphasizing certain elements or adding final touches.
Last thoughts…
The beauty of this exercise lies in its simplicity and the ability to be present in the creative process.
There’s no need to aim for perfection or a gallery-worthy final outcome. Think of this like doing reps to build strength.
Focus on the act of layering and how each layer contributes to a whole. This practice encourages relaxation, mindfulness, and play.
As you add quick art techniques into your daily routine, you’ll find that not only are you fostering your creative skills, but you’re also building a habit that makes life brighter.
Set up your sketchbook and materials tonight, get up a little earlier than usual tomorrow, and give it a try.

