Making Terrariums so SimpleToday I’m joined by my friend and colleague, Amanda E. Gross, who I’ve had the pleasure of working with at the San Francisco Children’s Creativity Museum. She has an incredible eye for all things related to creativity and kids, and today she’s here to share some tips on how to make a terrarium. I’ve wanted to make one of these for a long time, and thrilled that Amanda is here to give us some guidance.
Terrariums are the perfect project to stoke both the imagination and a curiosity for nature.
Before building your terrarium, you might like to start by reading a book about an outdoor critter (i.e, Eric Carle’s Very Quiet Cricket, Leo Leonni’s Inch by Inch, or Patricia Polacco’s The Bee Tree). After reading the story, find out if your child wants to build a home for the critter with materials from outside. Talk about the critter’s habitat and its other likes and wants that might be incorporated into your terrarium.
As alternatives, you could guide the project with a focus on fairy houses or on terrariums as little ecosystems. To begin, discuss the seasons and/or plant life cycle, and how the terrarium will incorporate sunlight, soil, and water, just like the plants’ environments outside. The little world your child creates will foster a sense of eco enjoyment and responsibility.
Step One
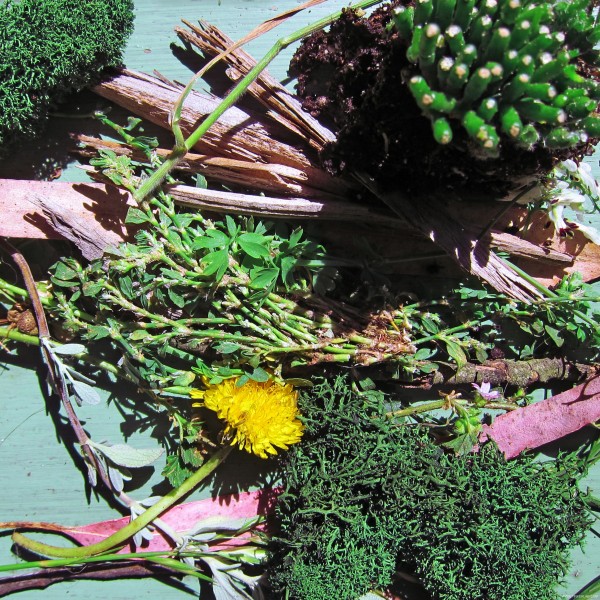
Take a stroll outside, getting up close to wonderful sensory experiences like dirt, pebbles and lush green plants. Gather interesting leaves, sticks, acorns, etc. to use in the terrarium. Soil, pebbles, and moss may be collected if available, or purchased.
Step Two
Bring your materials home and spread them out over a plastic sheet, and play around with combinations and the possibility of making a critter house.
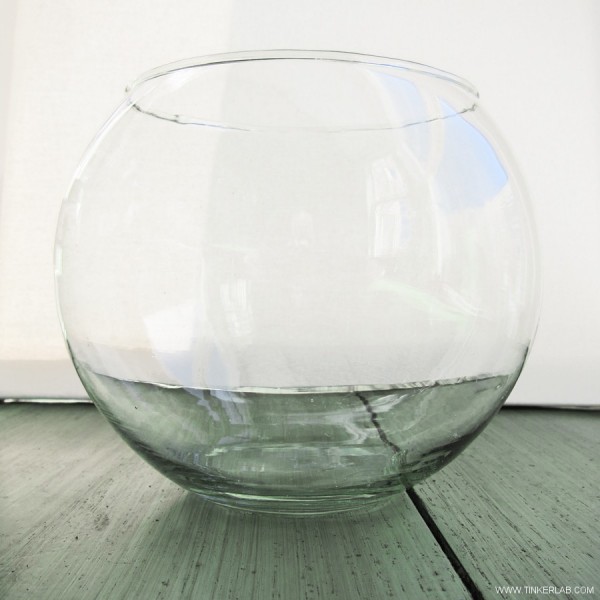
Step Three
A clean fishbowl or Mason jar makes the perfect terrarium container.
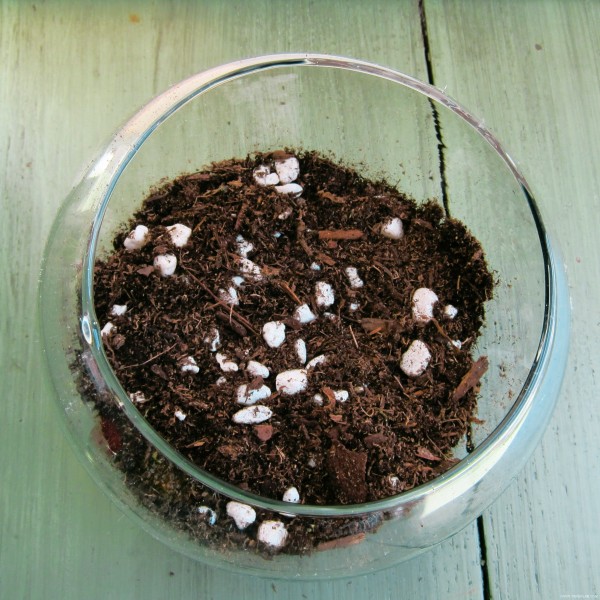
Step Four
Add about an inch of pebbles to the fishbowl, for drainage. Pile on an inch or two of soil mixture, with chunks of activated charcoal for filtration and fertilizer. I’ve been told that pyrite is a good mix-in, but not necessary.
Step Five
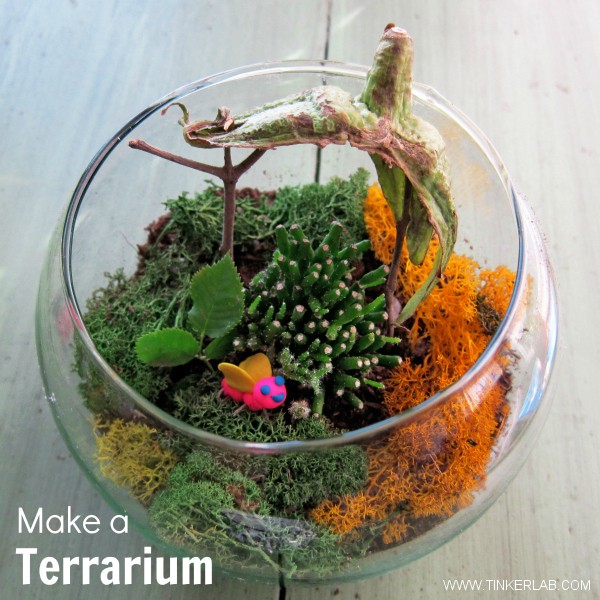
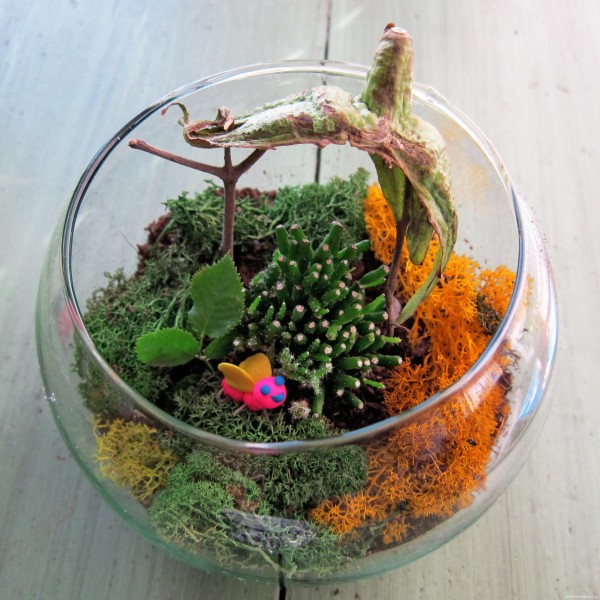
Make small valleys to add plants, while their roots are still moist. I bought a succulent to add to my terrarium, a low-maintainance green buddy (it only needs water about once a week) that is fun to watch grow over time. Next, arrange moss, sticks, leaves, and other bits. I used the top of an eggplant for the roof of my critter house.
Step Six
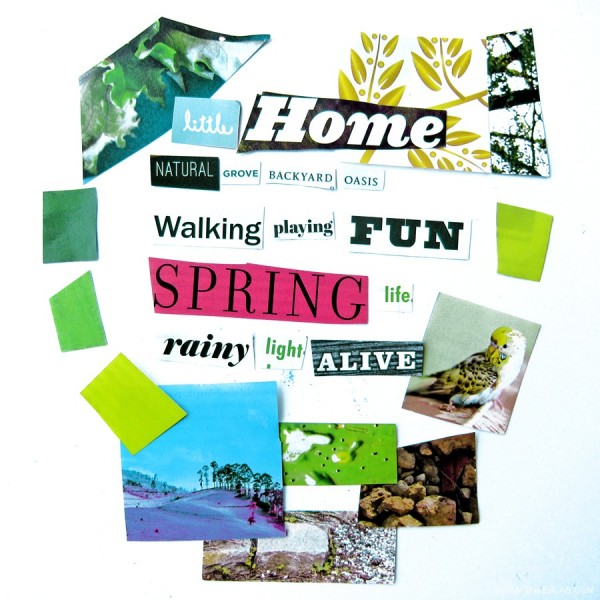
Tailor the terrarium to your child’s interests and skill level. If appropriate, make a little critter friend to add; I made my bug out of plasticene clay and sticks for legs. You could add a literacy component by making a collage poem or haiku about the terrarium after creating it, using words and pictures from magazines.
Place your terrarium in indirect sunlight and make sure to water it every week or so if you have a succulent nested in there, and more often for temperate plants.
Resources:
Making Terrariums so Simple
Make a Kid-friendly Terrarium
Terrarium as a learning too for children
Twig: Purchase supplies for moss terrariums and other small worlds
Terrarium Figurines on Etsy
More Terrarium Figures on Etsy
 Amanda designs curricula to guide and inspire children, teens, and adults to appreciate art and to create! She earned a Master’s of Arts in Teaching from The Rhode Island School of Design and is an instructor at Academy of Art University. Amanda is also an illustrator, painter, DIY crafter, and permaculture enthusiast. Find out more about Amanda here: Art Curricula Website, Art Portfolio Website, LinkedIn, and Pinterest.


Love this terrarium – and it’s an activity my 6yo will love! Thanks!
Thanks Maryanne! I think it’s perfect for a 6yo.