
These mini heart pies are not an adorable Valentine’s Day treat, but they’re fun for kids to make and bake. My little bakers, ages 3 and 5, were invested in every step along the way and practiced these skills in this kitchen project:
- press heart shapes out of the dough
- measure and mix ingredients
- use a basting brush
- crimp pies
- use best judgment to fill pies
- problem-solve when we ran amok (keep reading for more on that)

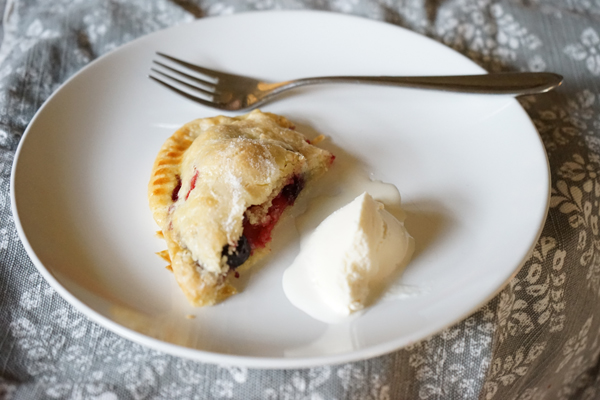
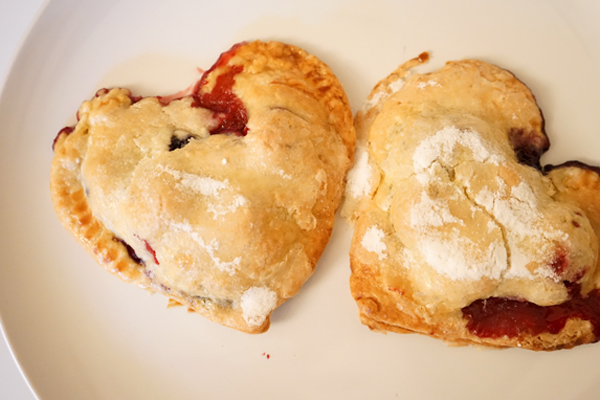
Let me start with the hero shot, just in case you’re on the fence about this recipe. OMG!
This pie not only looked good, but it was downright delicious.
This is my half of a heart that I shared with my husband (awwwww).
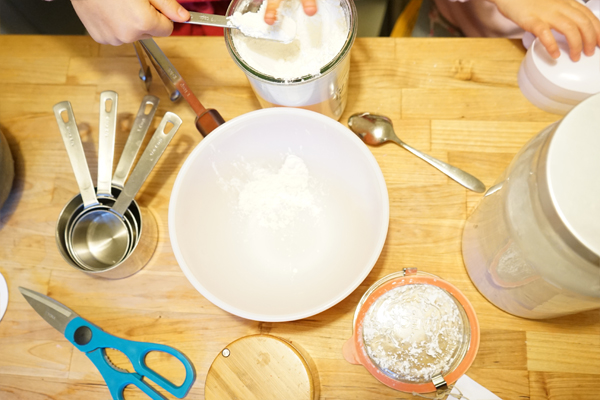
Mini Heart Pies: Tools
(note: this post includes affiliate links)
To start, you’ll probably want to pick up a Heart-shaped Pocket Pie Mold. This one is great because it’s also BPA-free.
We found a similar one in the house goods section of Target, just before Valentine’s Day. Not to fret if you don’t have a pie mold, with just a little more attention and work, you could also make these with a heart-shaped cookie cutter.
We have this one, and I bet it would do the job.
Mini Heart Pies: Ingredients
Makes 4 mini heart pies. This recipe is adapted from one that came with our mold.
- Pie Crust or pastry dough
- 1 cup berries
- 2 teaspoons corn starch
- 1/3 cup sugar
- 1 egg
How to make Mini Heart Pies
- Pre-heat oven to 400 degrees.
- Set up a cookie sheet, covered with parchment paper.
- Coat your pocket pie mold with a bit of oil. You don’t want your crust sticking to it, after all.
- Mix the sugar and corn starch in a small bowl.
- Whisk the egg in another bowl.
- Roll out your dough and cut hearts from it with the back of the heart-shaped pie mold.
- Place a heart on both sides of the mold. Fill the center of one side with about 2 tablespoons of berries.
- Sprinkle 1 tablespoon of the sugar mixture on top of the berries.
- With the basting brush, coat the edges of the heart with egg.
- Press the two sides of the mold together. Open it up and place the mini heart pie on the parchment-covered cookie sheet.
- Cover the pie with a layer of egg and sprinkle more sugar mixture on top.
- Continue until all the dough is gone.
- Bake for 20 minutes, or until the dough is golden brown.
Here’s a visual of how we made our mini heart pies…
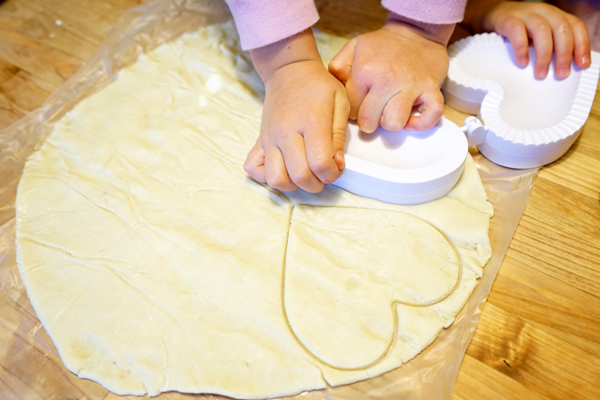
The heart stamping is so fun for kids.
We used our favorite freezer pie crust from Trader Joe’s, but any crust should do the trick. Two of these come rolled up in a box and we just used one of them. We let the dough defrost while we had breakfast, and it was ready to go a couple hours later.
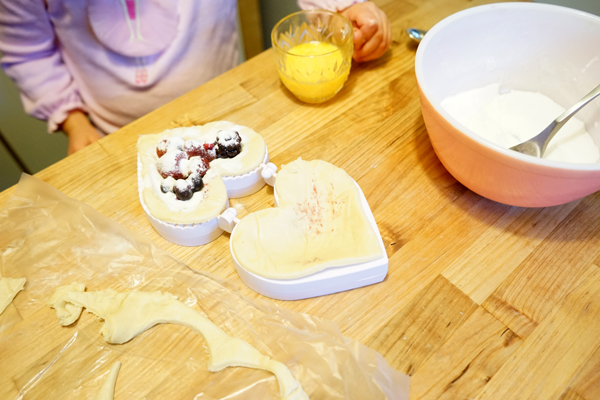
Next up: fill with the ingredients. Since its winter and berries aren’t’ in season, we used frozen berries. In the end, they may have made for more runny pies, but the flavor was to-die-for-good. No worries there.
The kids took turns filling the pies with berries, coating the edges with egg and sprinkling the sugar mixture on top.
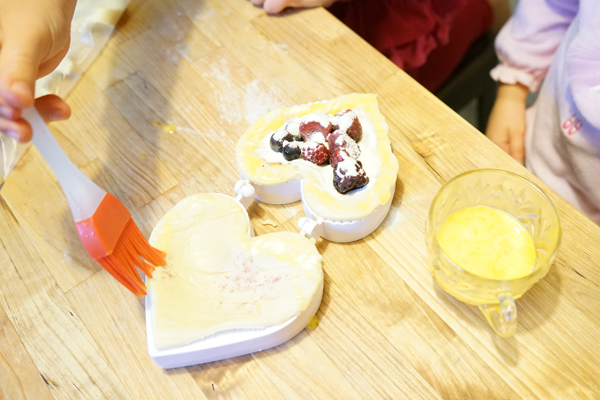
On our first mini heart pie we learned the importance of oiling the pie press BEFORE putting all the ingredients inside. Needless to say, our dough made a big sticky mess and didn’t want to come out of the mold without a fight.
Since we didn’t want to lose any of that amazing filling, we did a quick brainstorm on what to do and decided to turn the scraps into pie balls and hamentaschen. And please don’t look up “pie balls” unless you want a totally different image in your head than the photo that follows.
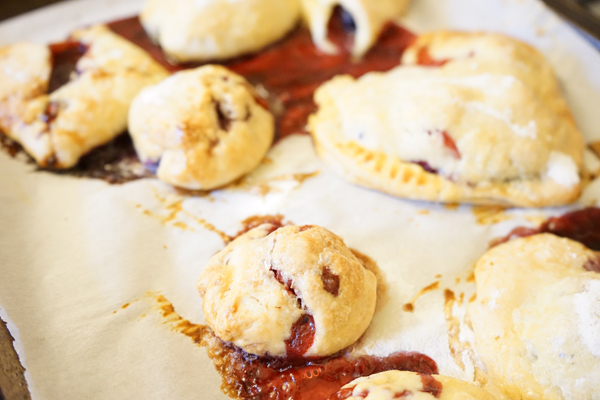
In the end, we ended up with two mini heart pies, two hamentashen, and five pie balls, but if you stick to just mini heart pies, you should be able to get four of them out of this recipe.
Enjoy!


[…] Delicious Mini Heart Pies, TinkerLab […]