This fun science project for kids is easy to set up with sugar, skewers, and a few kitchen tools.
How to make Rock Candy on a Stick
We’ve been making rock candy, and in the true spirit of experimentation we made three batches (and hope that we finally got it right!). There are so many ways to get this confection started, and I’ll share a few thoughts and links for those of you who might want to give it a try. The thing about rock candy that appealed to me is that the ingredients are simple, and I already had them all on hand (Yipee!).
Rock Candy: Ingredient List
adapted from Rock Candy Recipes via The Exploratorium and Science Bob
- 2+ cups sugar
- 1 cup white sugar
- sauce pot
- wooden spoon
- clean, narrow jar/s or glass/es
- wooden skewers
- clothes pins
- candy thermometer or digital thermometer that reaches 240 degrees F
- wax paper
- food coloring (optional)
- vanilla extract or other flavoring (optional)
At least 3 hours ahead of time:
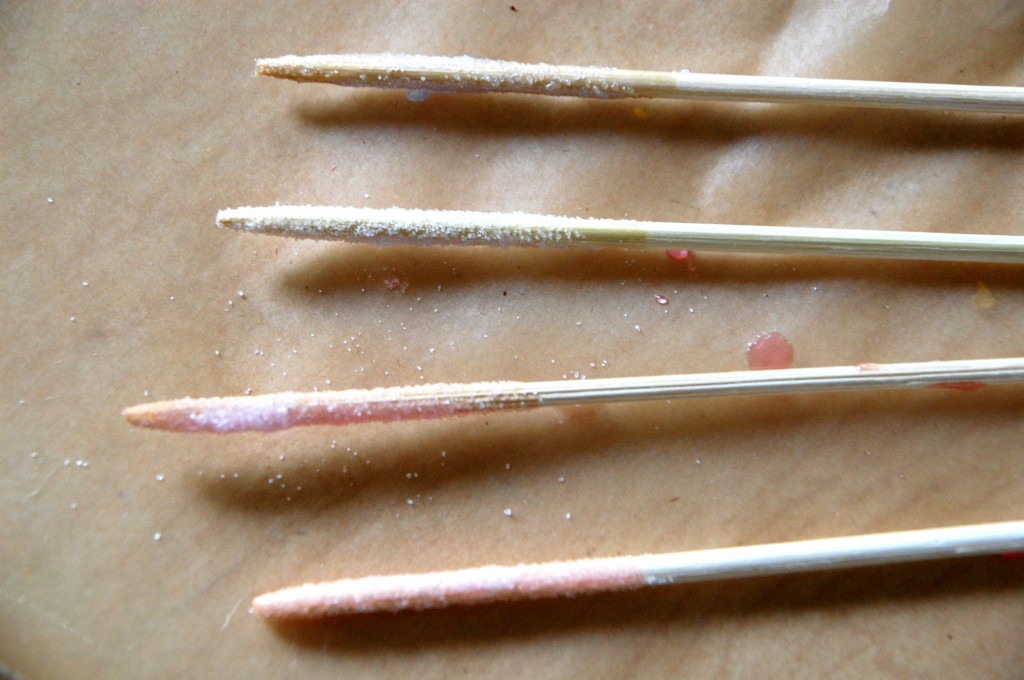
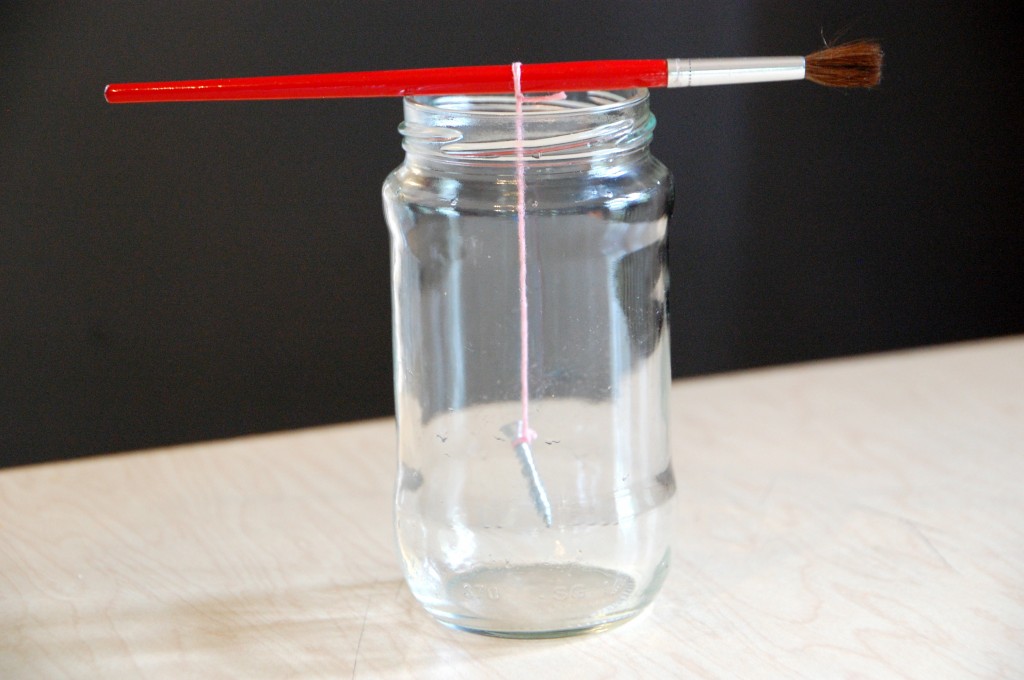
Snip the ends off your skewers so they’re not sharp. Dip the ends of the skewers into a simple syrup mixture (sugar + water, 2 sugar: 1 water, cooked until the sugar dissolves) and then roll the skewers in sugar. Set aside on wax paper until dry. This might not take long at all, but we gave it three hours. If you don’t have skewers, you could use the string method (see photo below). The skewer or string act as a “seed” that attracts the cooling sugar to adhere to it.
(String method: Dip your cotton string in the sugar solution, roll it in sugar, and allow it to completely dry. This could take 24+ hours.)
Steps: Rock Candy with Kids
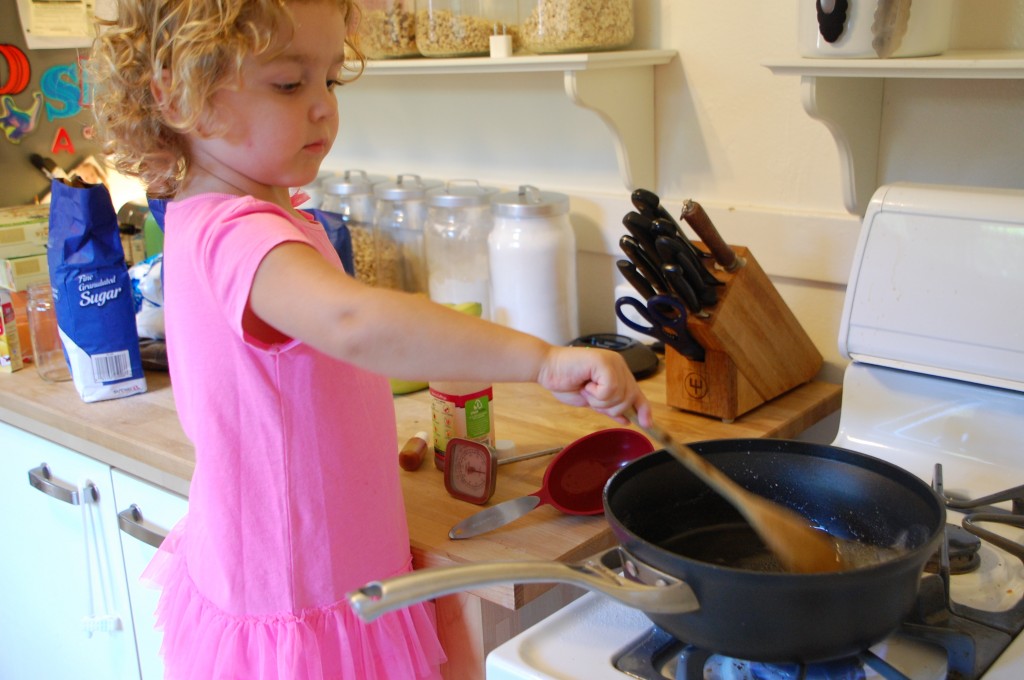
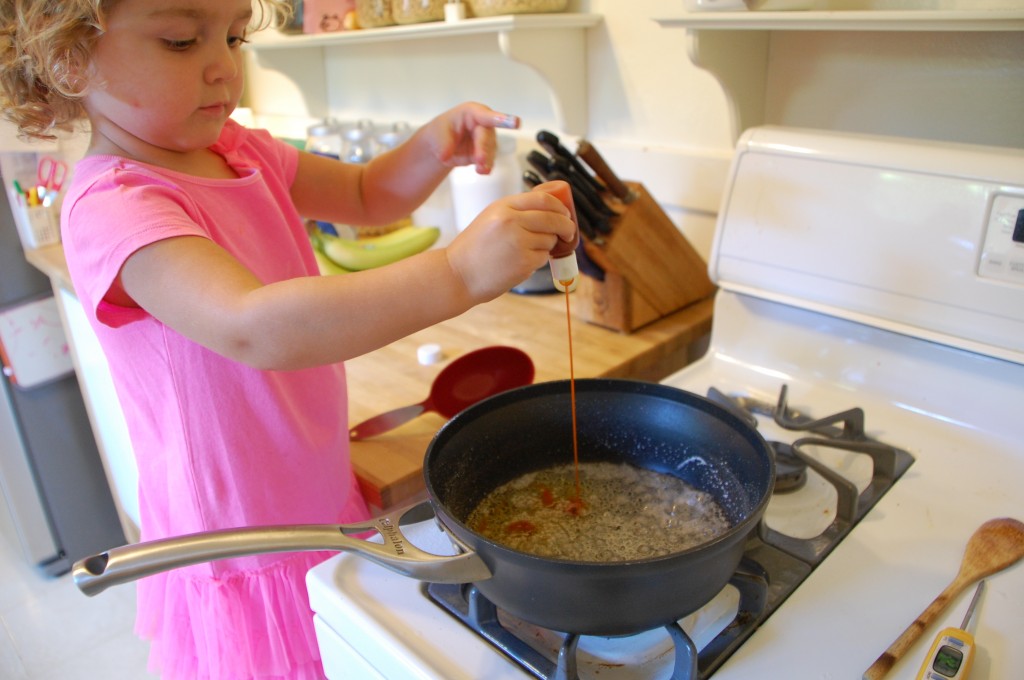
I don’t normally allow my daughter to cook boiling hot things at the stove (do you?), but she begged me to get involved and she did a great job! What are your thoughts on this? Any tips for kitchen safety that also allow for kids to fully participate?
- Boil 1 cup water in a small saucepan
- Slowly add 2 cups of sugar and mix with a wooden spoon until sugar dissolves
- Cook sugar solution until it’s 240 degrees F (also known as the soft ball stage in candy making). Some rocky candy recipes say to simply boil the solution until the sugar dissolves. I tried this and it didn’t work for me, but let me know if it works for you!
- Remove from the heat
- Add food coloring. Be generous.
- Add flavor (we made one batch with pure vanilla extract and another with real lemon extract). We added about 1 tbsp. lemon, and 1/2 tsp vanilla.
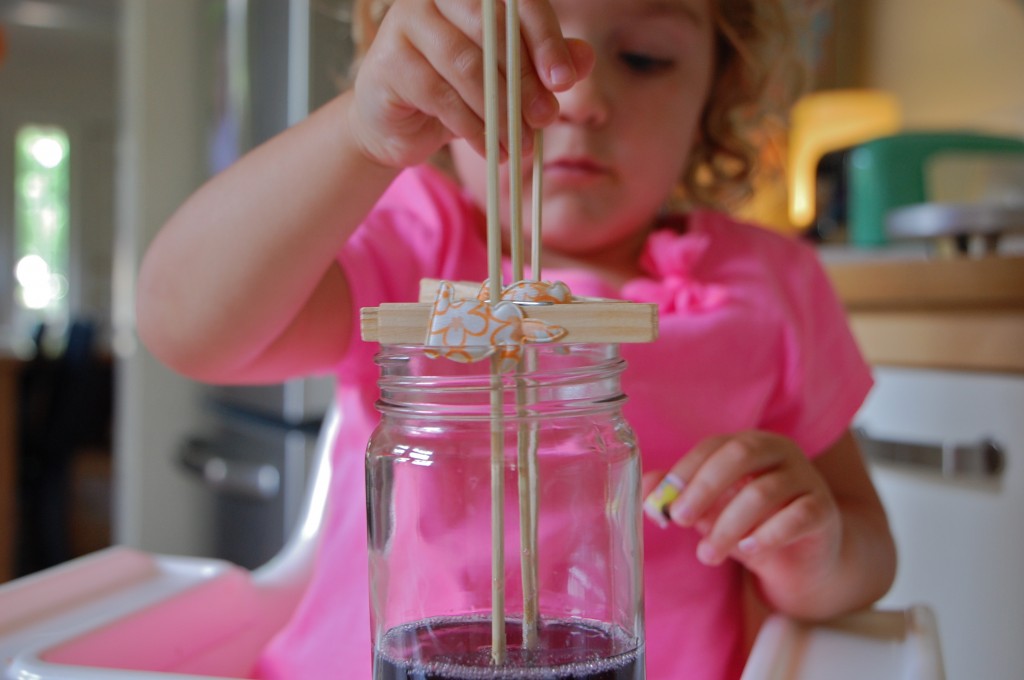
- Dangle sugar-covered skewer into sugar solution so that it’s about 2/3 of the way down the jar.
- Attach a clothespin to the top to keep it in place. We put 2-3 skewers in the jars. I wonder if this will be too crowded to work?
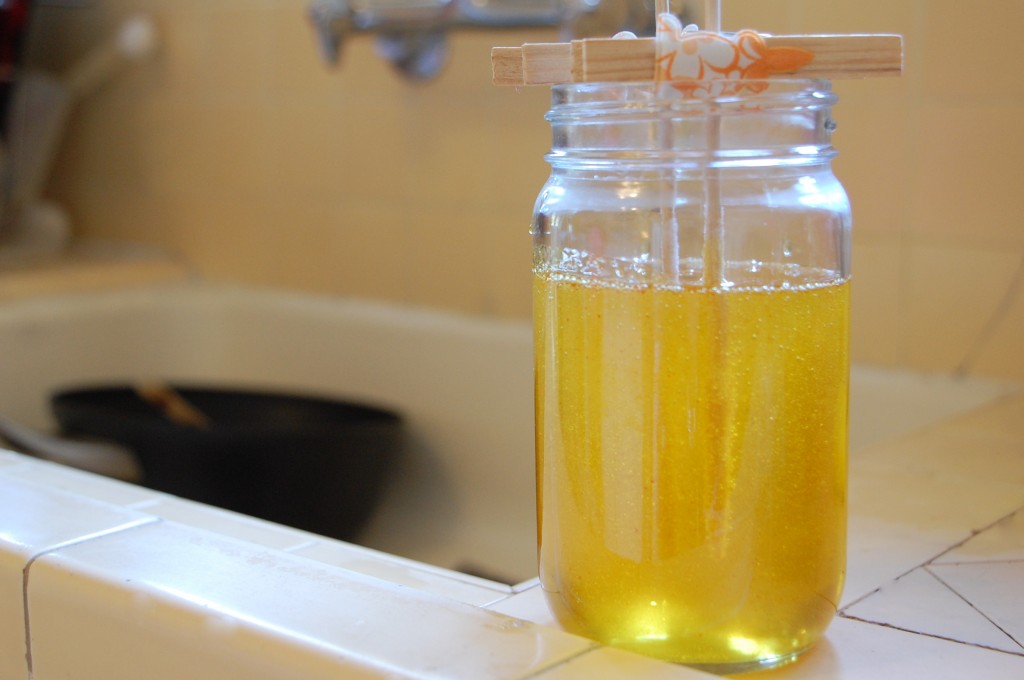
And now we wait. Somewhere between 3 and 7 days!! Already feeling impatient, but I’m sure it’ll be worth it! Sugar will form on the surface, and I’ve read that you can scoop it out and enjoy it while waiting for the rock candy to form. https://buyiglikesfast.com/buy-instagram-likes/
Well, the truth is that we couldn’t really wait 🙂 Before washing the pot, we coated a few spoons with the hot candy. And as soon as they cooled, we were treated to homemade vanilla and lemon lollipops!

More Science Projects for Kids
If you enjoyed this project, you’ll love this article: Science Fair Project Ideas.



I’ve been wanting to do this with my kids. I don’t have a candy thermometer though. Might be a worthwhile investment. 🙂
Hi Erin! My candy thermometer wasn’t reading properly so I used my digital meat thermometer, which reads up into the 400’s. It worked perfectly, and I thought it was a worthwhile investment for when I cook chicken/turkey too.
My first tip for having your children help you at the stove is to TURN THE HANDLE INTO THE MIDDLE OF THE STOVE! I don’t mind having kids help at the stove if everyone’s being careful but that handle sticking out looks like a disaster waiting to happen!
Thanks for the tip, Taryn. The handles usually do face in, and I must have left it out to snap a photo. Blogging can be dangerous business!!