I’m a huge fan of breathing new life into long-lost materials, and I’ve been making found object art pieces like these since I was a kid. This engaging process art activity appeals to makers of all ages, making it a great building project for families, multi-age classrooms, and adults.
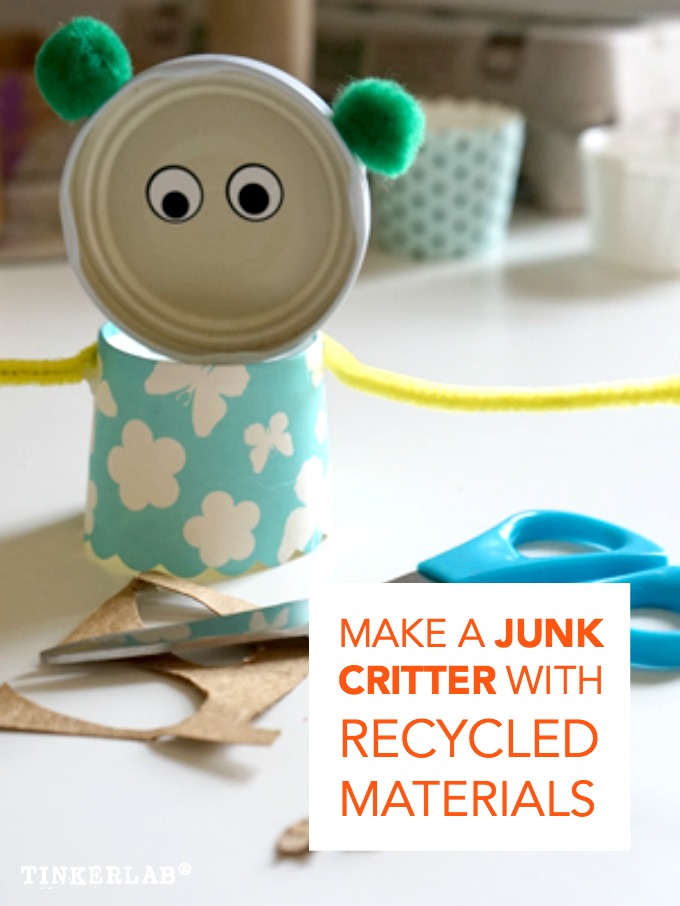
Last weekend my friend, Danielle, and were in Napa to lead a fun, fast-paced Maker Session at the California Association of Museums annual conference.
For our workshop we brought these cool hands-on mystery boxes that my kids oohed and ahhhed over before I headed off to play in wine country.
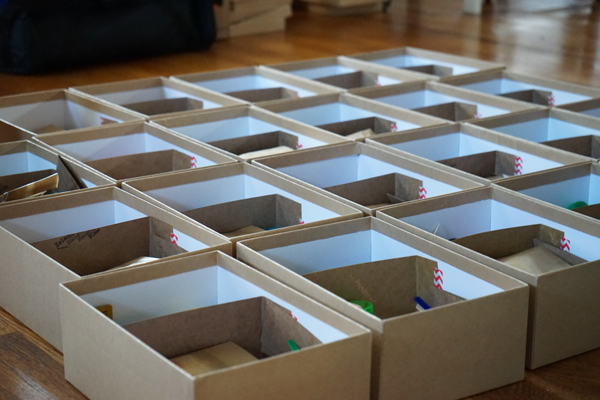
The tinkering kits carried similar materials, but the nature of collecting found objects meant that each maker box was unique. I’ll share images from the workshop with a close-up on how adults interpreted these materials shortly, but I thought you might be interested in seeing what kids made of these.
My kids were my prototype testers, after all.
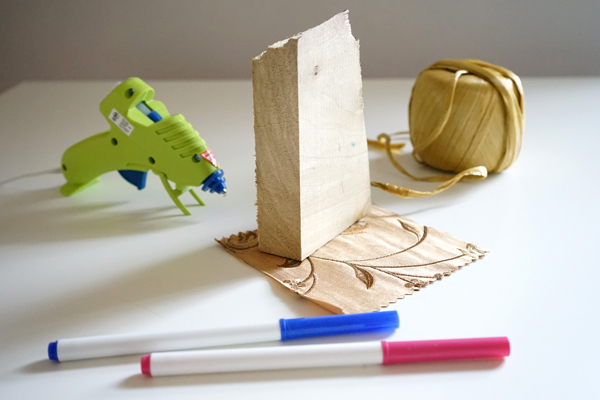
Collect your junk supplies
Before the boxes were even filled, we experimented with some basic materials like ribbon, wood scraps, fabric swatches, paper baking cups, markers, and plastic party beads.
You’ll need:
- Junk
- Something to cut the junk (scissors)
- Something to attach the junk (glue gun – Amazon link to our favorite one)
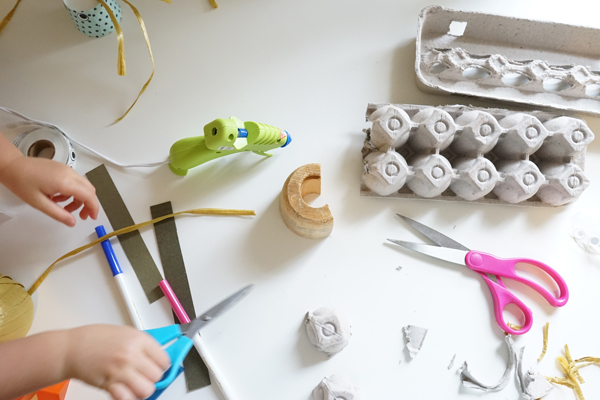
Invest in a low-heat glue gun
There are always people who gasp when they see kids handling hot glue guns (maybe that was you…no worries) and I’m here to tell you that kids are capable of using glue guns.
Here are a few glue gun tips for kids:
- Use a low-heat glue gun like the Cool Shot (Amazon link). I’ve been using this model for years, and it’s fabulous. If you spend more than a few seconds touching the tip you could theoretically burn yourself, but I have yet to see this happen.
- Explain the glue gun rules to your child ahead of time: don’t touch the tip, try not to touch the hot glue with your bare hands
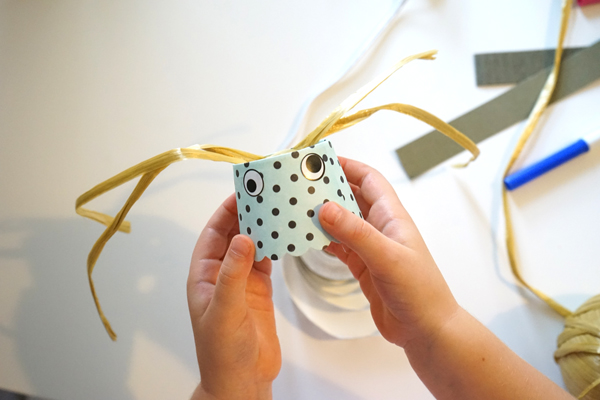
Add some eyes
My 3-year old worked on this one. She added goggly eyes to make it come alive, but of course you could draw eyes on or cut eyes from paper. Googly eyes are an awesome invention, and truly animate anything they’re stuck to. We have a pair on our stapler, and “he” looks like a little alligator.
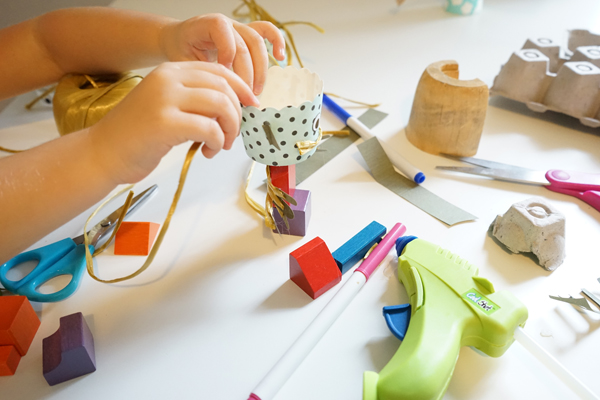
We foraged the recycling bin for more objects and had some fun with building blocks and pom-poms: all stuck on with the miraculous glue gun.
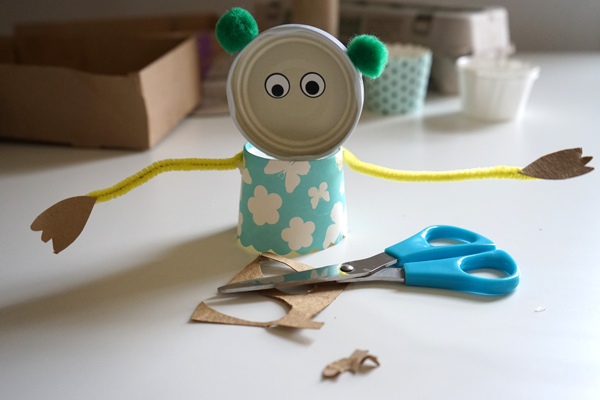
Share your found object art critters
When you’re all done creating, put your critters on display, play with them, take photos of them, carry them on a walk and take photos of them in different places. The options are endless. More sharing ideas:
Share on Facebook
And if you’re really brave, snap a photo and share it with me on my Facebook page!
When I was at the conference we asked participants to take a photo of their critter and tag it with #tinkercritter. Here’s on example. I love it! Go check out their critters and upload your own to Instagram. Don’t forget to tag it with #tinkercritter!
More Found Object Art
This cool Pinterest board from Mary Briden
Louise Nevelson painted on assemblages made from wood scraps in the 1950’s.
Joseph Cornell made these gorgeous diorama boxes that were filled with all sorts of curious ephemera.


This is a favorite in our house, especially with my 5 year old. Periodically she will ask to go through the recycling container at home and grab random things to make “machines.” The last one she made looked like a music box, complete with a ballerina. Unfortunately it has been destroyed, but if I find a vagrant photo of it in my cell phone, I’ll share for sure.
What fun! My son would enjoy exploring one of these kits.
Thanks so much! We’re thinking about putting some up for sale at some point. Fingers crossed. In the meantime, let me know if you make one of your own. ~rachelle
This reminds me of Cathy Weismann Topals book on found objects…do you know it?
[…] Build Found Object Junk Critters […]