This recipe is a keeper because it comes together quickly, uses ingredients you probably have on hand, and it expands the way children think about art supplies. When children have the opportunity to invent things and imagine new possibilities (in this case, making their own paint, inventing colors, and imagining what they can create with the paint), opportunities for creative thinking are greater.
Not to mention, both of my kids (21 month Rainbow and 4 year old Nutmeg) enjoyed painting with it, and, um, eating it too. Once dry, the paint has an attractive shiny coat to it. Because there’s sugar in the milk, I’m not going to guarantee its archival quality, but after we’ve had our paintings for a month they still look brand-new.
I get a lot of questions about activities that can be enjoyed by kids of multiple ages. Generally, my opinion on this is that children will adapt the materials in front of them to meet their own level of ability. This project will work for toddlers on up to adults; just expect that the results will vary.
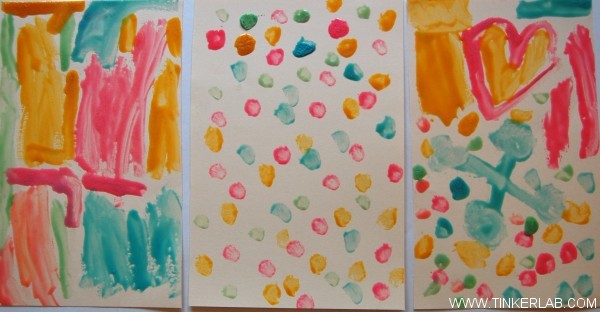
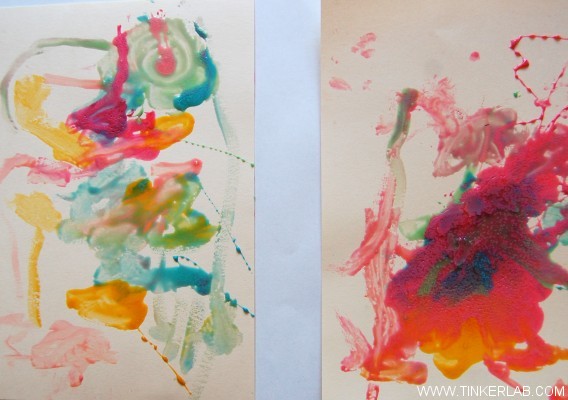
My 4-year old’s completed paintings.
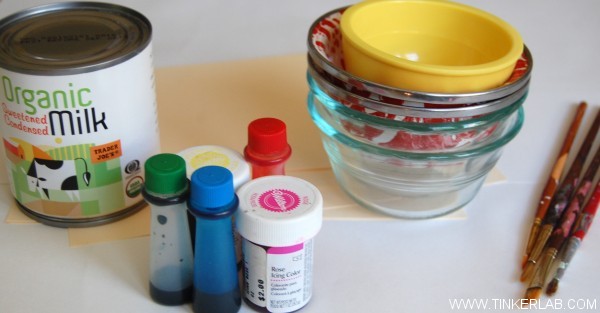
Materials
- Sweetened Condensed Milk
- Food coloring
- Small mixing bowls
- Paint brushes
- Tea spoons for mixing
- Card stock or other heavy paper for painting on
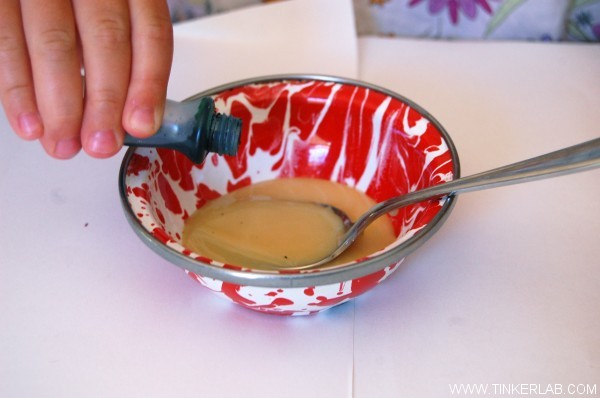
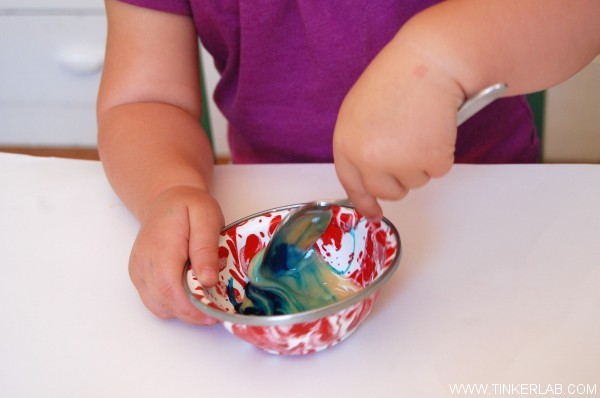
Pour a little milk into a bowl, add a couple drops of food coloring, and mix.
My 21-month old got into the mixing action too.
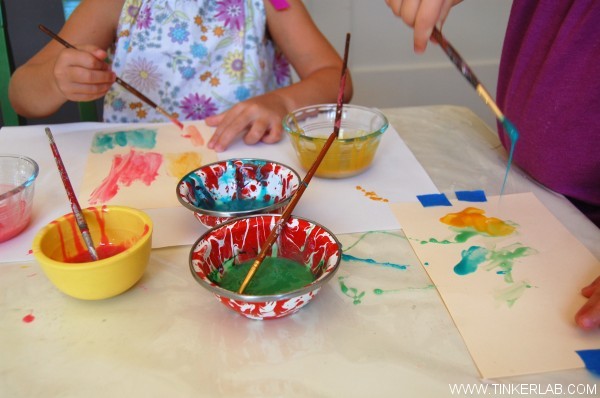
Our painting set-up: I have a big, clear plastic tablecloth that covers the art table. It’s perfect for sticky + wet projects like this. I taped my toddler’s paper to the table to keep it from slipping.
These paintings takes some time to dry. Rainbow did not have a delicate painting hand and her paint went on quite thick. The painting on the right had a deep puddle on it that took a good day to dry. And when it finally dried it caked up a bit and had a nice crackled effect to it. Just something to keep in mind in case you’re looking for a quick-drying paint…this is not it!
Have you tried this before? What kitchen supplies have you tried painting with?
And be truthful, aren’t you just a little bit curious about what it would be like to paint with sticky milk?
This post has been shared on It’s Playtime


This would never work for me. One of the only cravings I had this last pregnancy was condensed milk; I finished a can in two days eating it with a spoon… and those spoons look so delicious! 🙂 I love how you are always coming up with new things for the kids to experiment. Thanks for sharing your great ideas.
omg, i need some sweetened condensed milk right this instant… a teeny bit of it just might make it onto the page and the rest in my tummy. YUMMY ART!!!!! you are so inventive – i love it!
Yes we have! This is great to paint on sugar cookies (unbaked ones) and pop them in the oven. We did this at Christmas:
thechocolatemuffintree.com/2011/12/painted-christmas-sugar-cookies.html
We were going to do this at Easter, but why not any holiday or time?
Here is the link again:
Painted sugar cookies: http://www.thechocolatemuffintree.com/2011/12/painted-christmas-sugar-cookies.html
What a yummy way to paint! My little girl thinks it is yummy anyway 🙂
I have tried it and love the glossy finish but that drying time is a pain:)
Super cool! I love the effect. We have painted with many, many things, but never condensed milk–can’t wait to try it!
Oh mmmmmyyyyyy!!!! I’ve just embarked on clean eating and this would def be too much temptation although it beats the flour, water and salt version paint I do! What a fabulous idea!!! Now I can stock up on condense milk and use it for other stuff than baking and stuffing my face :-)))) YOU’RE AMAZING!!! Thanks so much for sharing xx
I have a question – do you think that this paint would work on rocks?
I am looking for a way to have a large group of children paint rocks but cannot afford some of the paints that are available.
thank you!
Hi Diane,
It would definitely work on rocks, but it would wash off. Another thought is to go to your local paint/hardware store and ask them to donate paint cans that were the wrong colors. You can often get these for free or pennies on the dollar. Just make sure that the paints you ask for are non-toxic. Discount school supply also has pretty good prices on paint. Good luck!
Rachelle
Just mix pva glue with the paint it makes it hard and stays transparent.
This is awesome!! Thank you for sharing this simple play paint recipe! I actually always have one can hidden in the baking cupboard & never thought of painting with it! I’m so excited to try with our neon food coloring! Thanks again!
That’s a fantastic idea! I love seeing how this worked out for your family. Yogurt is a GREAT idea for S’s age.
This is great used on RICE PAPER then you can eat it all!
What a great idea!
This is good
This is awesome!! Thank you for sharing this simple play paint recipe! I actually always have one can hidden in the baking cupboard & never thought of painting with it! I’m so excited to try with our neon food coloring! Thanks again!
[…] One of the best features of this blog is that it has a GENIUS developmental-based directory that will help you quickly navigate to art projects that fit the age range you’re looking for. In addition to fabulous art and science projects, there are also quite a few DIY supply tutorials, like this one to help you make your own paint with sweetened condensed milk! […]