DIY Water Wall
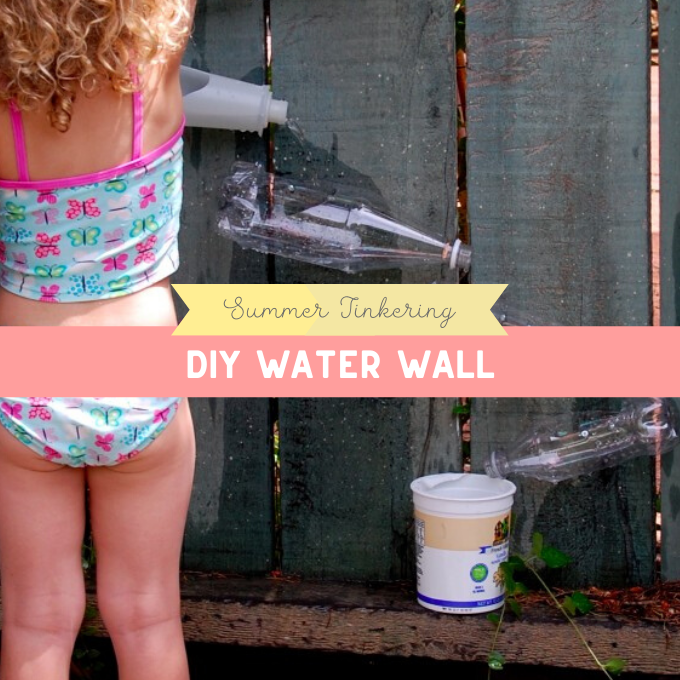
Does it feel like summer in your part of the world? It’s heating up here, and my kids have been enjoying this easy and inexpensive new backyard water feature. All you need is a nearby water source, recycled plastic bottles,…
Does it feel like summer in your part of the world? It’s heating up here, and my kids have been enjoying this easy and inexpensive new backyard water feature. All you need is a nearby water source, recycled plastic bottles,…
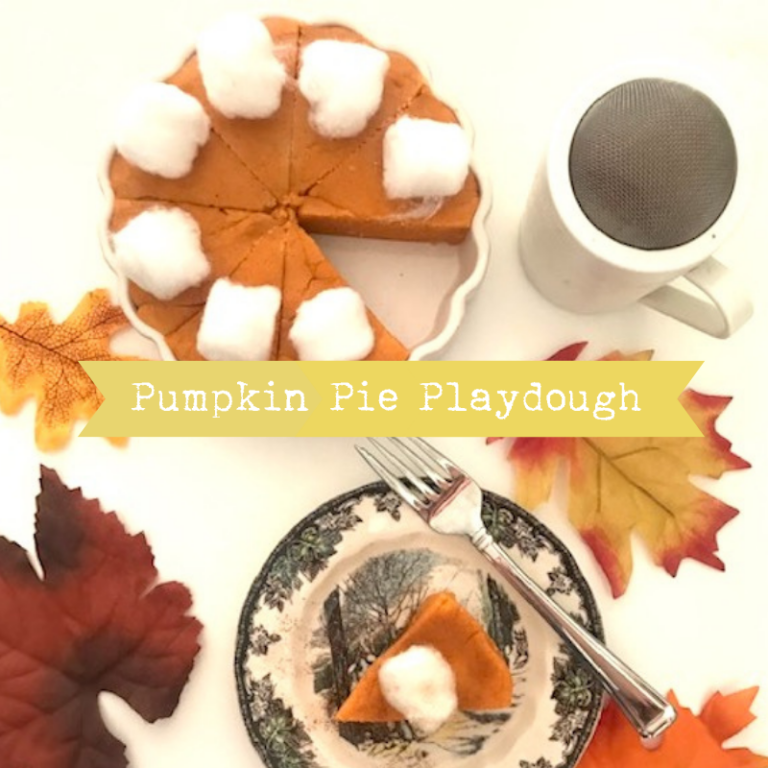
Have you ever made your own play dough? While I’m a fan of store bought dough (it’s so easy!), making your own is a money saver and we can make TONS of it in minutes. And with the simple addition of a…
I spotted a milk jug shovel online. Gasp! Given that I adore all things DIY, especially if they involve my recycling bin, I had to try this. I dug and dug (pun intended…I love puns) for the original source of…
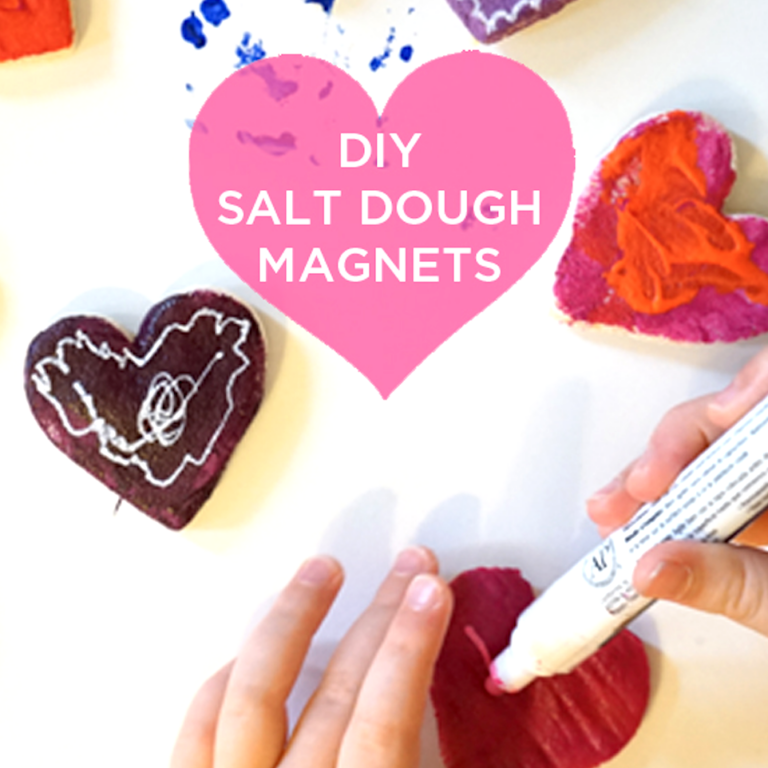
Are you looking for Valentine Crafts for Kids? This project takes a bit of time since there are a few steps involved, but the results are treasures that will last a lifetime. Salt Dough Recipe We used this same recipe…
Kids Crafts Ideas: DIY Fabric Ornaments These sweet fabric ornaments teach children hand sewing techniques while building fine motor skills, and they don’t demand that parents have a lot of fancy sewing skills to facilitate. Perhaps best of all, they’re heirloom quality and can…
Make a Fall Luminary from leaves and melted crayons. Not only are these beautiful, but the processes of collecting leaves, peeling crayons, and melting the wax with an iron are sure to capture a child’s attention. Make a Lantern with…