When friends and readers talk to me about TinkerLab, they almost always ask me about science projects. And with that, process-based experiments like the following magic potion lab inevitably come up.
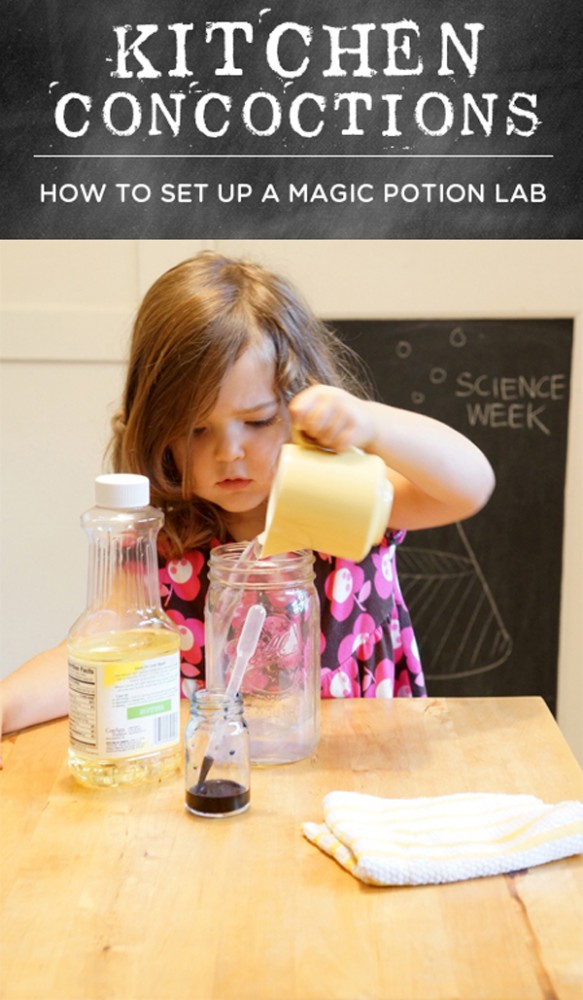
When my three-year old woke up the other day, she asked if we could do an experiment together, and by that she meant setting up a concoction station. We also like to call it a magic potion lab around here.
The beauty of the magic potion lab is that you can source your pantry and pull out whatever you desire. No special trip to the market is necessary. I don’t know about you, but I am in love with projects that are convenient and low-cost.
This is also a great way to foster a love for asking questions, engaging children with playful learning, and following a child’s curiosities.
The following supply list is what we started with, but feel free to work with whatever you have on hand. My favorite ingredients for this are vinegar and baking soda because together they form a bubbly reaction that’s irresistible, but we’ve also adding things like flour, powdered mashed potatoes, salt, and oats. If these things are stale and no longer edible, all the better.
SUPPLIES
- Water
- Oil
- Vinegar
- Baking Soda
- Liquid Watercolors or Food Coloring
TOOLS
- Tall Glass Mason Jar
- Spoon
- Pipette or Eye Dropper
- Kitchen Towel
TIP #1: SET THIS UP IN THE KITCHEN
The kitchen works wonders for a few reasons:
1. It’s near a water source.
2. The floors are made to be spilled on.
3. Ingredients are close at hand.
Clear some counter space. Set up all your supplies. In this case we used a tall mason jar, a small jar of liquid watercolors, a small pitcher to fill with water and oil, and a rag for wiping up messes. If you want to extra careful, cover your counter and/or place everything in a big baking sheet or tray to catch spills.
I also like to encourage children to do all the work themselves and the little pitcher makes this especially doable.
TIP #2: INTRODUCE JUST A FEW INGREDIENTS AT A TIME
You might feel inclined to offer your child all ingredients at once, but this tends to be overwhelming and it may actually shorten your child’s attention span. A better bet is to introduce just two or three ingredients at a time. This way, your child can learn about the unique properties of those ingredients and understand what happens when they combine.
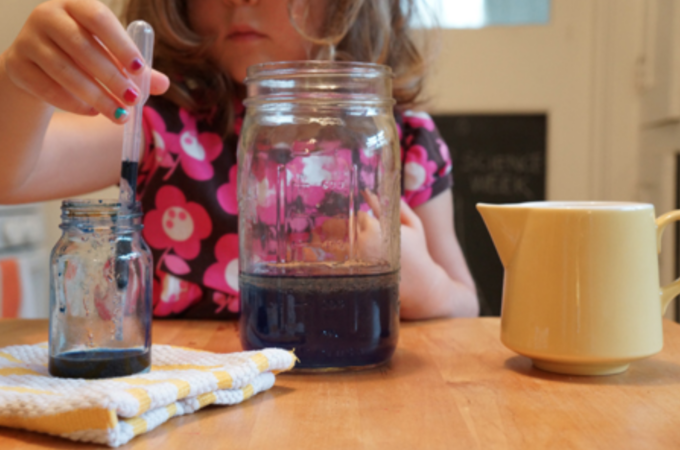
In the picture (above), we worked with water, oil, and liquid watercolors to explore the phenomena of immiscible liquids (or those liquids that don’t mix, such as water and oil).
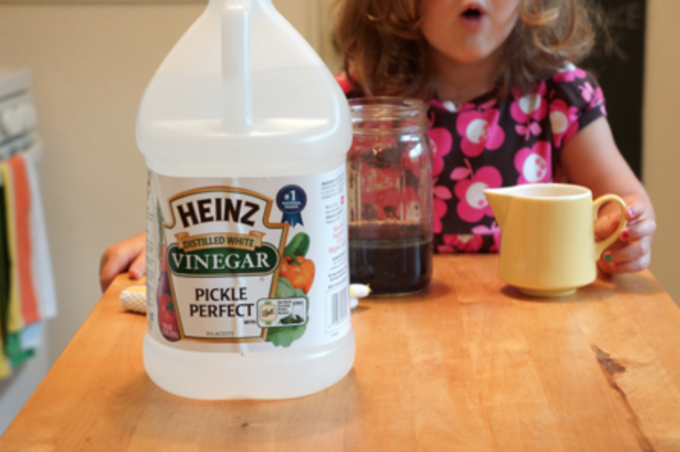
TIP #3: ALWAYS KEEP A SUPPLY OF BAKING SODA AND VINEGAR IN THE PANTRY
When my children or their neighborhood friends ask me if they can make concoctions, they inevitably have baking soda and vinegar explosions in mind. Invest in a gallon-sized bottle of vinegar for just a couple dollars and you’ll keep the alchemy troops happy for a long time.
This post is also shared on one of my favorite blogs for childhood projects, No Time for Flash Cards, where you can see more photos of the process.
For more creative science experiments that encourage children to think for themselves and develop critical thinking skills, click on over here for all of our posts, and sign up for the Tinkerlab newsletter.


where are the 3 simple tips?
https://www.notimeforflashcards.com/2013/08/magic-potion-lab-from-tinkerlab.html