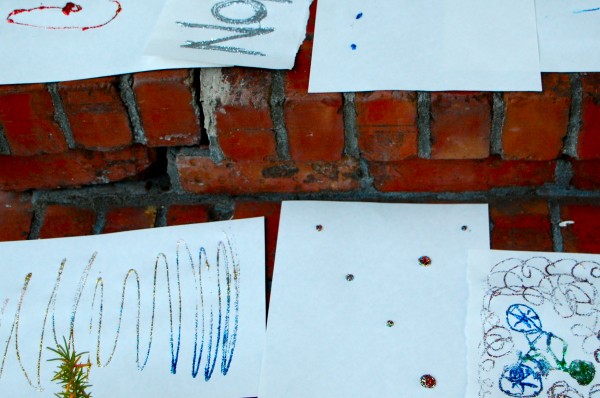
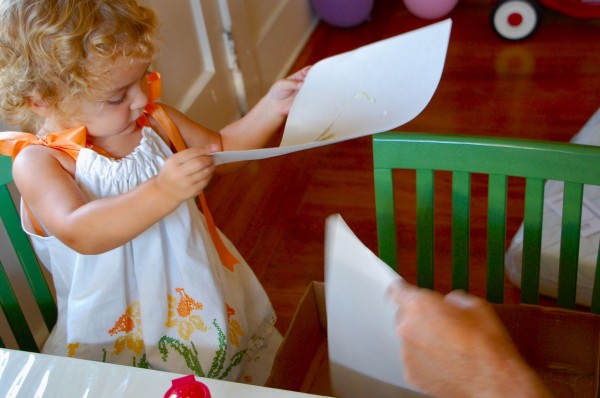
Since last week’s Glitter-Fest 101, mounds of paper have been magically turned into sparkly creations — and my husband and sister have even jumped in on the glittering action. I actually overheard my husband say, “glitter is fun!” In all fairness, I think he was commenting to our 2-year old on how much he was enjoying their time together, but still! The only one who’s been overwhelmed by the glittering extravaganza has been my vacuum cleaner, who was recently given a raise for all of his hard work.
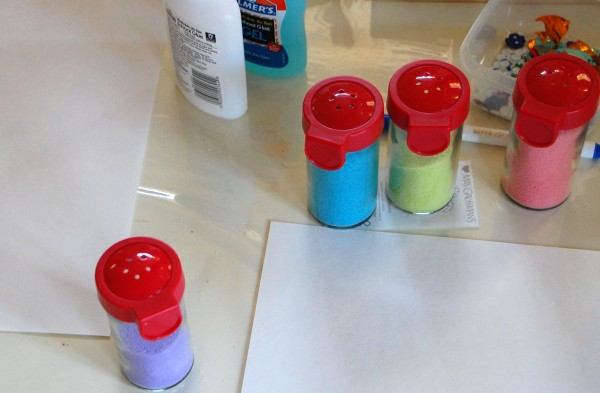
To foster the glittering fad, which (for my child) stems from a love for shaking sprinkles of any kind, I came across an idea for making my own glitter from salt. It’s not exactly the same as the wonderful shiny metallic stuff, but it fulfills the joy of shaking interest, it’s always fun to play with a new material, and I’m endlessly fascinated by the process of making our own art supplies.
What’s the Hook?
- Kids will enjoy the process of making their own art material.
- Making homemade art supplies can be fun, economical, and teaches children that art can be made from just about anything. I hear my daughter say “let’s buy it!” way too often, and it’s nice to think about future conversations that are infused with “let’s make it” instead.
- Playing with new materials opens children’s experiences and world views up to new possibilities.
- It’s easier to clean up than traditional shiny glitter.
- If you use the salt/food coloring recipe, it’s completely non-toxic.
Materials
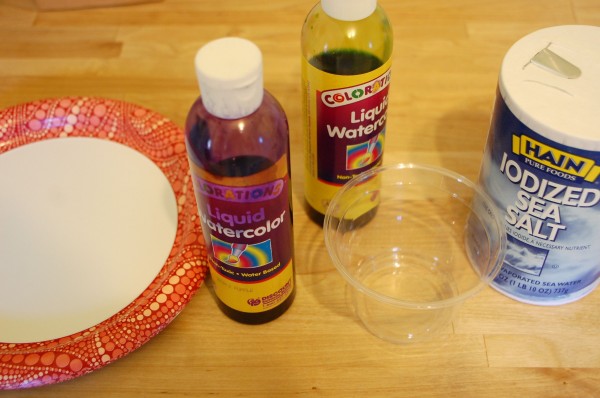
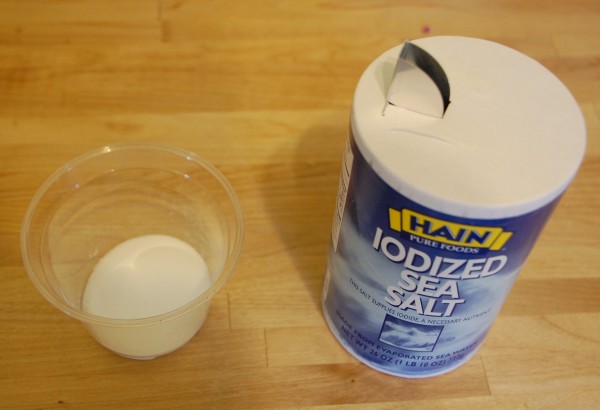
- Salt
- Food Coloring or liquid watercolors. I used Colorations Liquid Watercolors because I had them on hand, but I hear that food coloring works well too…and many of us have some tucked away in our kitchens. If you’re considering the watercolors, I think they’re worth investing in for other projects too: they’re reasonably priced, washable, and the colors are rich.
- Mixing bowl and spoon
- Plates or cookie sheet for drying the “glitter”
- Shakers. I found some salt/pepper shakers in a dollar store. Cocoa and parmesan cheese shakers would do the trick too.
Directions
Pour the desired amount of salt into the mixing bowl or cup.
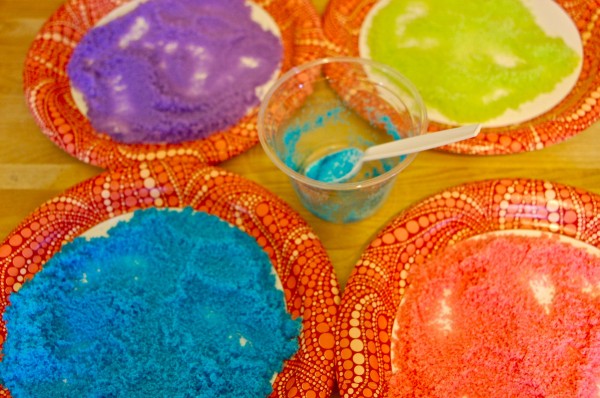
Add a few drops of food coloring/watercolor to the salt and mix until the salt is evenly covered.
Pour the mixture onto a plate and allow it to dry. This should take a couple hours. If you want to expedite the process, pour the salt mixture onto a cookie sheet and bake for 10 minutes at 350 degrees.
Once dry, break up the clumps of salt with your fingers or the back of a spoon.
Pour glitter into your shakers. Another option is to pour into a bowl so that your little artists can scoop it onto their art with spoons.
Enjoy your new, homemade glitter!



Have you tried shaking [colored] salt onto a watercolor painting? It’s a bit magical because it creates bursts on the paper.
Good idea! I’ve only used regular ol’ salt, so this is a technique to try soon. Thanks for sharing the suggestion.
this looks great we will try this at kinder, thanks
Awesome, Shiona! I’d love to hear how it goes.