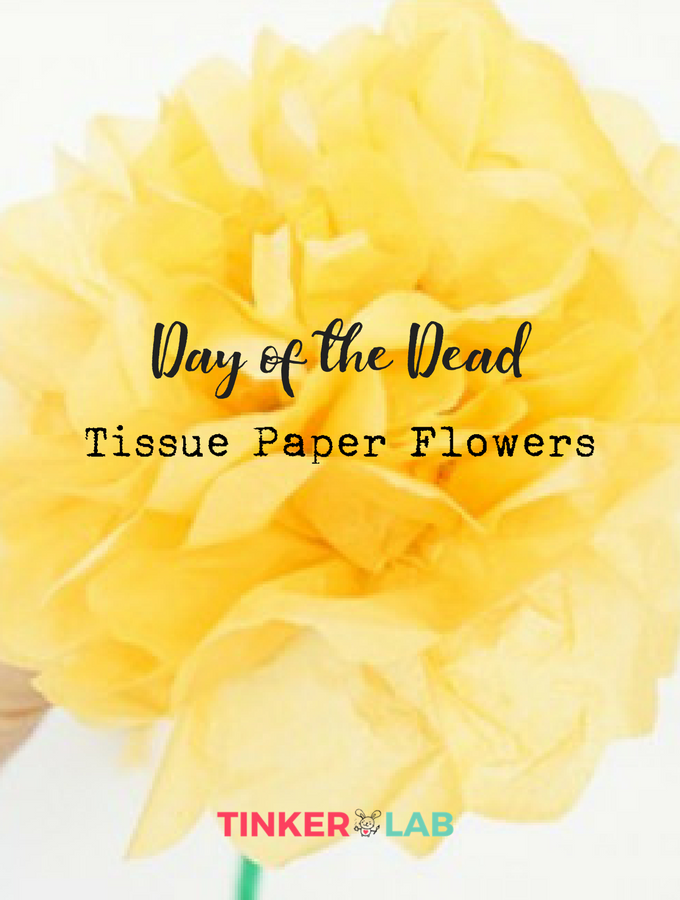
Today we’re going to make easy tissue paper flowers that are wonderful for Day of the Dead.
![]()
Born and raised in Los Angeles, Day of the Dead, or Dia de los Muertos, played a big cultural role in my childhood. You might know the holiday’s symbols of colorful skulls and skeletons, altars to ancestors with offerings (ofrendas) such as candles, photographs of loved ones, and the bright marigold flowers (cempazuchitl) that are known in Mexico as the flower of the dead.
The marigold flowers decorate altars and graves, often elaborately.
Today I’m sharing a simple way to make your own tissue Mexican paper flowers to decorate your home or altar for Dia de los Muertos. These pretty flowers can be made in any color, and you could easily apply this same technique for building a bursting Mother’s Day or birthday flower bouquet.
The materials are inexpensive and the flowers take minutes to make!
So, let’s chat about how to make Mexican paper flowers!
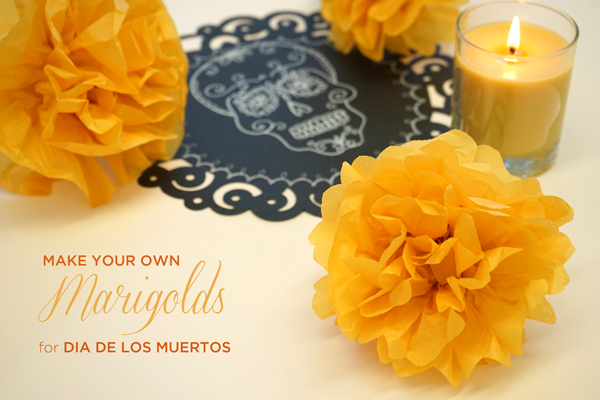
Paper Flower Supplies
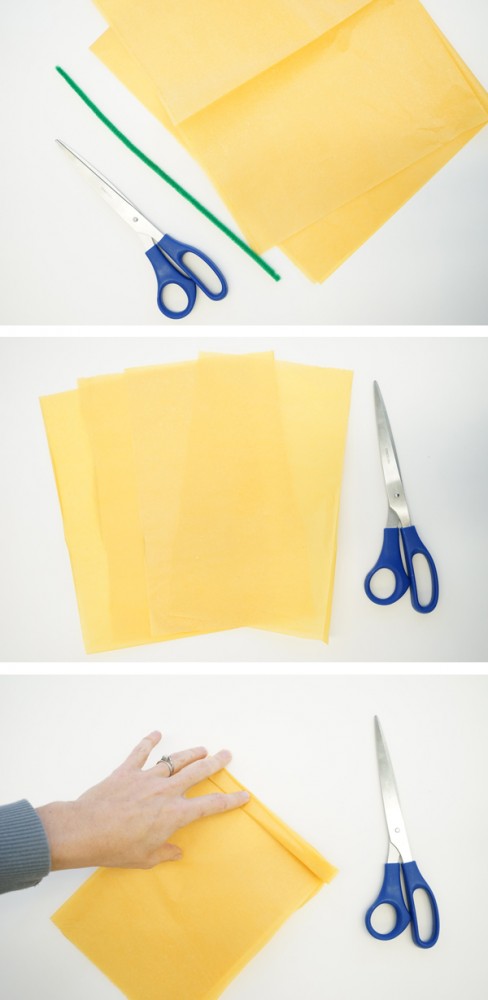
This will make two paper marigolds
- 1 sheet of gift-wrapping tissue paper, approximately 20″ x 26″. If you’re buying enough paper for a large quantity of dark yellow flowers, this is a good deal (affiliate), and I also like this multi-colored pack.
- 2 green pipe cleaners (affiliate)
- scissors
Step 1: Cut the Paper
- Cut the tissue paper in half so that you now have two sheets: 13″ x 20″ each
- Cut each of those pieces in half. You will now have four sheets that are about 10 ” x 13″ each
- Cut each of those pieces in half. You will now have eight sheets of paper that are about 7.5″ x 10″
Note: You could make these any size! Please take these dimensions as a starting point.
Step 2: Fold and Cut the Paper
- Stack four sheets of paper.
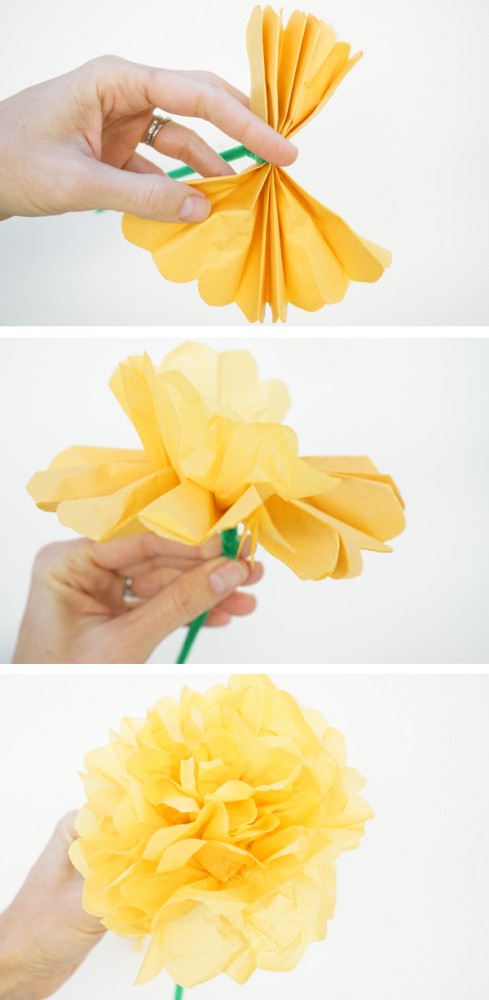
- Pleat the paper in an accordion fold.
- Cut a half-circle shape from the each end. (You could also cut a point or zig-zag)
- Wrap a pipe cleaner around the middle of the paper to hold it in place. This will also act as the stem.
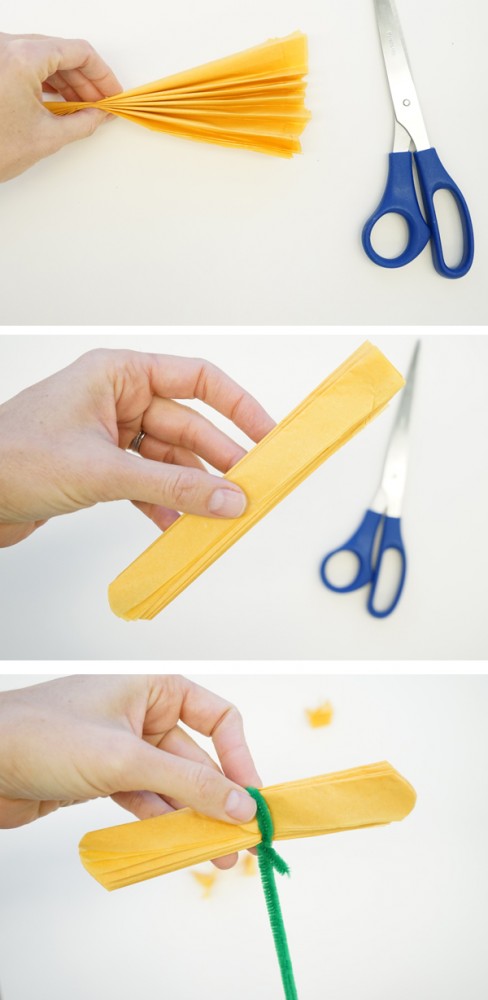
Step 3: Fan out the Flowers
- Fan out the paper.
- Gently separate the first layer of paper from the rest, and move it up to form the top layer of petals.
- Gently separate the rest of the paper layers.
- Fluff out your flower.
- Repeat with the other stack of four papers.
Experiment
- Try making those with tiny sheets of paper
- Make gigantic flowers
- Make multi-colored flowers with different colors of tissue paper
- Cut different shapes off the edges of your petals
- Make a stack of more pieces of paper for a fuller flower
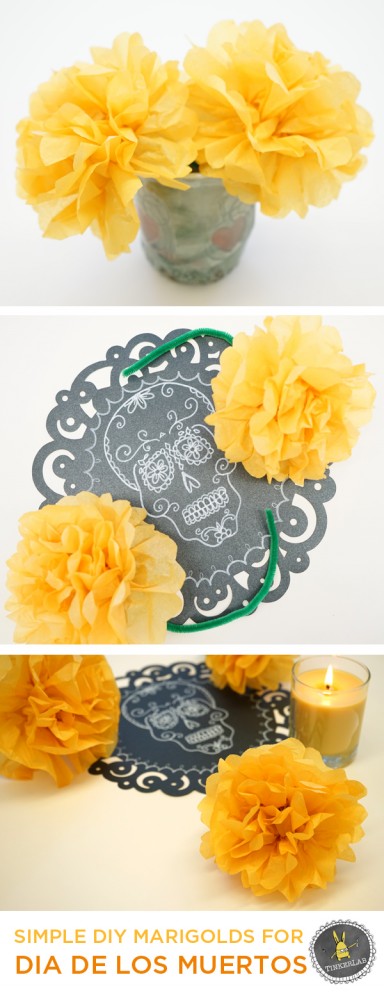
Step 4: Display your Marigolds!
More Day of the Dead Ideas
Mexican Tin Painting for Kids: TinkerLab
Make Day of the Dead Play Dough Cookies: TinkerLab
Make your own Day of the Dead Decorations with Kids: TinkerLab


Perfect free-choice activity after we finish up our sugar skulls! Thanks!
[…] tinkerlab tinkerlab […]
Thanks! Easy craft for my young learners.
You’re welcome, Mika! It’s great for empowering little ones to craft.
[…] To make your own marigolds, follow these easy instructions. […]
Looks simple and pretty! Can’t wait to try it.
Thanks, Errol. I’m happy to hear it’s inspiring you 🙂
[…] The directions for how to make these can be found at https://tinkerlab.com/simple-paper-marigolds-dia-de-los-muertos/, […]
[…] tinkerlab […]
[…] they have less, they will make as many as they can. For instructions on how to make them visit this website. You can use the marigolds to decorate your classroom or hallway, or you could just let the kids […]