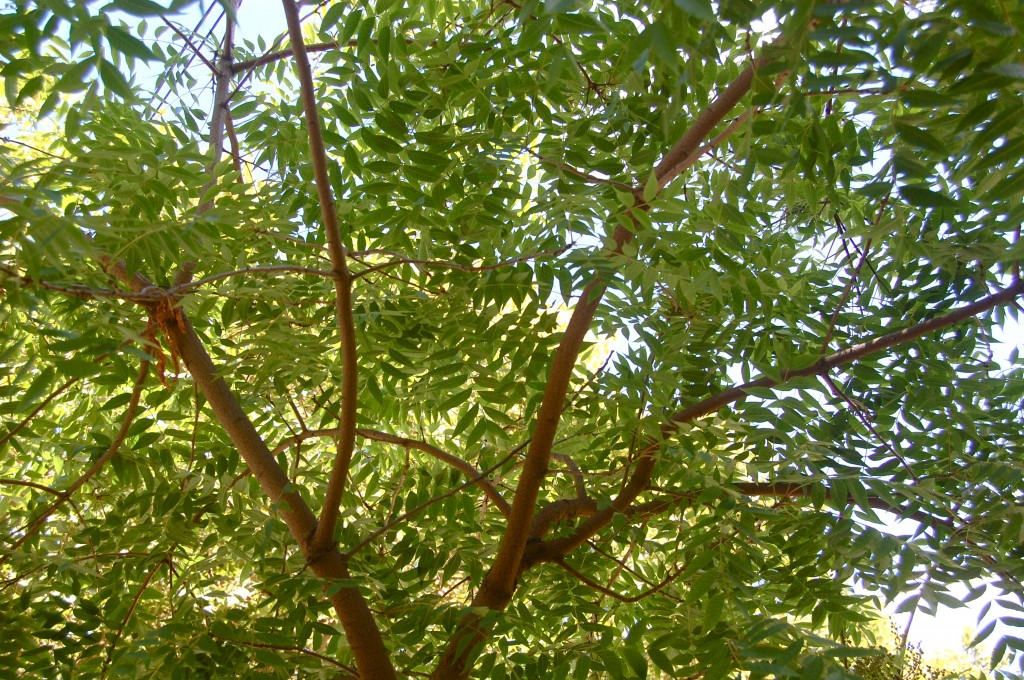
 My older daughter, 3 year old N, likes to look through my library or “read” blogs with me and pick out activities for us to work on. I love it when this happens because then she’s self-motivated to work on a project, it supports my philosophy of educating children through an emergent curriculum, and cuts back on those “failed” activities. I was doing some research for a project I’m working on and stumbled upon a British early childhood education site when N spotted this activity (I want to give credit, but the link was lost). This is a wonderful exercise in observation and it doesn’t require a lot of materials or set-up…my kind of project!
Materials
- Heavy Paper. This 80 lb. White Sulphite Paper
is great to work with
- Colored Masking Tape. If you don’t already have this tape, I think it’s a worthwhile investment. We use it all the time, like in the Toilet Paper Roll Marble Run, Improvised Caution Tape, and Tape Play
- A tree to look at
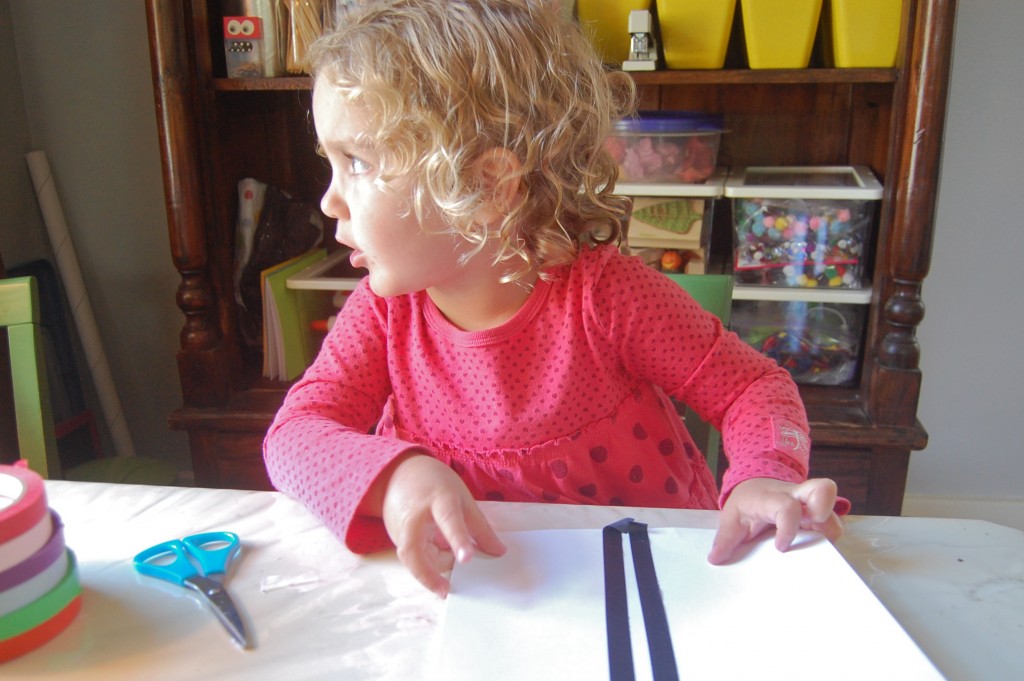 We began by looking at a tree outside the window to observe and discuss the lines and scale of the trunk and branches. I loved how N’s eyes continuously darted back and forth between the tree and her paper. I suggested that she start with the trunk, so she chose black tape to make two vertical lines. I thought she might be representing the width of the trunk in relation to the branches, but I asked her about it before jumping to conclusions.
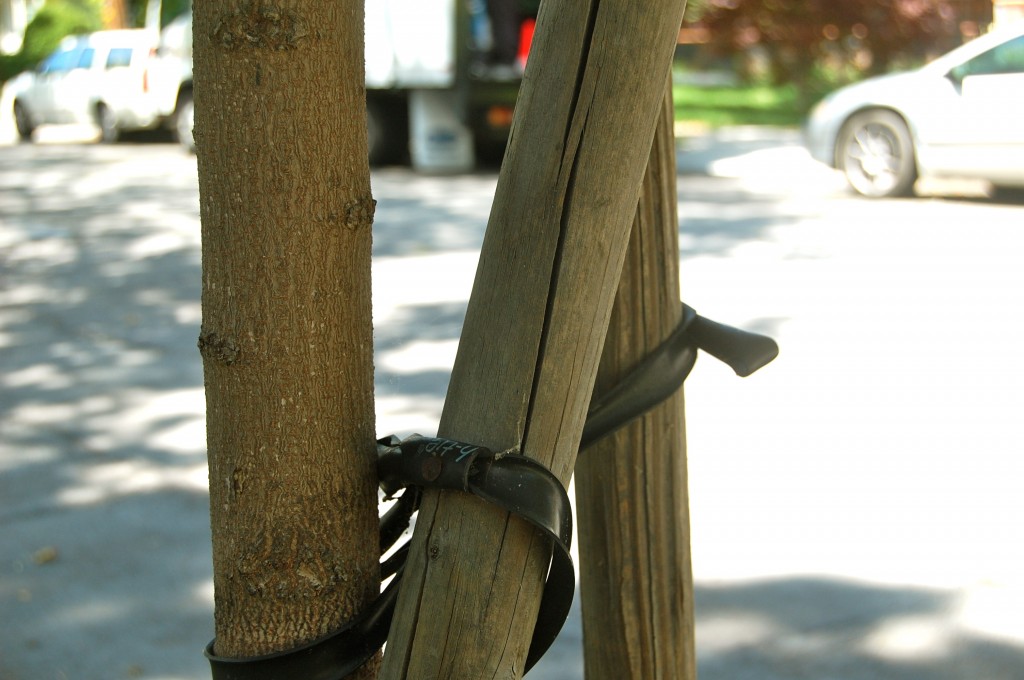 She responded that there were actually *three* trunks and still had one more tape stripe to make. Our little tree is propped up with support posts — she was so observant!
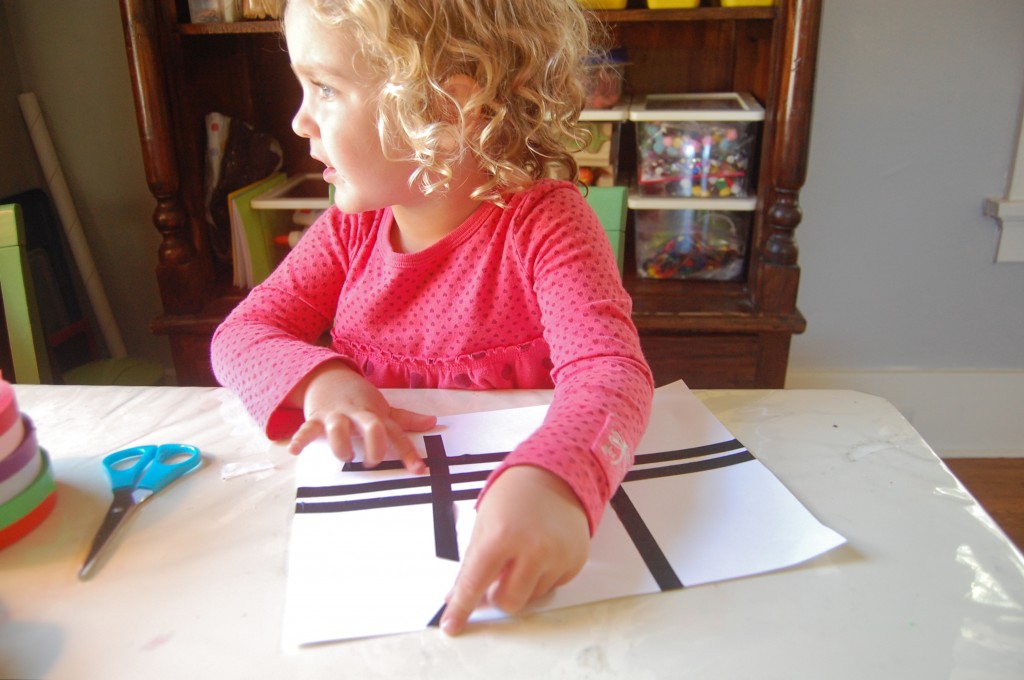 Her eyes moved back to the tree so she could take in the branches and leaves. At this point we went outside to get a closer look before returning indoors.
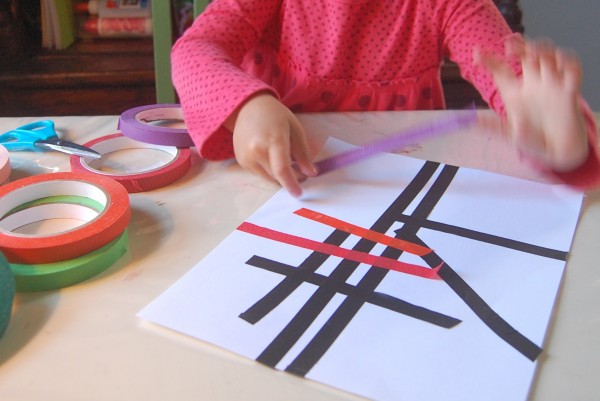 She added leaves in a bounty of colors, saying, “I bet you’ve never seen PURPLE leaves before!” As an aside, we went to the plant store later that week and bought a plant with purple leaves. She was impressed.
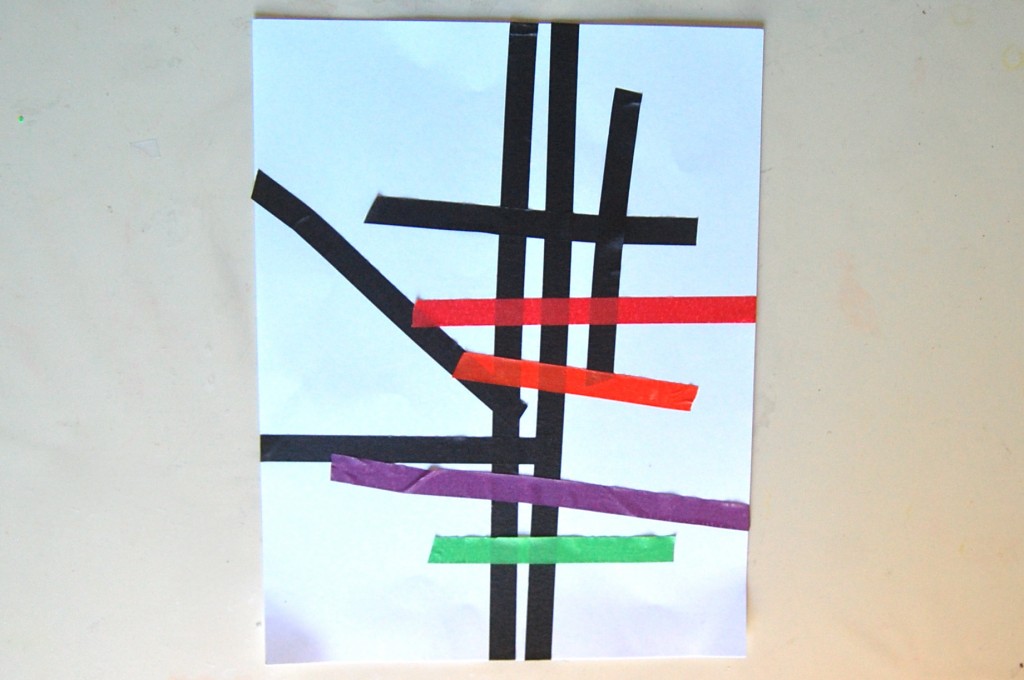 This project worked especially well with my daughter because she was able to articulate an image of a tree without having to draw one (something she’s not yet able to do). And it would be an appropriate project for older children as well.


Love this idea! C loves scotch tape and using it for everything. I really should let her have her own tape that doesn’t belong in the kitchen drawer! You could also do this project and paint over it to create a “tape resist” tree.
Scotch tape is so handy, especially in a big easy-to-use tape dispenser. We’re always running out of it in our house! We tried the tape resist today, but it didn’t work with this tape (too sticky and it pulled the paper up). We’ll try again with painter’s tape. Thanks for the idea.
I love how closely she looks at the tree. What a smart gal.
Thanks, I think she’s pretty smart and observant too 🙂
Colored tape….it’s going on my shopping list!
It’s a small price to pay for creative happiness!
I am a huge fan of colored masking tape and my students have used tape in a billion ways…and now you have given me a new favorite way for exploration and representation! Great for small motor and bold images for any age – love it! Thanks!
Hey Jeanne! Thanks for the comment and further endorsement of colored tape from an ECE teacher!!
My daughter loves masking tape. One day she was using masking tape on building blocks, when asked she said that its connections!
http://creativitymypassion.blogspot.com/2011/07/buliding-blocks-and-masking-tape.html
this is awesome, rachelle! looove the idea… and feeling a need for some colorful tape!
We enjoy the blue and green painters tape. The children can hang up their projects on the walls without worry of peeling the paint. They also use it to hold together recyclable items projects, as it easily unsticks in case a readjustment is needed.
I loved your idea and tried it tonight while my 3 year old daughter had her watercolors out. We worked together to make a tree and then painted over it with different watercolors. When we took up the tape, it looked like a pretty good tree, and she was really surprised by the final result.
We did it again with potato stamps cut into leaf shapes and regular stamp ink. She really liked smashing the potatoes on the paper. Darker stamp inks worked very well. This was so easy and really fun to do together.