Today we’re joined by TinkerLab reader and friend, Aricha Gilpatrick Drury who’s offered to show us how to build with box rivets. Aricha is a mom to four children and has a knack for tinkering. When she shared this uber-tinkering activity on our Facebook wall, we asked Aricha if she’d be so kind to share with us today. Lucky us, she said, “yes!”
If you’ve never built with box rivets before (we haven’t), you’re in for a treat. They’re simple plastic connectors that enable you build almost anything you can think of from cardboard: castles, theater sets, play structures, and more.
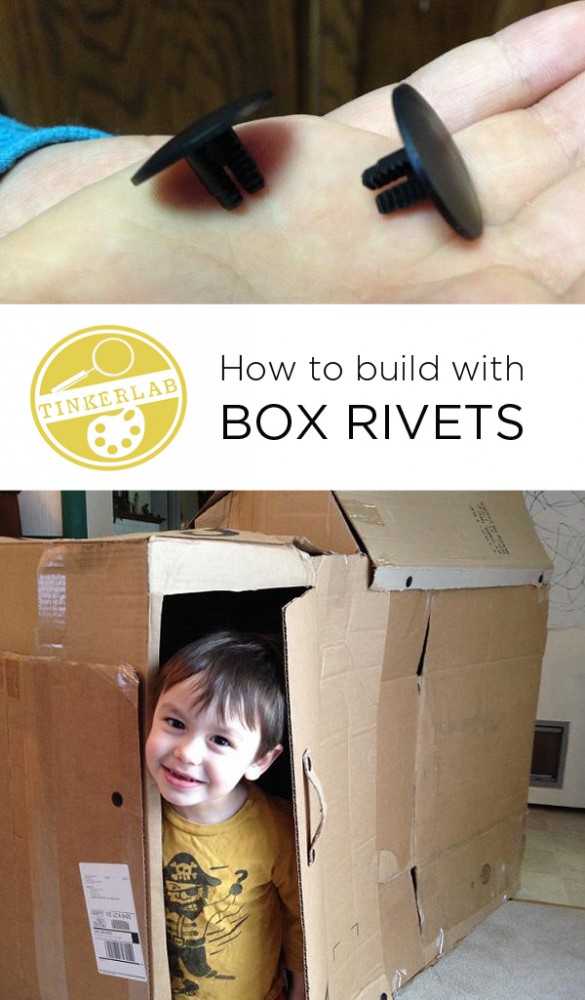
About a year ago, my father sent the kids a package of Mr. McGroovy’s Cardboard Rivets (Amazon), which took up residence, half-forgotten on a shelf. My kids all love building with cardboard boxes, but I’d assumed the rivets would require a great deal of adult help and I was hesitant to introduce them. I was pleasantly surprised to be proved wrong when I finally got them out on a recent snow day.
Supplies: Build a Box with Rivets
My 9-year-old and I gathered our supplies:
- Cardboard boxes
- Nail punch or drill
- Scissors (a box cutter for the adult is useful for more difficult cuts)
- Packing tape
- Cardboard rivets (ours came from here: http://mrmcgroovys.com)

How the Rivets Work
After a quick safety review for the punch (to avoid punching directly into one’s hand), we checked out the rivets to see how they worked. Two rivets are positioned on either side of the cardboard with the prongs at a 90-degree angle from one another. When the rivets are pressed together, the ridged prongs click securely and hold the two layers of cardboard together.
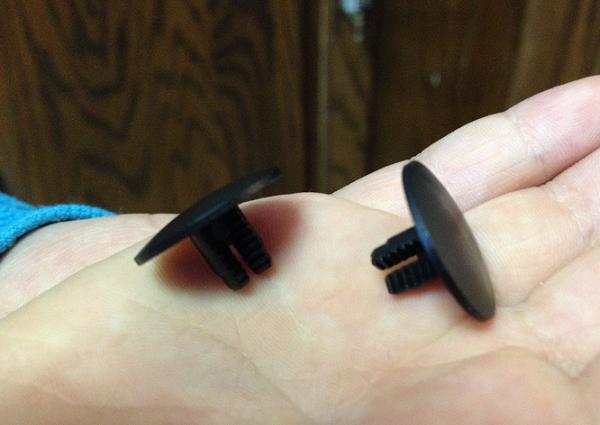
I demonstrated once, showing my son how to punch through two layers of cardboard then press the rivet together through the punched hole. Once he had the idea, which only took one demonstration, I turned him loose to design and build.
Build with Rivets and Cardboard
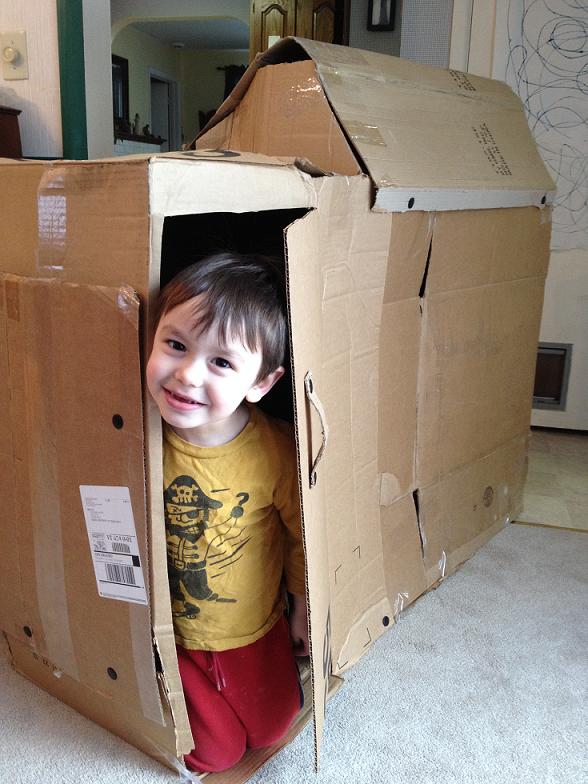
He started out by gathering all the boxes together and then arranged them into the general shape of the playhouse that he wanted to make. After getting a rough idea of where each box would go, he figured out which sides needed to be cut open and how to overlap the joints to secure the boxes together. For the most part, he was able to punch the holes and line up the rivets himself, though he needed an extra hand (or a longer arm) for some spots.
Creative Problem Solving
In a few places, the cardboard didn’t overlap and we used packing tape to join the pieces. When that proved to be far less reliable than riveting, he discovered that an extra piece of cardboard could be placed over both edges and riveted together, creating a much more stable joint.
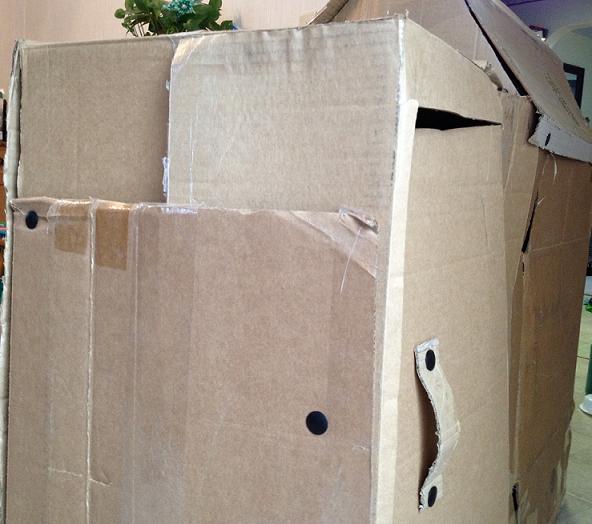
He also discovered that he needed to do some pre-planning in a few places by securing the harder-to-reach rivets first and leaving the ones close to the edge for last.
His final touch was a door, which I cut for him using the box cutter. He designed a handle with a strip of leftover cardboard and riveted it on.
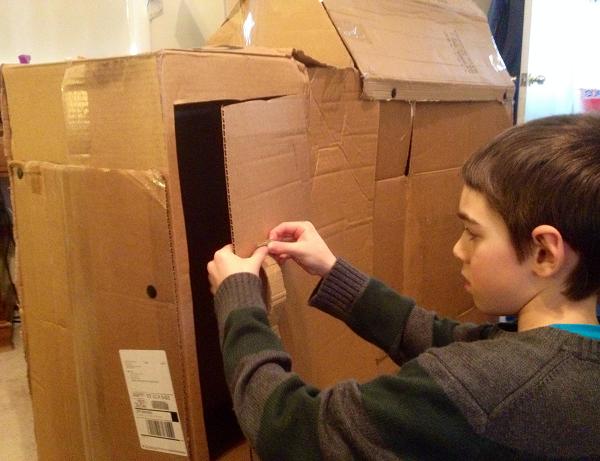
Once the house was complete, we carried it out for the rest of the children to explore. After an initial peek inside, they furnished it with pillows and blankets. Over the next couple days it became a play house, a castle, and a place to be alone. After a week in child care (including being moved by small children), the house is still standing solid.
Resources
Mr. McGroovy’s website has designs for using the rivets to create projects from your own cardboard boxes, as well as ideas from customers and tips for acquiring large appliance boxes.
Mr. McGroovy’s rivets on Amazon
Note: This post contains affiliate links for your convenience
 Aricha Gilpatrick Drury is an early childhood consultant and mother of four. She comes from a long line of fixers and tinkerers and hopes to pass on a tinkering mindset to her children. She likes to test out her open-ended art and tinkering invitations in her husband’s in-home childcare program.


I’ve never heard of box rivets before! We’ve had a hard time keeping tape stuck to the cardboard as our creations grow- this is a great (less frustrating) alternative for little hands. Thanks for sharing 🙂
excellent and creatively
[…] engrossing touch to the chocolates you have introduced for making the festivities more delightful. Riveting boxes for each of the collections would make them mouthwatering for the onlookers. Packaging ought to be […]