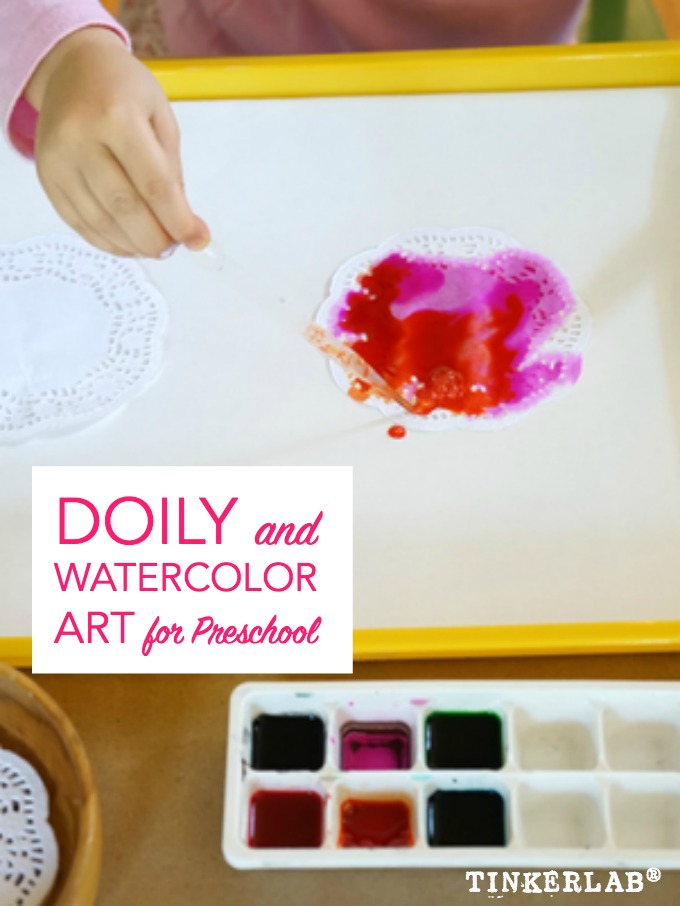
This simple doily and watercolor art for preschoolers uses basic art materials and encourages children to explore the medium of watercolors through process-based creating.
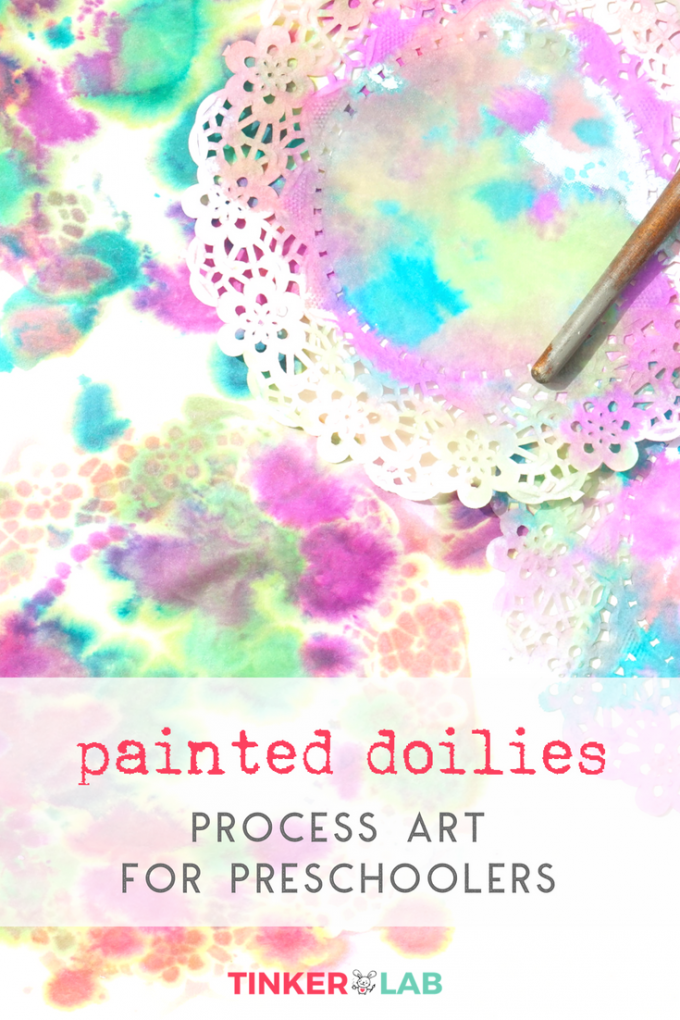
This project, like so many others that you’ll find on TinkerLab, is a process art activity.
This process art project is set up as an Invitation to Create, meaning that the materials are laid out in an inviting way, and then the child is invited to interpret and use them however he or she likes. With invitations like this, I’ll sometimes give kids an extra verbal prompt, but often I’ll just sit back and see what they come up with…and I’m often surprised by their ingenuity.
You can find more invitations to create here.
Supplies: Watercolor Art for Preschoolers
Note: I’ve included Amazon affiliate links for your convenience.
- Liquid Watercolors. The Sax brand via Amazon is great, and equally good are liquid watercolors by Blick and Discount School Supply.
- White paper doilies or paper coffee filters
- Large Tray. I picked up our yellow trays at a teacher supply store. Other ideas: use a fast food tray or choose from one of many trays at IKEA.
- Pipette, medicine dropper, and/or paintbrush
- Ice cube tray
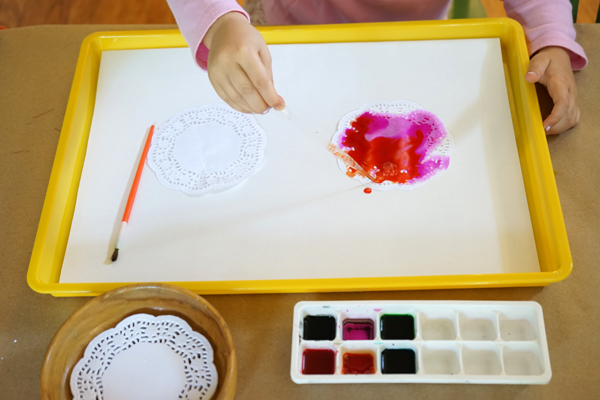
The Set-up
Line a tray with paper: Set up a big tray, and line it with paper. We have big sheets of 18″ x 24″ paper that I cut to fit. You could also use butcher paper, a brown paper bag, or smaller papers that are taped together. This step isn’t mandatory, but it’s helpful to have a absorbent trough to catch all the extra liquid.
Squeeze liquid watercolors into an ice cube tray. We have a mini tray that’s reserved for just this purpose. I often add a little bit of water to the watercolors to extend the life of our paints just a bit.
Doilies and paintbrush. Set up some doilies and a paintbrush and/or pipette nearby.
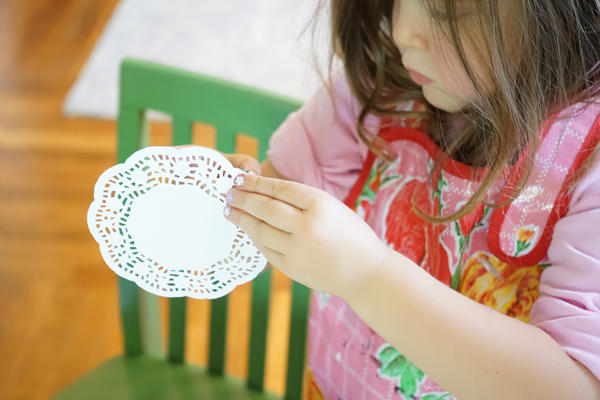
My three-year old enjoys the challenge of pulling doilies apart. Oh, and she’s also wearing an apron and has rolled-up sleeves. Both recommended for this potentially messy project.
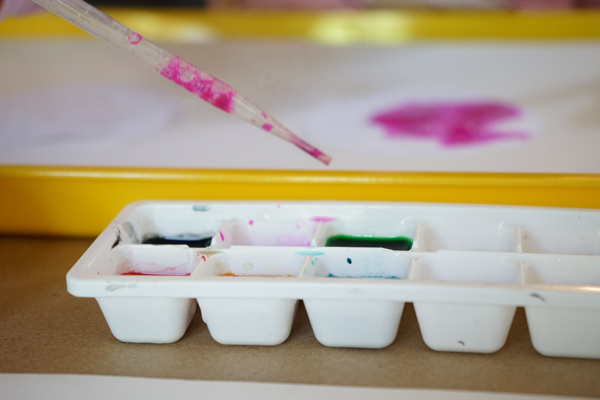
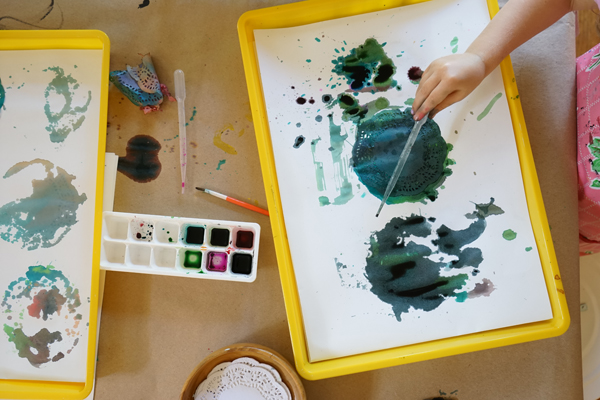
Here’s the pipette in action. Pipette’s are fun for little kids, and a good challenge as they figure out how to squeeze the paint up, and then squeeze it out again.
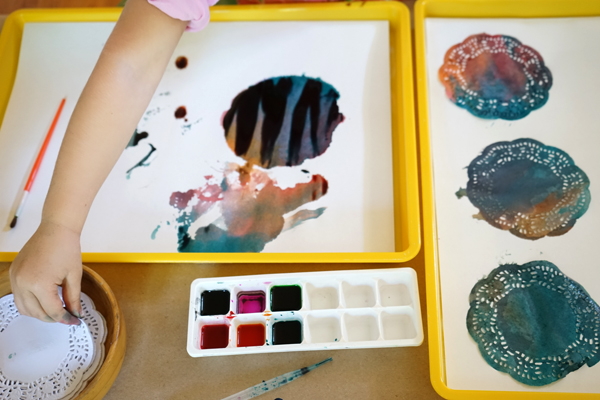
We set up another tray nearby to absorb our drying, colorful doilies. Once she made a small handful of these, my daughter thought it would be fun to dip clean doilies in the pool of murky paint. What a fun experiment!! It’s moments like this that make this a Creative Table!
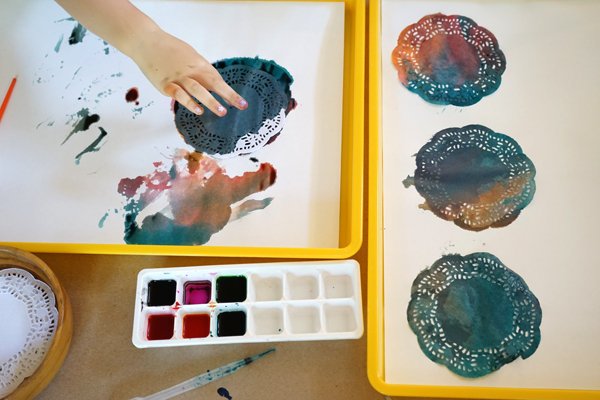
Set up a Drying Area
This could be a table covered with newspaper, art drying rack, or a laundry line.
My little one loved seeing the paper soak the paint right up. Once we had a healthy collection of doilies, my kids remembered that we recently picked up laundry hanger at the dollar store. So we carried our trays full of doilies outside where we hung them to dry in a tree.
They’re still there, actually, decorating the neighborhood.
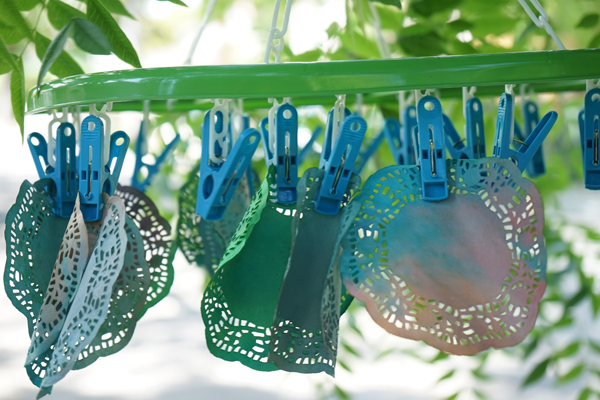
And here’s a bit of the aftermath. I love before and after photos!
If you enjoyed this activity, be sure to check out my book, TinkerLab: A Handbook for Little Inventors (June 2014, Roost).
You might also enjoy these creative art provocations:
Creative Table Art Provocation Highlights via Instagram
Creative Table: Invitation to Create with Tape and Paper Bags
Creative Table: Invitation to Create with Paint and Looping Lines
Creative Table: Art Provocation with Doilies and Scissors
Creative Table: Art Provocation with Leaves and Glue
Creative Table: Invitation to Create with Stickers and Frames


Hey Rachelle,
I am also an educator with a Maker-inspired preschool son & your site is INCREDIBLE!
Thank you for this post! I am embarrassed to admit that our water color paints have gone untouched for over a year now.
I found your post looking for low -cost kids activities and this is right up our alley! Any recommendations for summer activities? I’m putting together our summer activity calendar soon.
Thank you!
[…] Doily Painting Process Art Project […]
[…] Watercolor Paint on Doilies: Process Art with a Beautiful Outcome – ages 3 and up […]
[…] Doily and Watercolor paintings […]