In the days leading up to the arrival of Baby I, I spent a lot of time in our garage in search of baby clothes, the car seat, and other long forgotten baby paraphernalia– and along the way I found a box of sponges shaped like letters, hearts, and flowers that I’ve been hauling around since my early art teaching days.
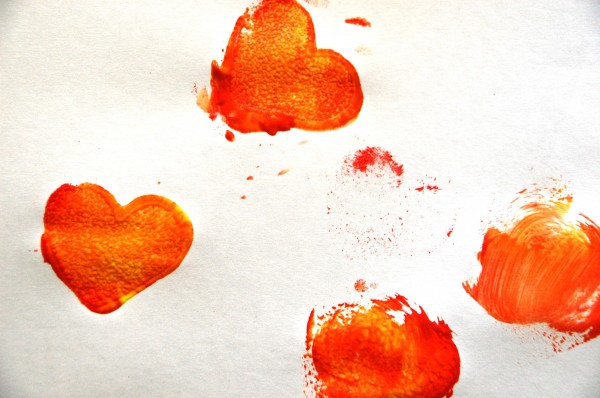
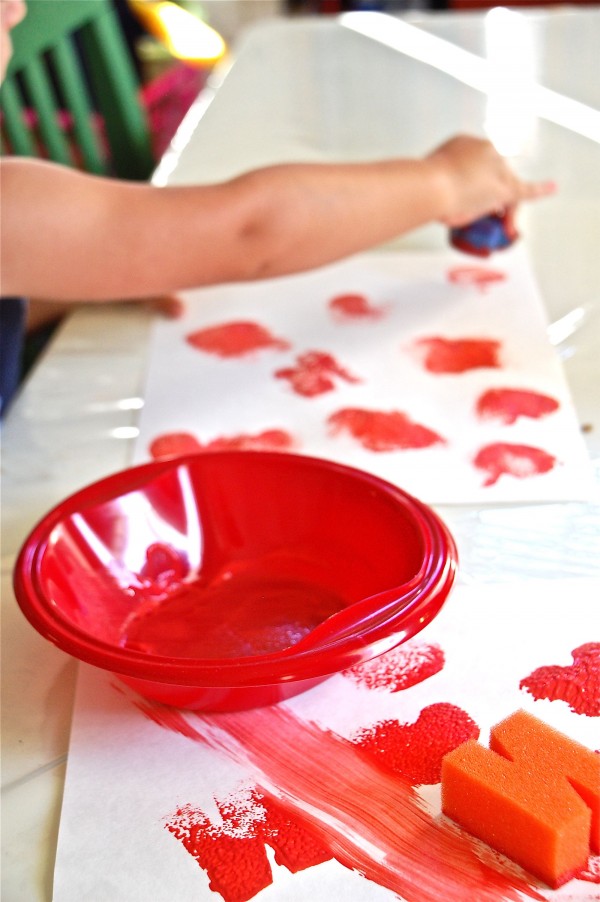
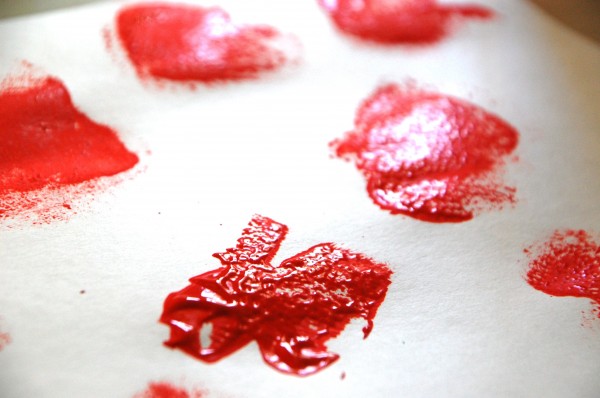
Inspired by my find (and, frankly, thrilled that I could finally justify keeping all this junk to my poor husband), I set up a bowl of red and yellow paint, put out some paper, and showed my toddler how to dip the sponges in paint before stamping them on the paper. The project is incredibly simple, and managed to hold my child’s attention for almost, er, ten minutes. In giving her two warm colors I thought it would help her focus on how the sponges work with the paint, but in hindsight, having a few extra colors may have sustained her interest longer. All said, as a first sponge stamping experience I’m pretty pleased with how it all played out.
I showed N how to dip the sponge in the paint and both smear and stamp it on the paper. She opted for stamping. I always do my demonstrations on my own piece of paper to allow her the freedom to create her own work without my influence. escorte geneve
I think I picked up these sponges at a dollar store, which might be a good place to forage for something similar. My neighbor Stephanie had us over for sponge stamping, and she used make-up wedges. What’s so great about these is that they’re dense like foam, and hold their shape nicely in the cluthes of little hands.


Maybe try paste paper painting next! Remember doing that at HGSE? We do it at the museum with tempera or acrylic and it works fairly well. You can drag combs and paint brushes through it, print shapes with cookie cutters, toilet paper rolls, etc. This project is great because it could spark some creativity on N’s part seeing, “what else can I dip in the paint and paint or drag through the painting?” It goes beyond using traditional materials with which to paint. Just be sure to take it away before it gets muddy. After you have many paintings like these, you can make a collage by using tearing and gluing skills. I like projects with multiple steps for young ones. Each part may take ten minutes, but they build on one another, i.e. painting is ten minutes, collaging is 10 to 15 minutes. You could even add more collage materials like stamping on top or using different textured paper, shiny paper, translucent paper, etc.
Hi Lori~ Great ideas. And yes, I do remember doing this at HGSE, and may even have some of those pretty, sparkly paste papers tucked away somewhere. Thanks for the reminder and good suggestions; I’m sure you’ll see this crop up in our near future 🙂 xo, R
BTW, goobergray=Lori