This project uses materials that you probably already have at home, or can easily find in your drug store. The only specialty item is a brayer, but without it you’d never expose your kids to the experience of true printmaking.
Styrofoam Printmaking with Kids
Printing from styrofoam plates can help children learn that they can upcycle everyday materials into beautiful objects and teaches them patience and planning as they work through multiple steps to reach a desired outcome.
Supplies
This list contains affiliate links
- Styrofoam – plates, meat packing containers, etc.
- Tempera Paint or Water soluble printing ink
- Brayer
- Paper to print on
- Pencil
- Scissors
- Cookie sheet
What is a Brayer?
A brayer is a tool, similar to a paint roller, that allows you to apply ink evenly to a large area. You can find brayers in art stores or order them online. I have a few different brayers, and I don’t think you need to go for the most expensive version. This Speedball Deluxe 4-Inch Hard Rubber Brayer is a really good brayer that will do everything you need.
Oh, and we used tempera paint for this project, but I’m also a fan of using Speedball Water soluble Block Printing Ink. It’s not washable, but it will make a clearer image (better for archival purposes), as shown in this post where we made abstract recycled print.
If brayers seem like an item that you’ll only use once or twice, you’ll be surprised at how addictive printmaking can be and you may find that your kids will make excuses to experiment with them. My own kids (ages 2 and 4) are always eager to tinker with our brayers.
| Styrofoam Printmaking |
- Styrofoam plate
- Scissors
- Copy Paper
- Pencil
- Paper tape, like masking tape
- Tempera or Poster Paint
- Cookie Sheet or Piece of Acrylic
- Brayer
- Paper or tablecloth to cover workspace
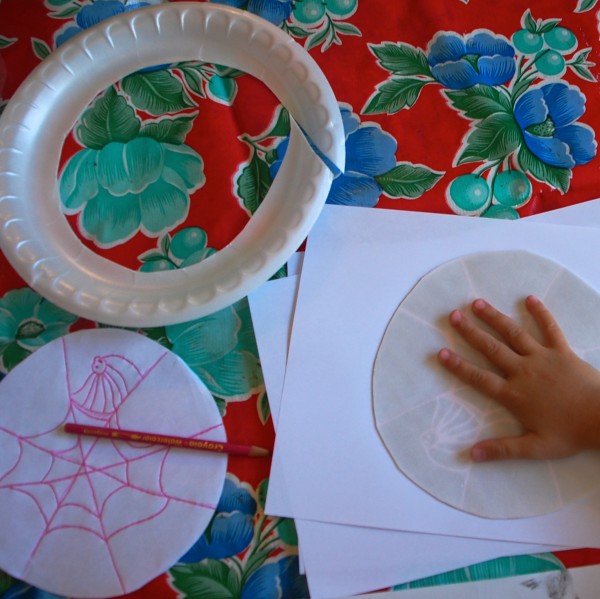
- Cut the rim off the styrofoam plate.
- Place the stryrofoam circle on top of a sheet of tracing paper, and trace around the circle.
- Remove the plate.
- Draw a picture or design on the copy paper. Avoid drawing small details that will disappear when printed.
- Tape the drawing on top of the plate.
- Retrace your drawing, pushing hard enough to press into and make a mark on the plate.
- Remove the paper.
- Retrace the drawing on the styrofoam plate, creating deep grooves in the plate.
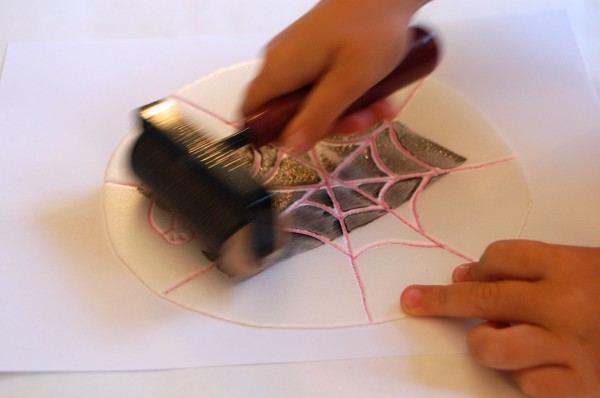
- Roll a small amount of paint onto the cookie sheet or piece of acrylic, and then roll the paint over the styrofoam plate.
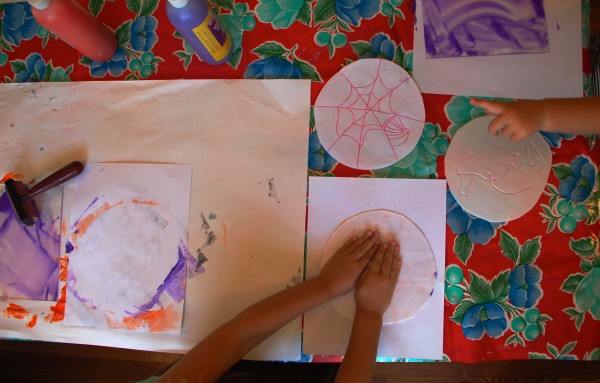
- Cover the plate with a piece of copy paper, and press it down firmly with your whole hand.
- Remove the paper to reveal the printed magic.
- Repeat as desired.
My 4-year old saw the circular shape of the plate and took it as an opportunity to make a spider web. She’s also sort of obsessed with Halloween, so spiders it was! When drawing the designs, encourage your child to avoid tiny details, as they won’t show up well in this printing process.
Oh, and in case you’re wondering, my 2-year old got in on the action too. I gave her a pencil to draw directly onto the plate, and then she happily rolled paint with it. The printing part wasn’t that interesting to her, but the process of rolling was tops.
Clean-up
We stored our finished prints on another table. I recycled all the messy scrap paper, sprayed the table down, and dropped the brayers and sheet of acrylic into the sink. Done!
More printmaking inspiration
Abstract Recycled Packaging Prints with Printmaking Ink
More Halloween Ideas for Kids
If you enjoyed this project and you’re looking for more Halloween ideas, you have to check out 50 Simple Halloween Ideas for Kids.



Great!
We’ll try it soon, I promise! Thanks for this amazing web!
🙂
Hi Ligoakoma,
I won’t hold you to it, but I’m happy to hear that you’re excited about this project.
Cheers, Rachelle
I was looking for some Halloween party projects. This would be great! I also like your new tagline and header 🙂
Hi Megan,
Halloween is a favorite holiday in our house and I’m delighted to hear that this will work for you. Have you tried rolling marbles in white paint over black paper to create spider webs? You might enjoy that too: https://tinkerlab.com/2010/10/spooky-marbled-spider-webs/
And thanks for the nice comment. YOUR site is a joy to look at and I really appreciate the kind words. I’m forever tinkering with my site design and one of these days I’ll actually pay a professional to make it look like the vision I have in my head.
Rachelle
What a fun, neat and cute Idea! Love the final product!
Thanks Beckie!