Make Easy Salt Dough Ornaments: Part 1
Raise your hand if you’ve made or plan to make salt dough ornaments this season! Yep, I see a lot of you out there. It seems we’re not the only ones, but in case you haven’t committed to this yet,…
Raise your hand if you’ve made or plan to make salt dough ornaments this season! Yep, I see a lot of you out there. It seems we’re not the only ones, but in case you haven’t committed to this yet,…
This little fabric ghost tradition began last year, and N has been begging me to revive it for weeks. We haven’t had any white fabric in the house, I didn’t have the energy to make a fabric run, and then…
The Mexican folk art of tin painting is eye candy for little kids, such a fun medium to play with, and it’s perfect for El Dia de Los Muertos (The Day of the Dead, November 1 & 2). I used to…
Soap Making with kids… In preparation for Mother’s Day, we decided to make soap for the grandmas. I wanted to use an organic soap base, but couldn’t find any on short notice. We chose two soap bases that they sell…
Stanford throws the biggest Holi festival celebration in the Bay Area, and we were lucky enough to join in the fun this weekend. In India, Holi marks the beginning of spring and it’s celebrated by covering friends and strangers with…
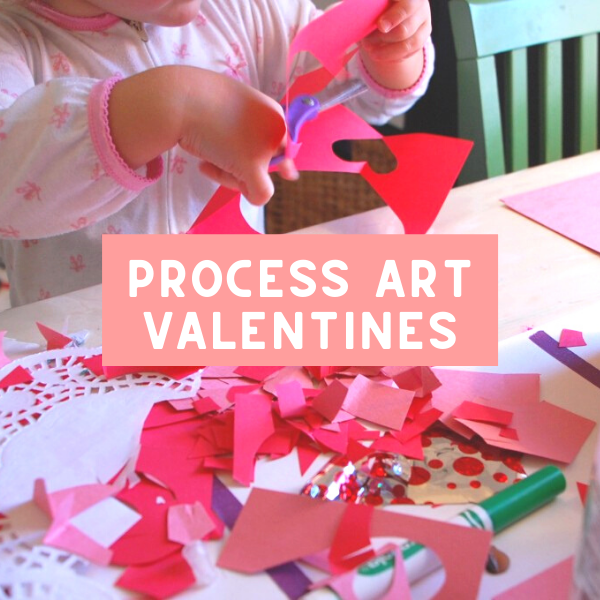
If you’re preparing for Valentine’s Day crafting with your preschooler, one of my best bits of advice is to set up an open-ended process art experience that allows your child to make choices and feel creative. Our local market does…