Raise your hand if you’ve made or plan to make salt dough ornaments this season! Yep, I see a lot of you out there. It seems we’re not the only ones, but in case you haven’t committed to this yet, I have one piece of advice for you: While the recipe is simple, give yourself some time!
This is a 2-part post. In the first part I’ll share a salt dough recipe with baking instructions and in part two, I’ll share my best tips for painting and decorating salt dough ornaments with kids.
I used this recipe on ParentDish by Anna Ranson, who blogs at The Imagination Tree.
Salt Dough Ornament Recipe
This salt dough recipe is the easier ever with just three ingredients that you probably already have. Double or triple the recipe for more ornaments.
- 1 cup of flour
- 1 cup of salt
- up to 1 cup of water.
I mixed the dry ingredients and then added a full cup of water. Gulp. Did you catch that bit about adding up to 1 cup of water? The dough was sooo sticky, so I kept adding equal amounts of salt and flour until the dough held together without sticking to my hands. Okay, back on track…
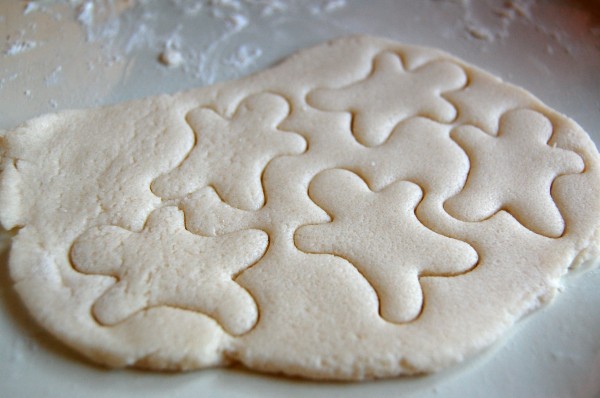
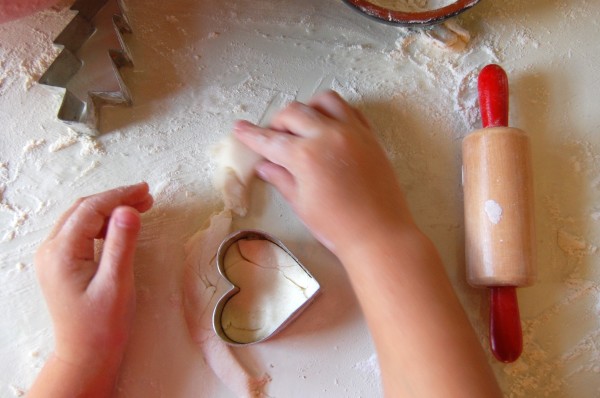
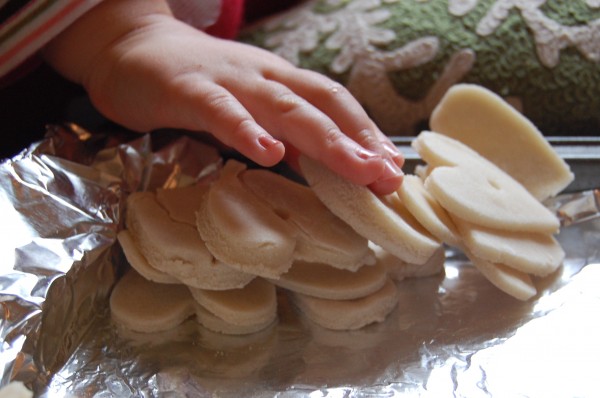
My 3 year old and I both rolled out some dough and got busy cutting shapes with our favorite cookie cutters. I also gave her a small bowl of flour (you can barely see it at the top of this photo) for her to flour her workspace at will. She loved that, and I can’t believe I haven’t thought of that before. Her ornaments are less than perfect, but she proudly made them herself. Awwwww.
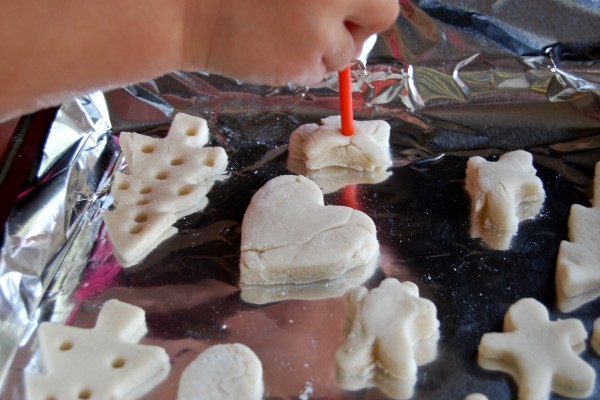
We followed Anna’s suggestion of using a straw to add a hole in each shape that we could later hang a ribbon through. Of course N saw no good reason to stop at one hole per ornament. And why should she?
The next step is to bake them at 100 C for 2-3 hours. OMG — just caught that it was Celsius, and here I was cursing my oven for not going below 170 Fahrenheit. Haha! Now I know why it took, literally, all day to bake these. Okay, so I could have just put my oven at 212 degrees and it wouldn’t have taken forever.
Bake your Salt Dough Ornaments
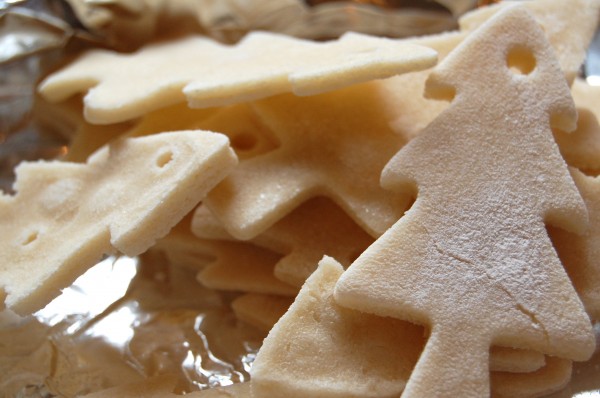
Bake at 212 F or 100 C for 2-3 hours, or until hard.
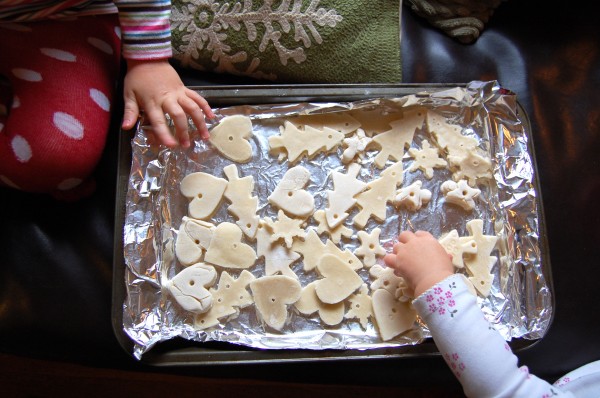
After they were dry, N sorted all the ornaments into hearts, trees, snowflakes, and gingerbread men…and then, of course, her little sister stepped in to mix them all up.
Ready for painting. To see how we painted them, click over here for Salt Dough Ornaments: Part 2.


I think her ornaments are perfect. Â Anyone would be lucky to get one. Â It looks like everyone had a great time, which is perfection to me.
Aww, thanks Lucy. I was being cheeky about that and totally agree!
Thank you for your tip about the water – totally would have done that as well! 😉
Isn’t that funny? Must have something to do with multi-tasking (poorly) and not giving everything I do my undivided attention.
I was just planning to do this one of these days, thanks for the tip with the measures! They look lovely!
Thank you, Lola!
Fun! Â I’m adding salt dough ornaments to my Christmas To Do List!
Awesome!
we used this recipe, but instead of ornaments, we cut strips, similar to thick noodles. Then we overlapped them, or you could weave…which is difficult for little children….into glass casserole dishes. After baking & cooling our salt dough popped out to make our own woven bowls. Then we painted & gave out as presents for Christmas. The loaf pan is a great size for letters…outgoing mail.
Oooh, that’s a cool idea. Thanks for the tip!
Ah thanks for the mention! Very amused about the temperature but you probably did those ornaments a favour anyway by giving them ample time to dry out! It’s when people overheat it that they bubble and go all wrong! Looking forward to seeing the finished results….metallic acrylics all the way! 🙂
You know something, Anna, I think I did do them a favor! I couldn’t find the metallic paint, so it was glitter all the way this time.
Love this! Thanks for sharing!
🙂
Totally takes me back to the applesauce, cinnamon and GLUE ornaments I made with my mom when I was about 10. Â They smelled amazing and lasted about 15 years (with the smell!). Â I really want to try this out with M. Â I LOVE that you gave them as presents to playmates!
Joy — please share the recipe, if you have it!!
Hey – I was gonna do salt dough candy canes in H’s class this Friday. Any thoughts? I was thinking we’d make the dough, color some red and leave some plain so we’d have white and red, then the kiddos would role one piece of each and then twist together. Yes, no, maybe so?
I haven’t tried it, but it sounds like a good idea, Susie. Do you have the bandwidth to test it ahead of time? The only thought against it is that it doesn’t give the kids a lot of creative freedom, and there’s a chance that they’ll finish the activity in a matter of minutes.Â
can’t wait until next christmas to try so we’ll be making shamrocks for st patty’s day!
I am wanting to make some thing for the church tree any small ideals … I want to put the children’s names on them .
Okay, my FAVORITE thing about this post is how you caught the Celsius after you typed it up! That is exactly what I would do. It makes me want to invite you over for any activity at all because I think you’d laugh at my mistakes alongside me.
First visit to the blog and after reading this, I’ll be back. Thanks for the tutorial. My 2 year old and I will be trying this next week.
Hi Jennifer!
Isn’t that crazy? How could I have missed that? And I even know that Anna (who wrote the original recipe) lives in the UK. I’ll blame it on the distractions of my then 1-year old. Welcome to my blog-world. I’m all about experimentation, iteration, playfulness, and trial-and-error, and this clearly falls into that category!
Good luck (and mark that oven for 200+ degrees!)
Rachelle
These are in the oven now!! 🙂 so excited!! Thanks for the inspiration!
You’re so welcome! How did they turn out?
Last Christmas my best friend gave me a really nice wooden Christmas ornament. It had my name and a picture of us engraved on it, she got one too! It was super cool and I found out that this company out in Colorado called Unique Custom Products made it. I will definitely be ordering from them this year …check out their website if like wooden items @ http://www.custom-christmasornaments.com.
[…] Create the perfect Christmas Eve scene for Santa with a painted footprint sleigh and the cutest thumbprint reindeer! 17. Salt Dough Santa Hand Ornaments :: The Friend Collective, Inspired by Tinkerlab […]
[…] Salt Dough Ornaments. These are gorgeous and last for multiple seasons. […]
[…] How to make Salt Dough with just salt, flour, and water. […]