Make an Aladdin Magic Flying Carpet
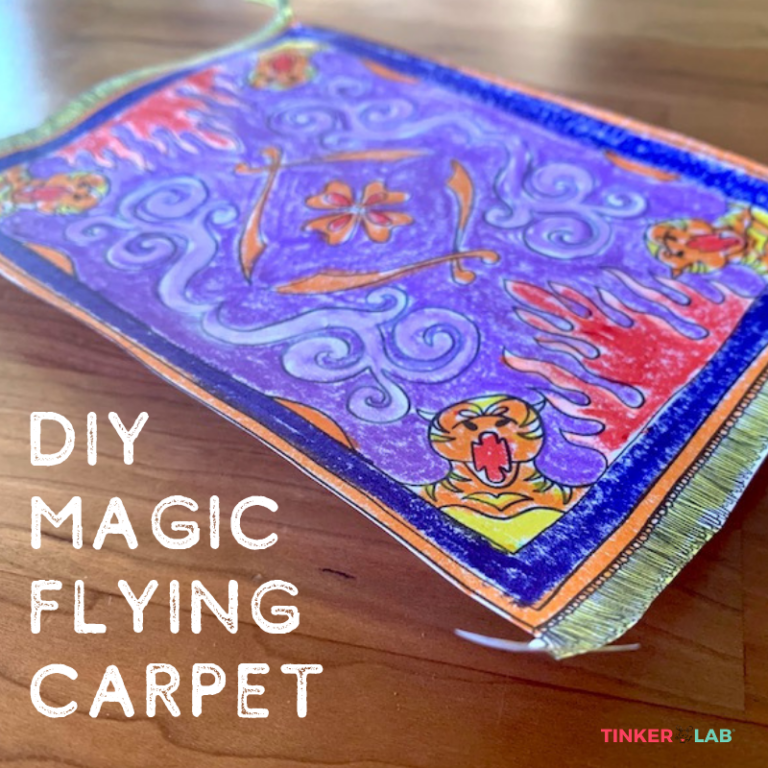
Have you ever wanted to make something levitate? Maybe you have a child who’s fascinated by flight? In celebration of Disney’s release of the Aladdin Signature Collection on Blu-Ray™, I’m teaming up with Disney Studios to bring Aladdin’s flying carpet…